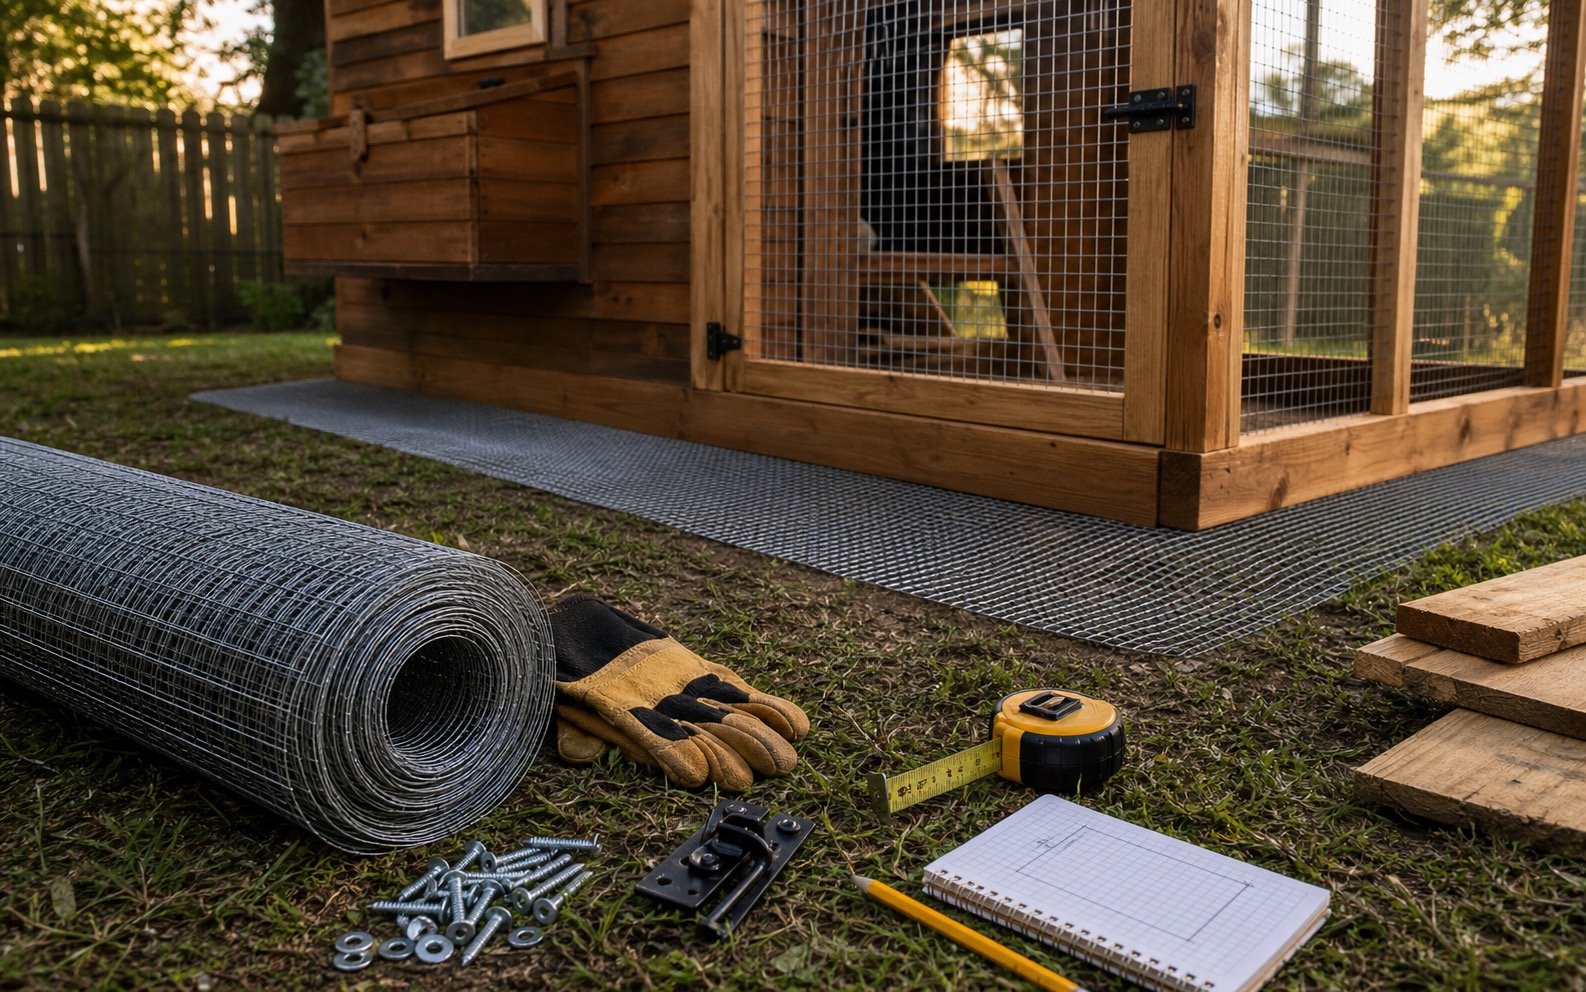
Predator-proofing a chicken coop starts before the birds arrive. The beginner move is not to buy every security gadget at once. It is to make the night box, run edges, doors, vents, and feed area boringly hard to get into.
I do not like advice that turns every chicken setup into a fear project. But I also do not think beginners should treat predator protection like an optional upgrade. Chickens are daily care, and daily care includes locking up, checking weak spots, and building the setup so one tired evening does not become the point where the whole system fails.
What predator-proof really means for beginners
Predator-proof does not mean nothing could ever happen. It means you have removed the easy failures. A raccoon should not be able to reach through loose wire. A digging animal should not find soft access under the edge. A door should not pop open because the latch is cute but weak. A vent should not become a side entrance.
University extension guidance is consistent on the big idea: a quality coop needs to protect birds from weather and predators, and chickens need an enclosed place at night. That should shape the whole build-or-buy decision. If the coop looks charming but cannot pass a basic security check, it is not finished yet.
The five security layers that matter most
Hardware cloth vs chicken wire
Chicken wire is a familiar material, but it is not the material I would trust for the vulnerable parts of a beginner coop. It can be useful for light separation or keeping birds out of a garden bed, but predator-resistant openings need something stronger. For vents, run edges, apron work, and other weak points, welded hardware cloth is usually the better planning assumption.
This is one of those places where the cheaper choice can become expensive later. A roll of stronger mesh feels boring in the cart. So do washers, screws, trim boards, and better latches. But those are the parts that make the coop safer on ordinary nights when nobody is standing there watching.
Do not ignore digging pressure
The bottom edge deserves its own budget line. If the run sits on dirt, assume something may eventually test it from below or along the outside edge. You can bury a skirt, attach an outward-facing apron, use a solid floor in the coop, or combine methods depending on your soil, slope, drainage, and how permanent the setup is.
A realistic beginner scenario
Imagine a family with chicks growing in the brooder and a small coop almost ready outside. The roof is on. The run is framed. The birds are feathering out faster than expected. This is exactly when beginners are tempted to say, good enough for now.
That is the moment to slow down for one more security pass. Look at the corners. Pull on the wire. Stand inside the run and look for daylight around the door. Crouch near the ground and check whether a hand can slide under the frame. Open and close the coop door several times. If a child can accidentally leave it half-latched, the routine needs a clearer default.
What can wait until later
Not every chicken purchase has to happen before the birds move outside. Cameras, automatic doors, fancy lighting, decorative trim, extra roost options, and clever add-ons can wait if the basic security is unfinished. A camera may tell you what happened. It does not close the gap by the door.
The night routine is part of the coop
A strong coop still needs a repeatable evening habit. University of Minnesota Extension notes that birds should be put back in at dusk for predator protection. That sounds simple until the week gets full, the weather turns, and the original excited person is not available. The routine has to be ordinary enough to survive real life.
How to keep predator-proofing from becoming fear
The goal is not to turn chicken keeping into an anxious inspection of every shadow. The goal is to put the boring safety work in place so you can enjoy the birds without pretending nothing will ever test the setup. Secure the known weak points. Keep the area clean. Lock birds up at night. Inspect after storms, digging, wood movement, or any sign that something has been nosing around.
That is enough for a strong beginner start. You can keep improving the setup after you learn your yard, weather, and local predator pressure. Just do not let the pretty parts outrun the protective parts.
Recommendations
Trusted resources for this decision
Extension resource
University of Minnesota Extension backyard chicken guide
A practical overview of chicken housing, predator awareness, daily care, sanitation, and flock basics.
Best for: Beginners who want trusted housing basics before buying materials
View resourceDeeper reading
University of Maryland Extension predator control resource
A deeper poultry predator-control resource with notes on coop security, digging barriers, clear perimeters, and night protection.
Best for: Readers who want more detail before finishing a coop or run
View resourceChicken Hub
Keep the whole chicken setup in order.
Use the backyard chickens hub to connect predator protection with flock size, brooder timing, coop costs, feeders, space, and daily care.
Open the chicken hubRecommended next reads
Read these before the birds move outside
Predator protection is easier when the coop decision, space plan, and first-year costs are all honest.
Budgeting
Should You Build a Coop or Buy One First?
A practical guide to deciding whether to build a chicken coop or buy one first, with the real tradeoffs around time, tools, safety, durability, and first-year budget.

Chickens
How Much Space Do Backyard Chickens Really Need?
A practical guide to coop and run space for backyard chickens, including why minimums and workable setups are not the same thing.

Chickens
The Real Cost of Getting Started With Backyard Chickens
Backyard chickens can be a strong first step into homesteading, but the startup costs and recurring work deserve an honest look.
Frequently asked questions
What is the first step in predator-proofing a chicken coop?
Start with the night box and the run perimeter. Close small gaps, cover vents and openings with sturdy mesh, secure doors with better latches, and deal with digging pressure before birds sleep outside.
Is chicken wire enough to keep predators out?
Chicken wire is better at keeping chickens in than keeping determined predators out. For vulnerable openings and run edges, beginners should usually plan for stronger welded mesh such as hardware cloth.
Should beginners bury hardware cloth or use an apron?
Both can work depending on the site. A buried skirt is more permanent but harder to install. A flat apron along the outside edge is often easier for beginners if it is secured well and covered so digging animals hit the mesh before reaching the run.
Can a chicken coop ever be fully predator-proof?
No setup deserves blind trust. The goal is to make the coop much harder to enter, remove easy attractants, lock birds up at night, and keep inspecting weak points as weather, rodents, and daily use change the structure.
Recommendations
Useful tools and resources for this decision
These are included only where they reduce repeated friction, clarify a next step, or help you avoid buying the wrong thing first.
Extension resource
University of Minnesota Extension backyard chicken guide
A practical extension overview covering housing, predator awareness, daily care, sanitation, and why a secure night space matters.
Best for: Beginners who want a trusted baseline before buying coop materials
View resourceDeeper reading
University of Maryland Extension predator control resource
A detailed poultry predator-control resource with practical notes on coop security, digging pressure, clear perimeters, and night protection.
Best for: Readers who want more detail on how predators test poultry housing
View resourceRecommended next reads
Read next if it helps the decision
Move into the next guide only if it clarifies the next practical step.
Budgeting
Should You Build a Coop or Buy One First?
A practical guide to deciding whether to build a chicken coop or buy one first, with the real tradeoffs around time, tools, safety, durability, and first-year budget.
Chickens
How Much Space Do Backyard Chickens Really Need?
A practical guide to coop and run space for backyard chickens, including why minimums and workable setups are not the same thing.
Chickens
The Real Cost of Getting Started With Backyard Chickens
Backyard chickens can be a strong first step into homesteading, but the startup costs and recurring work deserve an honest look.
Chicken setup support
Get the chicken setup checklist before you buy more flock gear.
Use the first-year checklist to price the flock honestly, cover the starter essentials, and delay the upgrades that can wait.
Best for: Readers trying to price a first flock honestly and avoid a scattered chicken setup.
- A pre-chick setup checklist
- A recurring-cost planning section
- A simple weekly flock-care rhythm
Chicken setup notes, beginner flock lessons, and the checklist first.
After signup, the download will unlock right here so you can save or print it.
About the author
William Mock
Founder, writer, and beginner homesteader
William writes from the beginner side of rebuilding after a layoff: homestead plans, family systems, budgets, tools, and the decisions that make a home feel less fragile.
Read why this site existsRelated Guides
Keep building context
Budgeting
Should You Build a Coop or Buy One First?
A practical guide to deciding whether to build a chicken coop or buy one first, with the real tradeoffs around time, tools, safety, durability, and first-year budget.
Chickens
How Much Space Do Backyard Chickens Really Need?
A practical guide to coop and run space for backyard chickens, including why minimums and workable setups are not the same thing.
Chickens
The Real Cost of Getting Started With Backyard Chickens
Backyard chickens can be a strong first step into homesteading, but the startup costs and recurring work deserve an honest look.