The simplest way to maintain garden tools is to remove soil after use, dry the metal before storage, deal with sap or rust before it builds up, and sharpen only when the edge starts making the work harder. Disinfecting is a separate step for disease control, not something every shovel needs after every ordinary garden visit.
For a beginner, the goal is not a perfect workshop routine. It is a small closing habit that keeps a decent trowel, shovel, hoe, and pair of pruners working instead of slowly turning them into replacement purchases.
What matters first
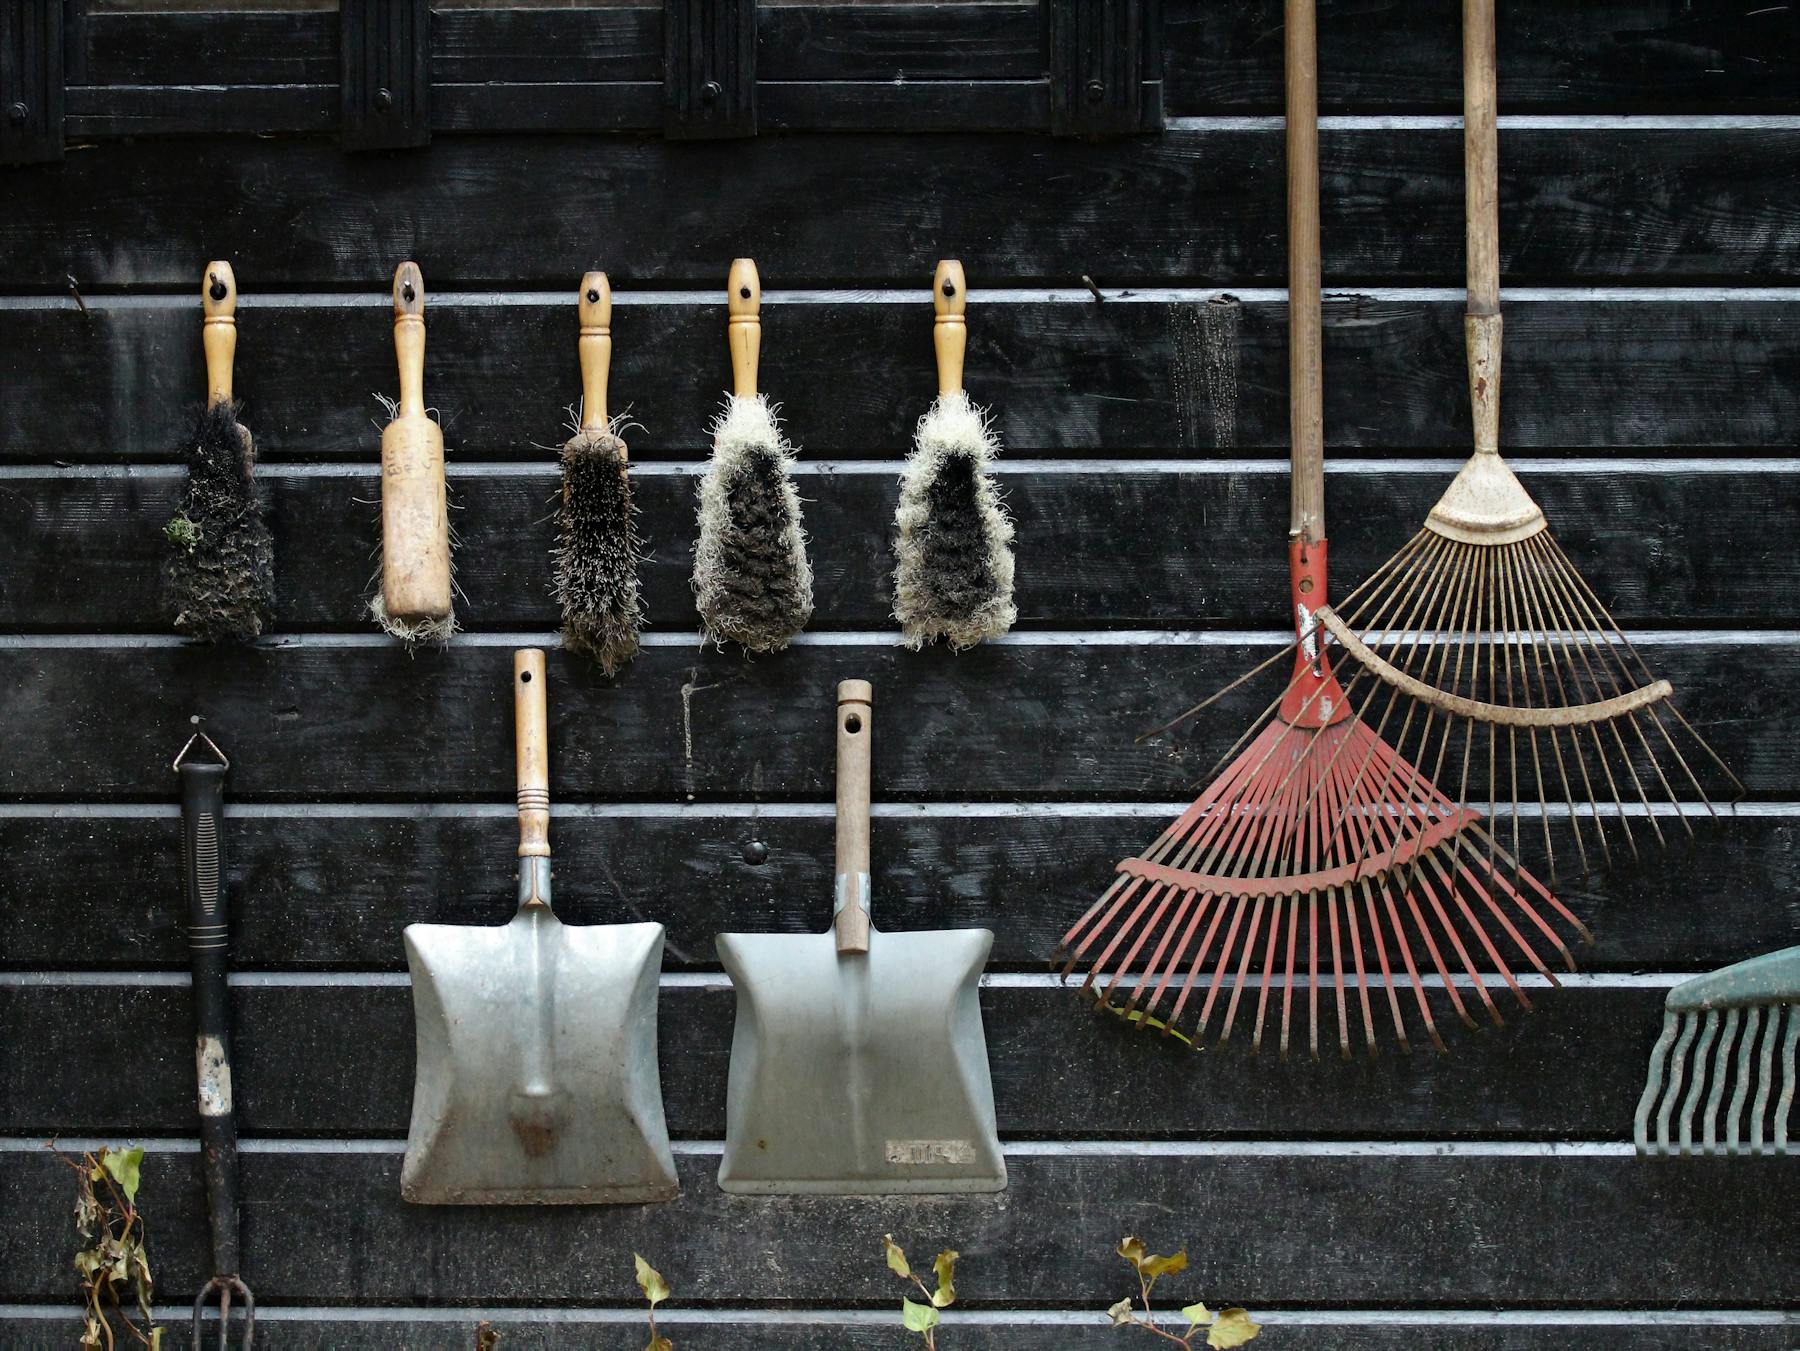
Dry storage matters more than an impressive maintenance kit. A tool that gets brushed off and hung in a dry shed will usually fare better than a tool surrounded by specialty products but left wet in the grass. Start with the ending of the job: soil off, moisture off, tool put away.
That is also the right order for spending. Use an old scrub brush, a rag, mild dish soap, and a dry storage spot before buying anything. Add a file when you can feel an edge getting dull. Add oil when bare metal needs protection or the manufacturer recommends it. Do not buy a bench grinder because one hoe needs a touch-up.
The muddy trowel I almost left for later
One evening I came in from a short garden job with a muddy trowel in my hand and that familiar thought: I will deal with it tomorrow. It was not a big mess. I was tired, dinner was moving, and cleaning one small tool felt like the least important thing in the yard.
The problem was that tomorrow turned into the next time I needed it. The soil had dried hard around the socket, the metal had started showing a little orange, and the handle felt rough where it had stayed damp. None of that ruined the trowel, but the five-second shortcut had created a longer job at exactly the wrong time.
That small mistake changed how I think about tool care. Maintenance works best when it belongs to the chore, not when it becomes a separate Saturday project. I do not need to restore every tool after every use. I need to close the loop while the dirt is still easy to remove and the tool is already in my hand.
The two-minute garden tool reset
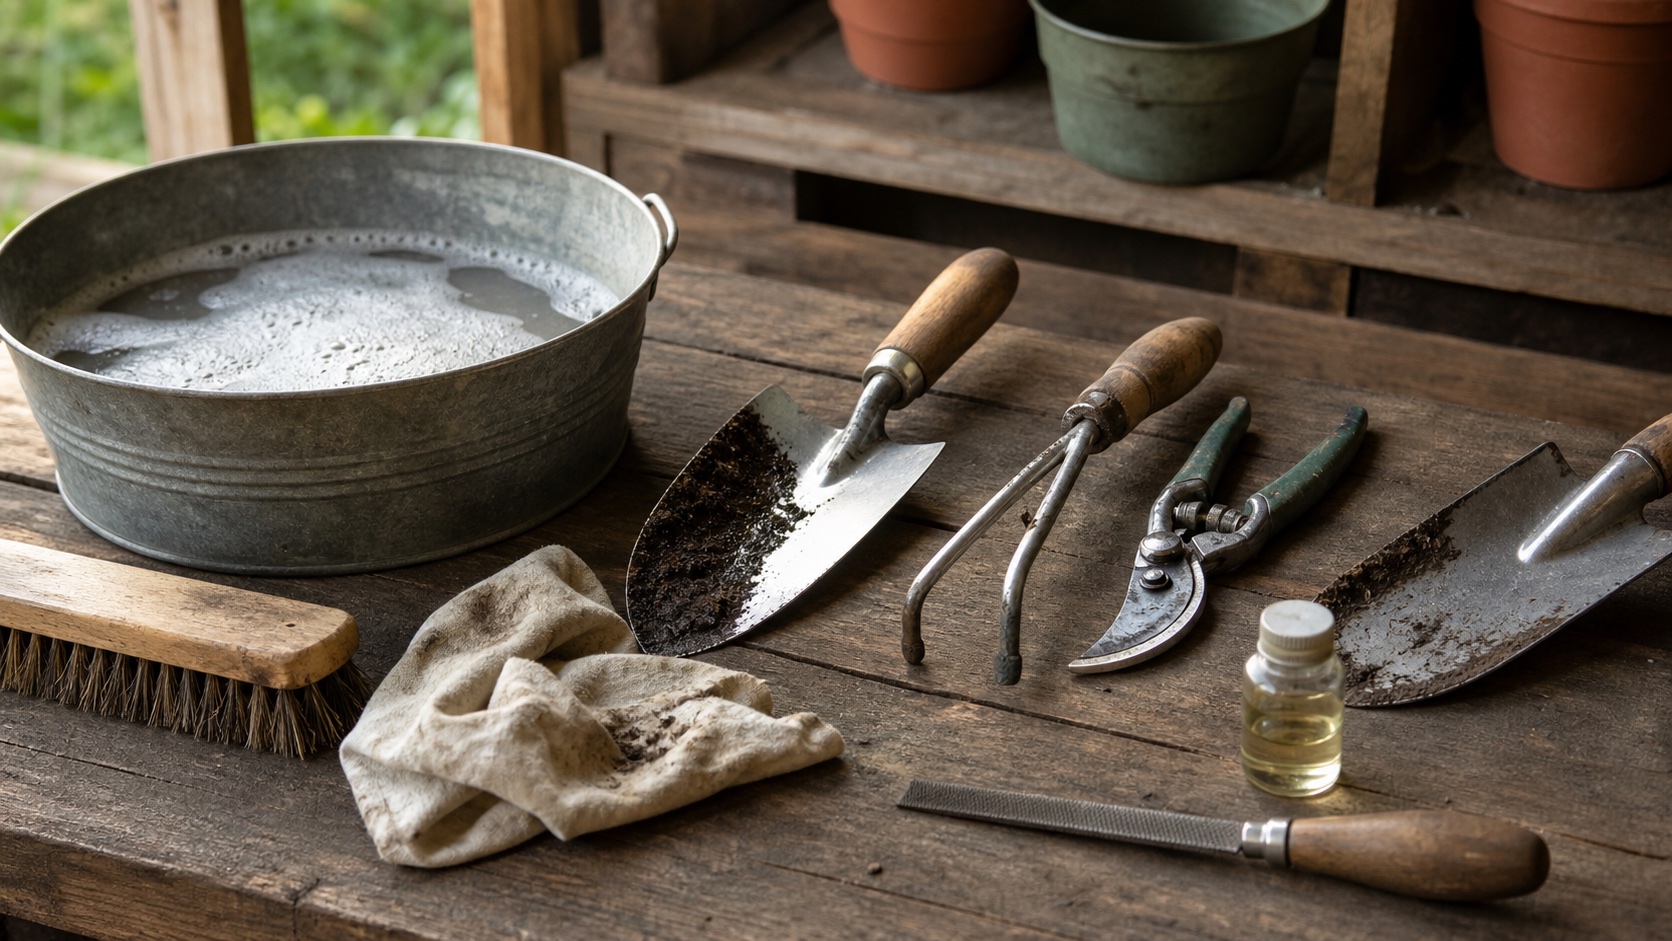
Most ordinary garden sessions do not require soap, disinfectant, or sharpening. They need a basic reset. If the soil is loose, knock it off over the bed or compost area. If it is wet and sticky, use a dedicated stiff brush. Wipe metal dry, look at the handle and connection point, and return the tool to a dry place.
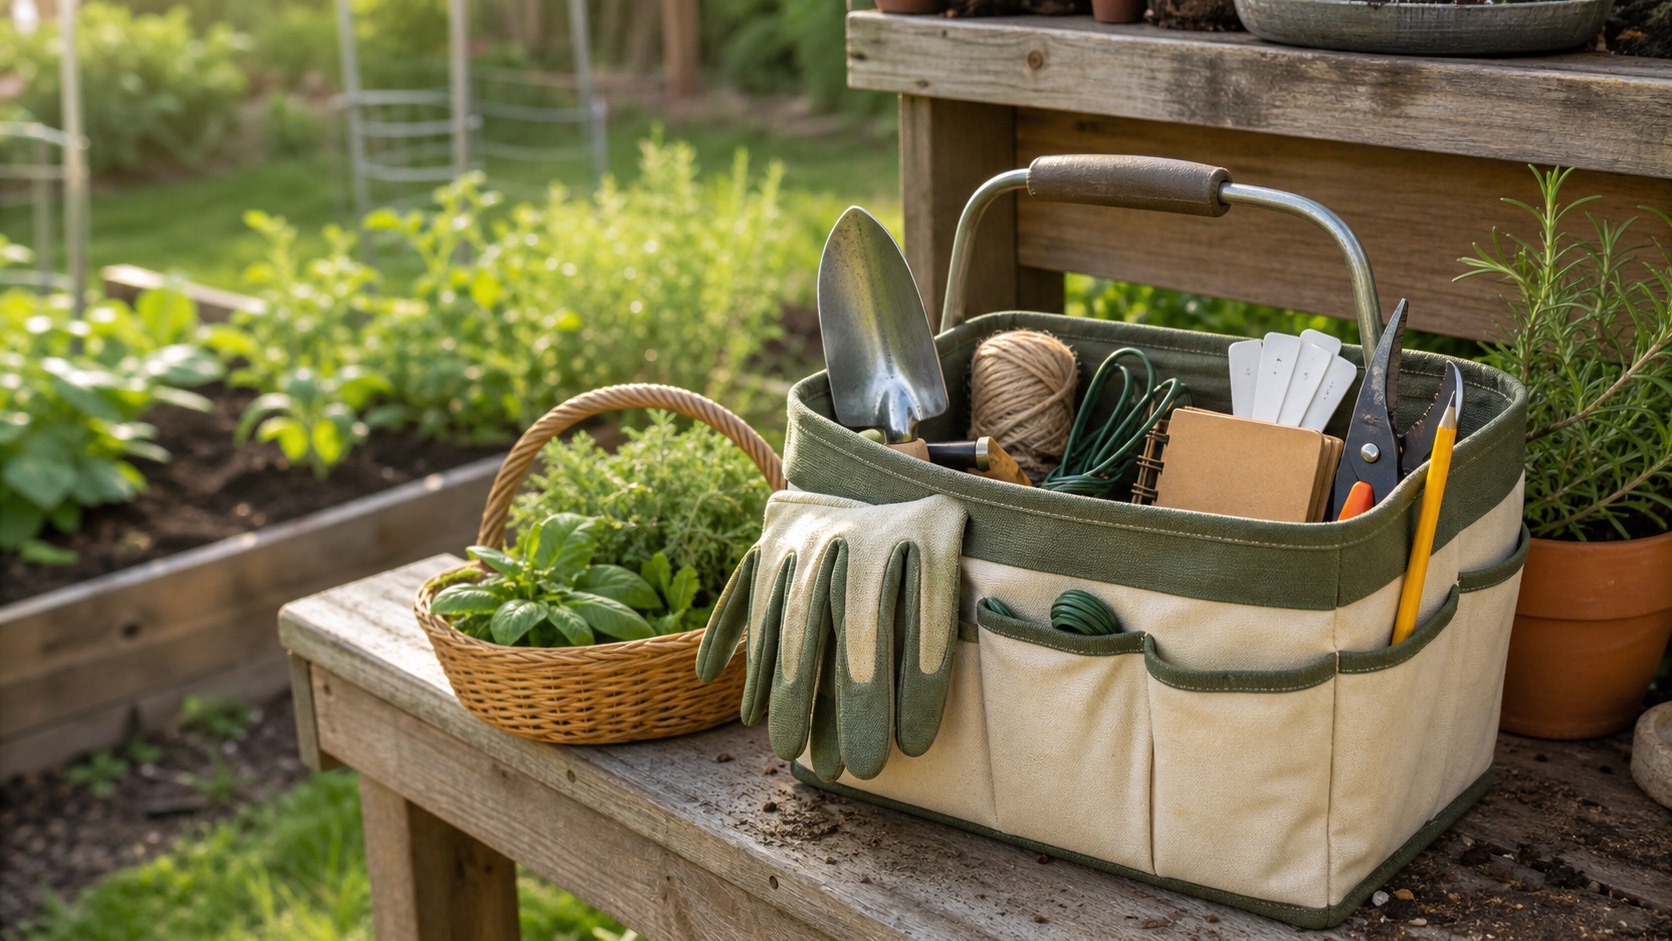
If you keep a small garden caddy, put the brush and rag near the place where the caddy gets returned. That makes maintenance part of the same system instead of another supply hunt. My rule is simple: the easier the reset is to reach, the more likely it survives a tired evening.
How to wash garden tools without creating rust
Use a deeper wash when clay is packed onto a blade, plant sap is interfering with pruners, or tools are being prepared for seasonal storage. Mild soapy water and a stiff brush are enough for most basic grime. The important part is drying afterward, especially around joints, sockets, and places where wood enters metal.
Do not soak wooden handles, battery tools, or complicated mechanisms. Follow the manufacturer's instructions for powered tools and removable parts. For a simple hand trowel or steel hoe, focus the wash on the dirty metal and dry it promptly rather than leaving the whole tool in a bucket.
Cleaning is not the same as disinfecting
This distinction matters in a food garden. Cleaning removes soil, sap, and plant debris. Disinfecting is intended to reduce plant pathogens after the tool is clean. University of Minnesota Extension notes that dirty tools can carry bacteria, fungi, and viruses between plants, and that visible debris can make disinfection less effective.
Disinfect after working with a plant you suspect is diseased, before moving to another susceptible plant, and after using your tools at another garden. Do not improvise chemical mixtures. Different disinfectants have different contact times, corrosion risks, surfaces, and safety requirements.
How to know when a garden tool needs sharpening
A garden tool needs sharpening when the work changes. Pruners start crushing or tearing stems. A hoe bounces over weeds instead of slicing them. A spade requires more stomping and force in soil it normally handles. That feedback is more useful than putting every tool on a fixed sharpening calendar.
Before filing, inspect the edge and identify the existing bevel. Many garden tools are sharpened on one side, and changing the angle can make the edge weaker or alter how the tool cuts. Secure the tool so it cannot move, use a file with a handle, push it away from your body along the existing angle, and make a small number of controlled passes.
Hand pruners deserve their own instructions because blade style, replacement parts, and adjustment differ. If pruning is your main concern, the beginner pruning shears guide covers what matters in the tool itself. For expensive or damaged cutters, professional sharpening can be cheaper than learning on the blade you rely on.
Rust, handles, and moving parts
Light surface rust is a maintenance signal, not automatically the end of a tool. Remove loose rust with an appropriate abrasive such as steel wool or a wire brush, wipe the metal clean, dry it, and apply a very light protective coating. Deep pitting, cracks, loose heads, and metal that has become thin or weak are different; those are repair-or-replace decisions.
Wooden handles need to stay smooth, dry, and firmly attached. A little roughness may be corrected with light sanding, but cracks near the head, splintering that returns, or movement inside the socket should not be ignored. Hinges and springs on pruners should move freely without being flooded with oil that attracts grit.
What to buy and what can wait
The first useful maintenance purchase is usually a brush, and even that can be an old scrub brush you already own. A handled file earns its place once an edge is actually dull. A small bottle of appropriate oil lasts a long time. Everything else should answer a repeated problem.
Recommendations
A restrained beginner maintenance kit
Most useful first
Stiff garden tool cleaning brush
Useful for dried soil around blades, sockets, and tines.
Best for: Tools that regularly return muddy
Check current priceWait until needed
Handled mill file for garden tools
A basic option for maintaining the existing edge on simple manual tools.
Best for: A dull hoe, spade, or similar single-bevel edge
Check current priceUse sparingly
Mineral oil for metal garden tools
A few drops on a rag can protect clean bare metal during humid or long storage.
Best for: Bare steel tools prone to surface rust
Check current priceFree safety reference
University of Minnesota Extension tool-cleaning guide
Detailed guidance for cleaning and disease-control disinfection.
Best for: Diseased plants, shared tools, or tools moving between gardens
View resourceA 15-minute monthly tool check
Once a month during the busy season, pull out the tools you actually used. You are not restoring a collection. You are looking for the small failures that become expensive later: a loose screw, a cracked grip, a rough handle, a dull edge, a stiff hinge, or a storage spot that keeps getting wet.
Make tools last without making maintenance a hobby
Good garden tool maintenance should make the work easier, not give you another identity to perform. Brush off the shovel. Dry the trowel. Notice when the hoe stops cutting. Treat disease control as a separate, careful decision. Put everything back where the next ordinary day can find it.
If you are still deciding which tools deserve this care in the first place, start with the tools I actually use on our homestead. If your current tools are secondhand, the used-tool inspection guide is the next useful step. The principle stays the same: buy fewer tools for work you can name, then take enough care of them that you do not have to buy them twice.
Recommended next reads
Keep the tool system simple
Use these next guides to choose, carry, and maintain only the tools that earn their place.
Tools
Tools I Actually Use on Our Homestead
A small list of genuinely useful tools beats a big fantasy shopping cart. These are the kinds of things that keep earning their place.

Tools
7 Homestead Tools Worth Buying Used First
The beginner-friendly tools that are usually smart to buy secondhand, plus the inspection rules that keep a bargain from becoming another repair project.
Tools
What to Keep in a Beginner Garden Tool Caddy
A practical beginner garden tool caddy setup: what to keep handy, what can wait, how to stop losing tools, and which small buys actually help.
Keep it practical
Build the homestead one useful system at a time
Get practical beginner homesteading guidance, realistic buying decisions, and calmer weekly systems without turning the first year into one long shopping list.
Practical notes from the work in progress. Low-noise and easy to leave.
Frequently asked questions
Should I clean garden tools after every use?
Knock or brush off wet soil after every use and dry the tool before putting it away. A full wash is most useful when soil is caked on, sap has built up, a tool was used around diseased plants, or you are putting tools away for the season.
What oil should I use on garden tools?
Use a light coating of mineral oil or another tool-safe oil recommended by the manufacturer on clean, dry metal. University of Minnesota Extension advises against motor oil because it can transfer to plants. Wipe away excess rather than leaving the tool greasy.
How often should garden tools be sharpened?
Sharpen when a cutting edge starts crushing, tearing, bouncing, or requiring noticeably more force. Lightly used beginner tools may only need attention once or twice a season. Frequently used hoes, spades, and pruners may need smaller touch-ups more often.
Do I need to disinfect garden tools?
Routine soil removal is enough for many ordinary jobs, but disinfect tools after working with a diseased plant, before moving to another susceptible plant, and after using tools at another garden site. Clean visible dirt first, then follow the disinfectant label exactly.
Recommendations
Useful tools and resources for this decision
These are included only where they reduce repeated friction, clarify a next step, or help you avoid buying the wrong thing first.
Most useful first
Stiff garden tool cleaning brush
A stiff nylon or natural-bristle hand brush removes dried soil from blades, sockets, and tines before moisture gets trapped in storage.
Best for: Gardeners whose hand tools regularly come back muddy or caked with clay
Check current priceBuy after edges feel dull
Handled mill file for garden tools
A basic handled file can touch up the working edge on hoes, spades, and some single-bevel garden blades when used according to the tool maker's guidance.
Best for: Beginners maintaining simple manual digging and chopping tools
Check current priceSmall amount is enough
Mineral oil for metal garden tools
A small amount on a rag leaves a light protective film on clean, fully dry metal before storage.
Best for: Tools stored in humid sheds or put away for longer stretches
Check current priceFree safety reference
University of Minnesota Extension tool-cleaning guide
A source-backed guide to cleaning and disinfecting garden tools, including when disease precautions matter and how common disinfectants differ.
Best for: Gardeners dealing with diseased plants or deciding how to disinfect safely
View resourceRecommended next reads
Read next if it helps the decision
Move into the next guide only if it clarifies the next practical step.
Tools
Tools I Actually Use on Our Homestead
A small list of genuinely useful tools beats a big fantasy shopping cart. These are the kinds of things that keep earning their place.
Tools
7 Homestead Tools Worth Buying Used First
The beginner-friendly tools that are usually smart to buy secondhand, plus the inspection rules that keep a bargain from becoming another repair project.
Tools
What to Keep in a Beginner Garden Tool Caddy
A practical beginner garden tool caddy setup: what to keep handy, what can wait, how to stop losing tools, and which small buys actually help.
Buy-first support
Get the buy-first guide before you add another tool.
Use the buy-first guide to decide what earns money now, what can be borrowed, and what belongs on the wait list.
Best for: Beginners who keep seeing useful things online and need a disciplined way to decide what actually earns a place.
- A buy now, borrow, wait, or skip framework
- Starter category shortlists
- A three-question purchase test
Practical tool notes, restrained gear decisions, and one disciplined guide first.
After signup, the download will unlock right here so you can save or print it.
About the author
William Mock
Founder, writer, and beginner homesteader
William writes from the beginner side of rebuilding after a layoff: homestead plans, family systems, budgets, tools, and the decisions that make a home feel less fragile.
Read why this site existsRelated Guides
Keep building context
Tools
Tools I Actually Use on Our Homestead
A small list of genuinely useful tools beats a big fantasy shopping cart. These are the kinds of things that keep earning their place.
Tools
7 Homestead Tools Worth Buying Used First
The beginner-friendly tools that are usually smart to buy secondhand, plus the inspection rules that keep a bargain from becoming another repair project.
Tools
What to Keep in a Beginner Garden Tool Caddy
A practical beginner garden tool caddy setup: what to keep handy, what can wait, how to stop losing tools, and which small buys actually help.