The best way to organize garden tools in a small shed is to protect the floor and doorway first, hang long-handled tools securely on one wall, keep daily hand tools near the entrance, group small supplies into a few task-based bins, and give heavy, sharp, seasonal, and hazardous items safer storage away from the main reach path.
You do not need a custom shed interior. You need to be able to open the door, reach the tool required for today's job, and put it back without moving three other things. In a small space, that simple test matters more than how many hooks or matching containers fit on the wall.
Organize for the next chore, not the photograph
A small shed becomes frustrating when it is treated like a box that should hold as much as possible. Capacity is not the same as usefulness. If the rake has to be moved to reach the shovel, the bucket blocks the door, and the gloves live behind a seasonal project, the shed may be full without functioning as storage.
The organizing question I trust is: what should be easy on an ordinary weekday? That usually means entering safely, grabbing one tool or one task bin, and leaving without starting a cleanup project. The items used monthly can tolerate another step. The items used every few days should not.
The caddy fixed the trip, not the room
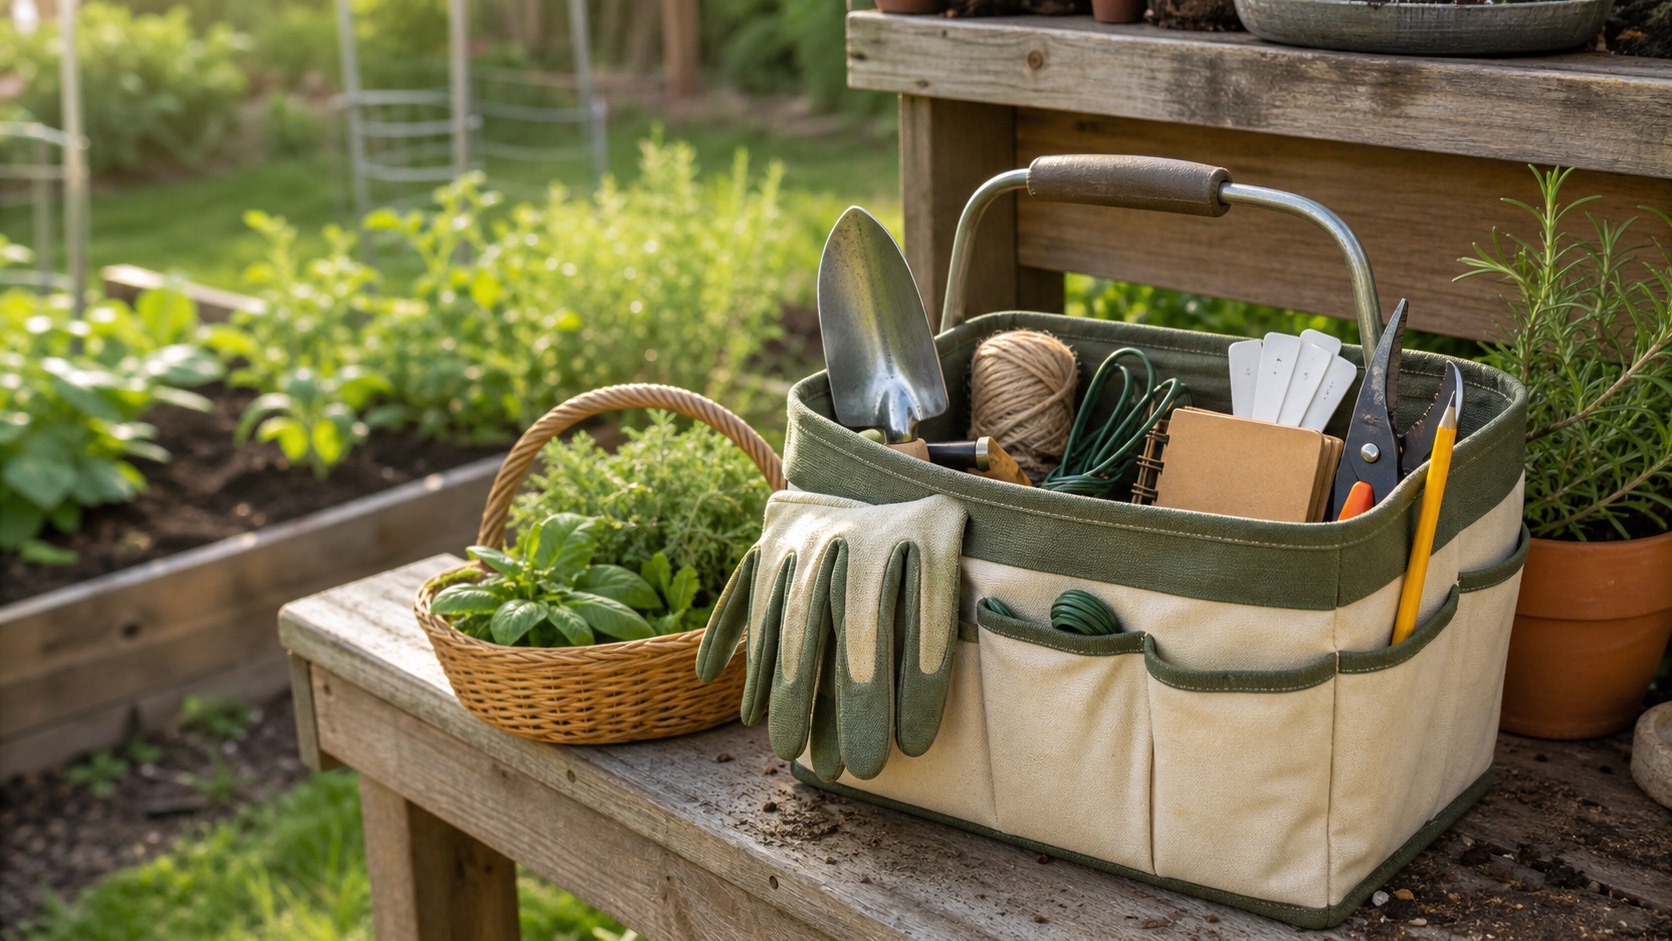
I learned part of this through the small garden-tool hunt I have written about before. Gloves were near the back door, pruners were somewhere between the garage and the last job, twine was in a bin that had made sense when I put it there, and the pencil was inside. Gathering those daily items into one caddy removed a surprising amount of friction.
But that also exposed the larger storage problem. A caddy could make one garden pass easier, but it could not decide where the shovel belonged, where a wet hose should drain, which bucket held watering parts, or what had to stay out of the ordinary tool area. The room still needed a simple logic.
That was the useful lesson for me: a container can carry a task, but the shed has to protect the whole rhythm. The best storage system is not the one that owns the most organizers. It is the one that gives the caddy a landing place, the long tools a secure wall, and tomorrow a clear first move.
Empty the aisle before buying storage
Start with the floor, not the catalog. Remove trash, broken containers, empty bags, packaging, and items that belong in the house, garage, chicken area, or current project tote. Then mark the doorway swing and the narrow path a person needs to enter, turn, and carry a tool out.
Do not solve the clear-floor problem by stacking everything higher immediately. First decide whether each item belongs in this shed at all. Storage becomes expensive when it is used to preserve supplies for projects that have no date, no plan, and no available capacity.
Zone 1: daily hand tools near the door
Daily tools should be visible and portable. One caddy, open tote, or bucket can hold gloves, a trowel, small pruners, twine, plant ties, labels, and a notebook. The exact list depends on the repeated work, but the container should stay light enough to carry and simple enough to reset.
Give the caddy one landing place near the door. Do not let the shelf above it become a second caddy made of loose objects. If a tool does not fit the repeated garden check, return it to another zone after use.
Zone 2: long-handled tools on one secure wall
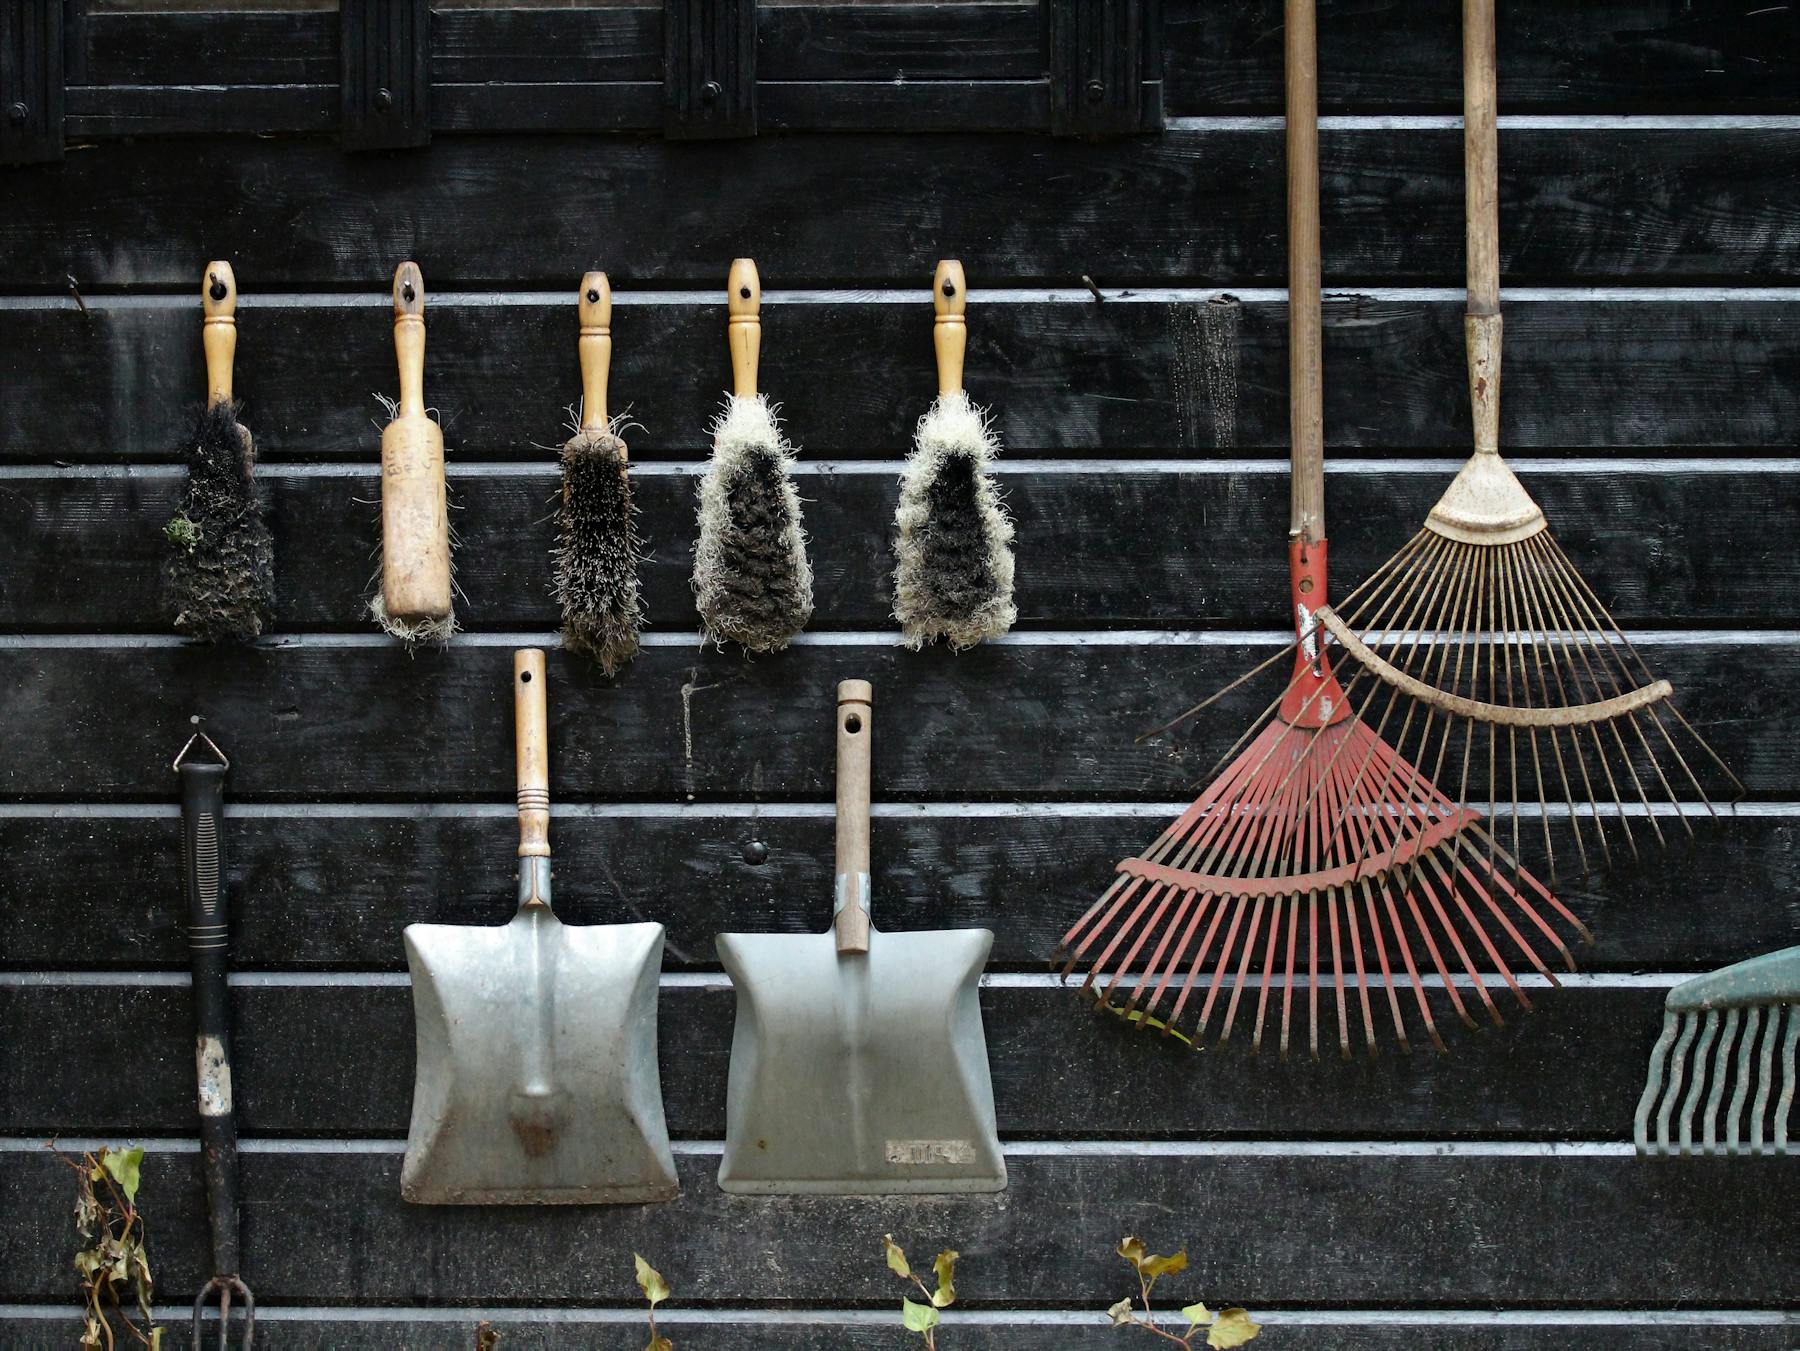
Shovels, rakes, hoes, digging forks, and cultivators consume floor space quickly when they lean in a corner. A properly installed wall rack or individual hooks lets each tool have a visible position and reduces the tangle of handles at ankle and shoulder height.
Choose the wall only after checking studs or framing, door swing, shelf depth, tool length, and how each tool will be lifted off the rack. Follow the rack manufacturer's fastener, weight, spacing, and wall requirements. Drywall anchors or thin shed paneling alone may not safely support a loaded rack.
Zone 3: a few task bins, not dozens of categories
Small parts disappear when every item has its own clever category or when everything shares one deep tote. Use a middle ground: a few broad task bins that match work you actually perform. Watering parts can stay together. Plant support supplies can stay together. Tool-maintenance items can stay together.
Open bins are useful for clean, frequently used items because you can see what is missing. Lidded totes are better for items that need dust, moisture, pest, or seasonal protection. Labeling can be plain. The category needs to be obvious to the household, not attractive to a camera.
Zone 4: heavy and seasonal items low
Heavy totes, bags, and awkward seasonal equipment belong low enough that they do not have to be lifted over your head. Put the least-used items toward the back only if they do not block inspection, airflow, or access to something used weekly.
Avoid placing moisture-sensitive supplies directly on a damp floor. A low shelf may help, but it needs appropriate load capacity and stable installation. Do not overload lightweight plastic shelving with soil, fertilizer, feed, or dense hardware simply because the container fits.
Zone 5: sharp and hazardous items get separate rules
Organization does not make an unsafe product safe. Pesticides, herbicides, fertilizers, fuels, solvents, batteries, animal medications, and other regulated or hazardous items should stay in original labeled containers and be stored according to the current label and manufacturer instructions. They do not belong loose in a general garden bin or beside harvested food, feed, or children's tools.
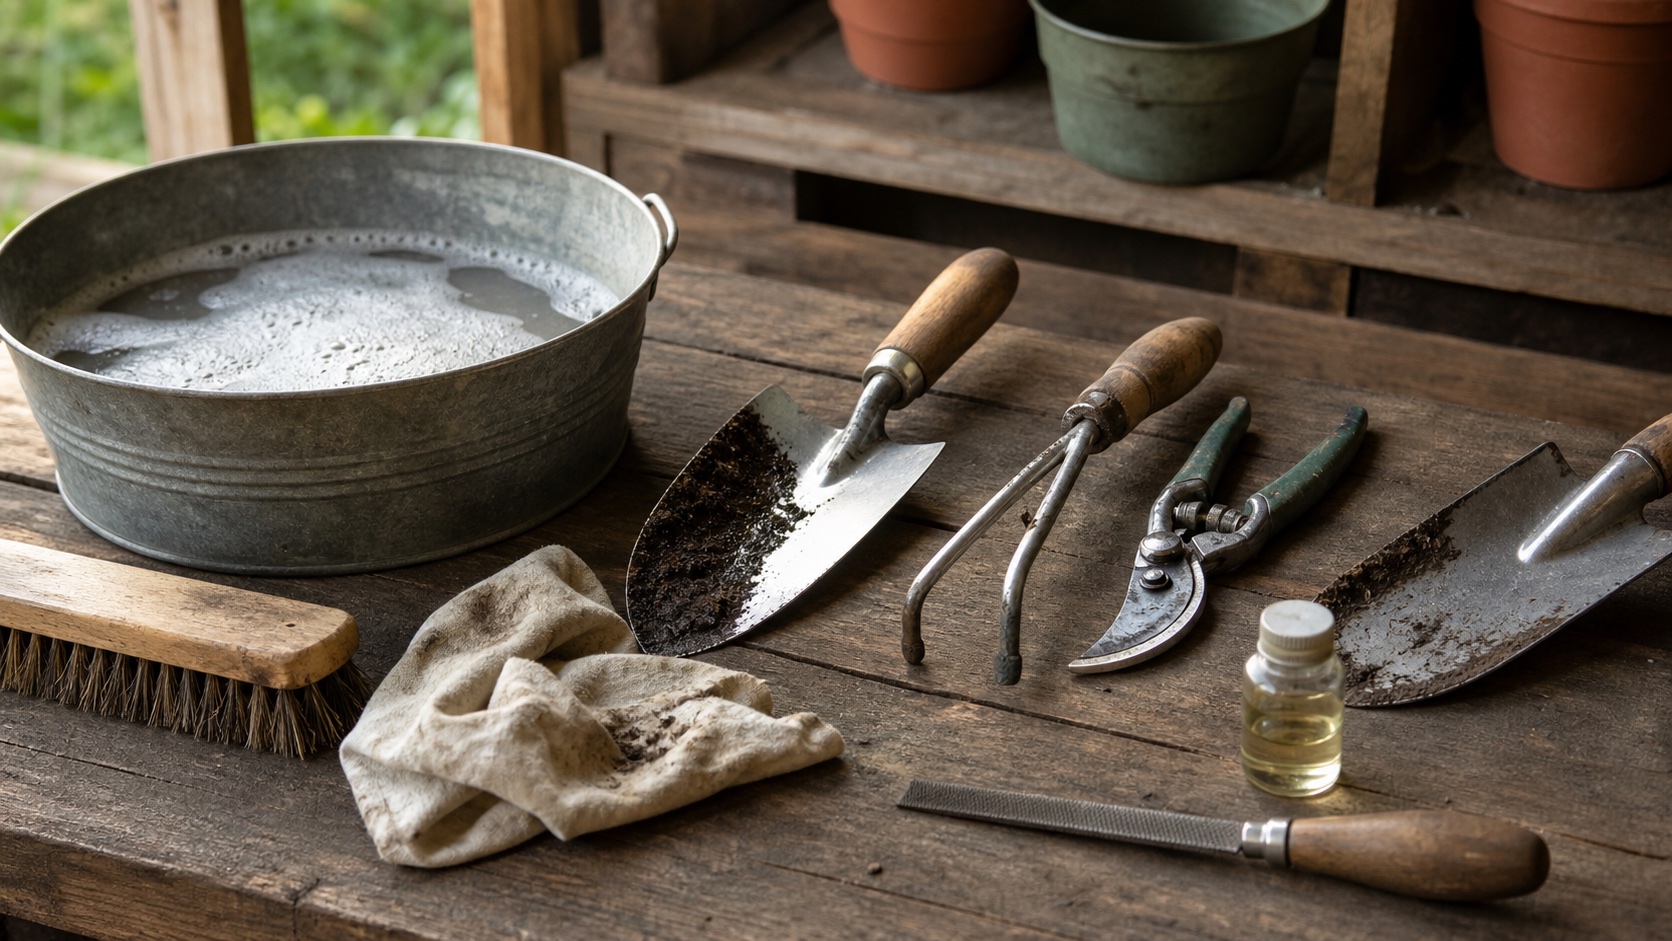
Sharp tools should be closed, sheathed, guarded, or positioned so the cutting edge cannot catch a hand reaching for something else. Inspect tools as they go back. OSHA's hand and power tool guidance emphasizes that tools should be maintained in safe condition and used with the right guards and practices. A storage system should make damage easier to see.
What to buy and what can wait
The first purchase should solve the bottleneck you can already name. If long tools keep falling, buy or build appropriate wall storage. If small fittings disappear, prove three task categories with containers you own. If the floor stays crowded because the shed holds unfinished projects, another shelf may only make the avoidance taller.
Recommendations
Small-shed storage that can earn its place
Best first upgrade
Wall-mounted garden tool rack
Moves several long-handled tools off the floor and gives each one a return point.
Best for: A leaning pile of shovels, rakes, forks, and hoes
Check current priceProve categories first
Open utility bins for shed shelves
Keeps small supplies visible in a few task-based groups.
Best for: Gloves, twine, watering fittings, labels, and maintenance supplies
Check current priceAdd one at a time
Heavy-duty wall hooks
Handles one awkward hose, wand, extension handle, or tool outside the main rack.
Best for: Specific remaining items after the main wall and shelf zones are set
Check current priceFree safety reference
OSHA hand and power tools guide
Free guidance on tool condition, hazards, guarding, and appropriate use.
Best for: A safety review before reorganizing damaged, powered, or sharp tools
View resourceA realistic small-shed layout
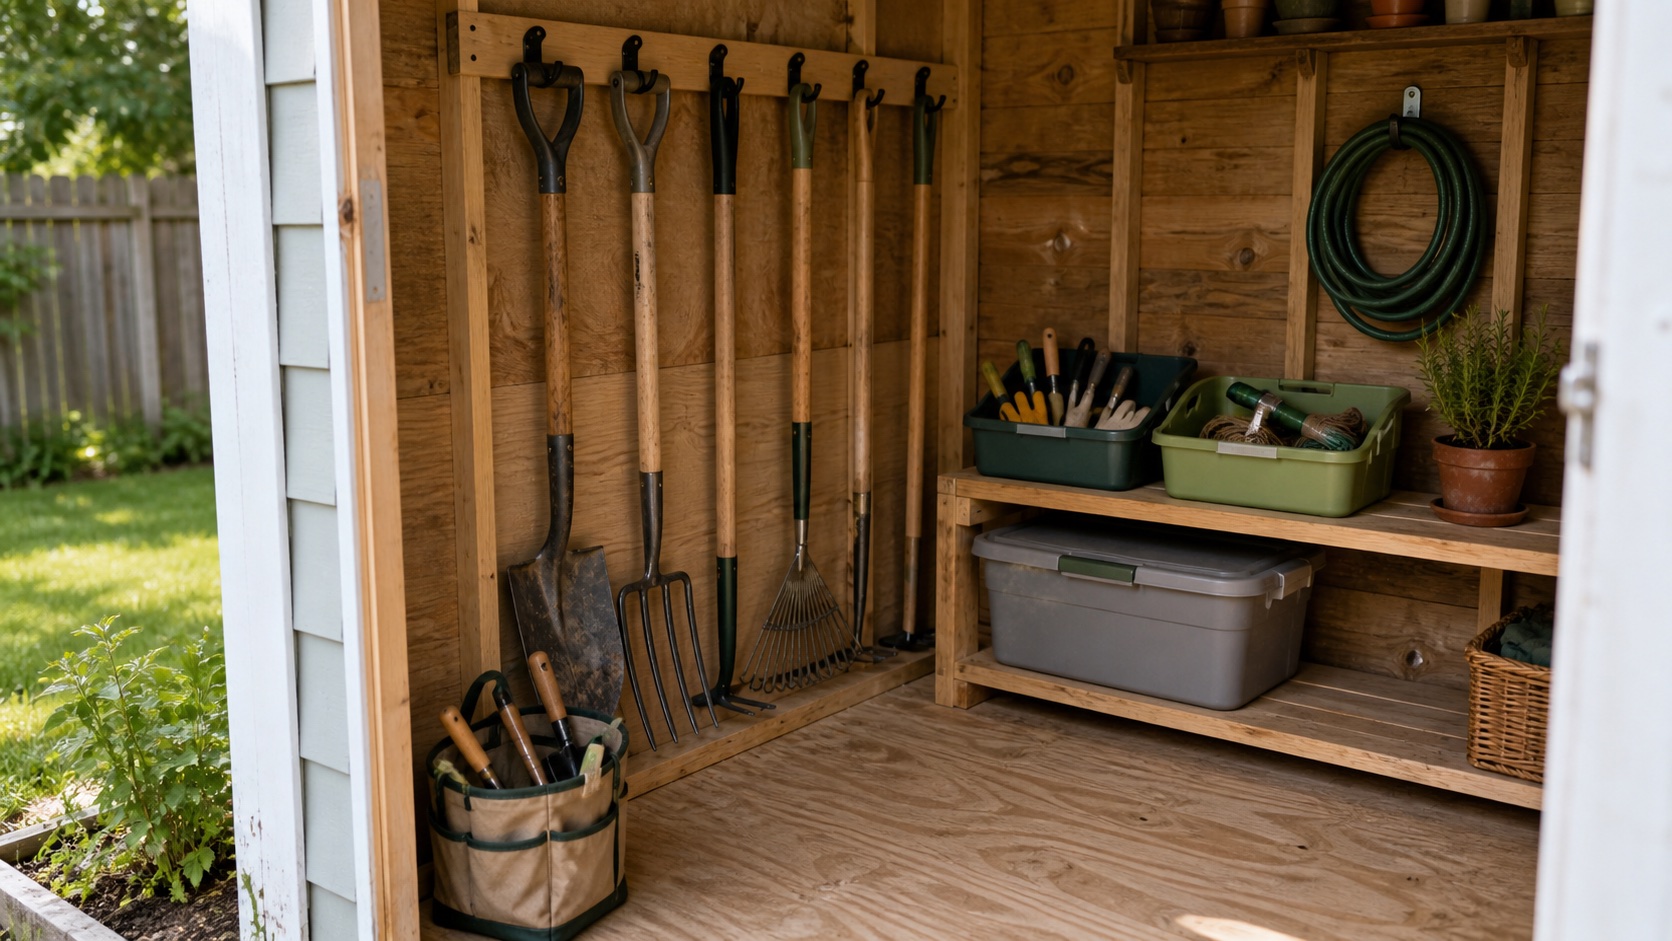
Picture a shallow shed behind a normal house. The left wall holds six long tools on one rail. The right wall has one shelf: daily task bins at waist height, a maintenance bin above or beside them, and one heavy lidded tote low. The hose hangs separately where it can dry. The caddy lands beside the door. The center remains empty.
That layout is intentionally incomplete. It has no wall of gadgets, no tower of future project supplies, and no storage solution for every object the household might someday own. The open space is what allows the system to work when a muddy shovel comes back, a bucket needs to pass through, or the next tool has not been chosen yet.
The 10-minute weekly shed reset
If the reset regularly takes much longer, the shed is holding too much, the categories are too complicated, or active projects are using storage as a waiting room. Fix that problem before buying another organizer.
Make the next job easier
A small shed does not need to hold every possible homestead tool. It needs to protect the tools that earn their place and make repeated work easier to begin. Clear the floor, secure the long tools, group the loose pieces, separate the hazards, and leave room for the household to move.
If you are still deciding which tools deserve storage, start with the tools I actually use on our homestead. Then use the garden-tool maintenance guide to build the two-minute cleanup that happens before each tool returns to the wall. Storage and maintenance work best as one closing loop.
Recommended next reads
Build a smaller, steadier tool system
Use these next guides to choose fewer tools, care for them, and keep the daily garden kit ready.
Tools
Tools I Actually Use on Our Homestead
A small list of genuinely useful tools beats a big fantasy shopping cart. These are the kinds of things that keep earning their place.
Tools
How to Clean and Maintain Garden Tools for Beginners
A simple garden tool maintenance routine for beginners: what to clean after use, when to disinfect, how to sharpen safely, and which supplies are actually worth keeping.
Tools
What to Keep in a Beginner Garden Tool Caddy
A practical beginner garden tool caddy setup: what to keep handy, what can wait, how to stop losing tools, and which small buys actually help.
Keep it practical
Buy fewer tools and build better systems
Get the free what-to-buy-first guide and practical beginner homesteading notes built around real jobs, budgets, and ordinary weeks.
Practical notes from the work in progress. Low-noise and easy to leave.
Frequently asked questions
What is the best way to organize garden tools in a small shed?
Keep the floor and doorway clear, mount long-handled tools vertically on a properly installed rack, place daily hand tools near the door, group small supplies by task in a few open bins, and store heavy or hazardous items low and securely.
Should garden tools be stored vertically or horizontally?
Either can work when the rack is designed for the tool and installed correctly. Vertical storage usually uses narrow wall space efficiently in a small shed. Horizontal storage may suit overhead areas, but tools must be secured so they cannot slide or fall.
How do I organize a shed without buying a storage system?
Start by removing trash and unrelated projects, group tools by repeated job, use existing buckets or open totes for small items, mark a clear floor path, and test temporary hook locations before buying a rack or shelving.
Where should sharp tools and garden chemicals be stored?
Store sharp tools so cutting edges are covered or face away from hands and walkways. Keep pesticides, fuels, fertilizers, and other hazardous products in their original labeled containers under the storage conditions on the label, secured away from children, food, feed, and casual tool bins.
Recommendations
Useful tools and resources for this decision
These are included only where they reduce repeated friction, clarify a next step, or help you avoid buying the wrong thing first.
Best first upgrade
Wall-mounted garden tool rack
A simple rail with tool-specific hooks can move shovels, rakes, hoes, and forks off the floor while keeping each handle visible.
Best for: Small sheds where long-handled tools lean into the aisle or fall together
Check current priceUse fewer, larger categories
Open utility bins for shed shelves
A few open-front bins keep gloves, hand tools, twine, watering fittings, and repair parts grouped by job without hiding everything.
Best for: Small loose supplies that repeatedly disappear into deep totes
Check current priceAdd one problem at a time
Heavy-duty wall hooks
Individual utility hooks can hold a hose, extension handle, watering wand, or one awkward tool that does not fit the main rack.
Best for: Filling specific storage gaps after the main zones are working
Check current priceFree safety reference
OSHA hand and power tools guide
A free safety reference covering tool condition, guarding, appropriate use, and hazards that remain relevant when deciding how tools should be stored and inspected.
Best for: Reviewing basic tool safety before building a storage routine
View resourceRecommended next reads
Read next if it helps the decision
Move into the next guide only if it clarifies the next practical step.
Tools
Tools I Actually Use on Our Homestead
A small list of genuinely useful tools beats a big fantasy shopping cart. These are the kinds of things that keep earning their place.
Tools
How to Clean and Maintain Garden Tools for Beginners
A simple garden tool maintenance routine for beginners: what to clean after use, when to disinfect, how to sharpen safely, and which supplies are actually worth keeping.
Tools
What to Keep in a Beginner Garden Tool Caddy
A practical beginner garden tool caddy setup: what to keep handy, what can wait, how to stop losing tools, and which small buys actually help.
Buy-first support
Get the buy-first guide before you add another tool.
Use the buy-first guide to decide what earns money now, what can be borrowed, and what belongs on the wait list.
Best for: Beginners who keep seeing useful things online and need a disciplined way to decide what actually earns a place.
- A buy now, borrow, wait, or skip framework
- Starter category shortlists
- A three-question purchase test
Practical tool notes, restrained gear decisions, and one disciplined guide first.
After signup, the download will unlock right here so you can save or print it.
About the author
William Mock
Founder, writer, and beginner homesteader
William writes from the beginner side of rebuilding after a layoff: homestead plans, family systems, budgets, tools, and the decisions that make a home feel less fragile.
Read why this site existsRelated Guides
Keep building context
Tools
Tools I Actually Use on Our Homestead
A small list of genuinely useful tools beats a big fantasy shopping cart. These are the kinds of things that keep earning their place.
Tools
How to Clean and Maintain Garden Tools for Beginners
A simple garden tool maintenance routine for beginners: what to clean after use, when to disinfect, how to sharpen safely, and which supplies are actually worth keeping.
Tools
What to Keep in a Beginner Garden Tool Caddy
A practical beginner garden tool caddy setup: what to keep handy, what can wait, how to stop losing tools, and which small buys actually help.