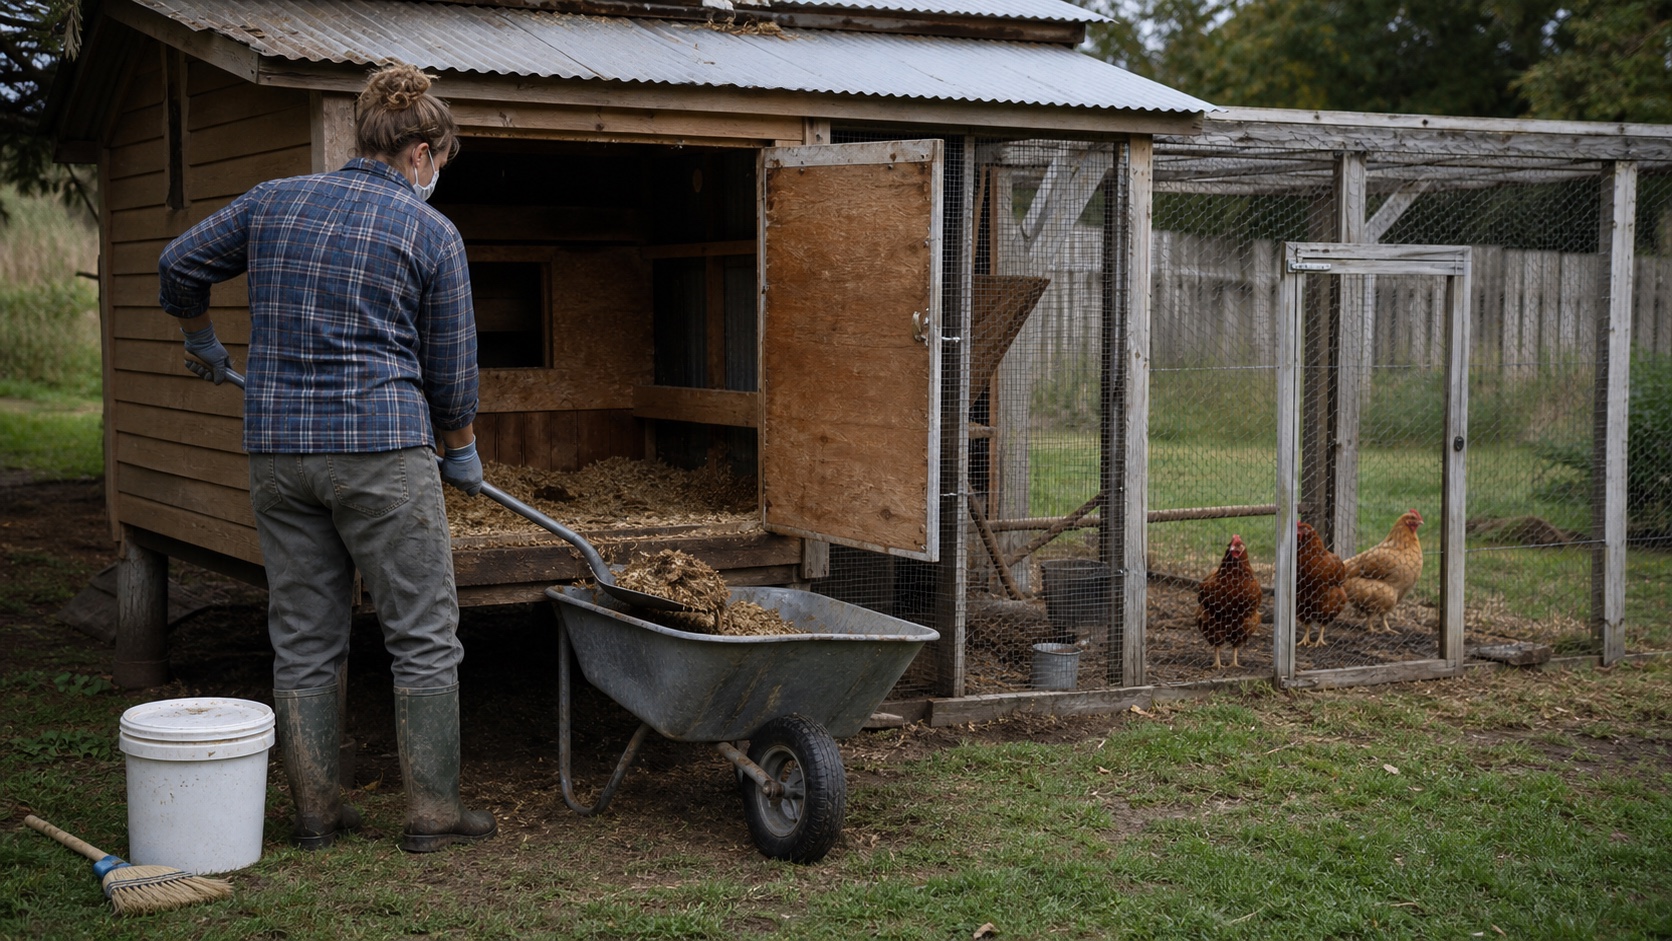
Clean a chicken coop in layers instead of treating every dirty spot as a full cleanout. Check daily for wet bedding, spills, broken eggs, and unusual manure. Remove concentrated buildup under roosts and refresh problem areas during a regular weekly block. Save the complete bedding removal, structural inspection, washing, drying, and any warranted disinfection for a planned cleanout or a specific flock-health reason.
Start with the full first-flock decision
Price and plan the whole chicken setup before the cleaning tools
The chicken-cost cornerstone connects flock size, coop access, bedding, feed, predator protection, recurring supplies, and the daily work a first flock requires.
See the real beginner chicken costThe wheelbarrow that showed me three different chores
One of the clearest lessons our chickens have given me showed up after the used bedding was already in the wheelbarrow. With the floor exposed, the mess finally had a map. The heaviest manure followed the roost. The dampest material followed the water. The nesting area was not equally dirty just because the coop was due for attention.
I had been thinking about cleaning as one large chore with one start and one finish. The bare floor showed me three smaller jobs instead: catch concentrated manure where the birds sleep, stop moisture where it enters, and protect the cleanest bedding from being thrown away just because another zone failed first. That changed what I noticed during ordinary chicken checks.
The useful part was not finding a perfect cleanout date. It was learning where our setup asked for work. A quick scrape under the roost and immediate removal of one wet patch could keep a small problem from recruiting the whole coop. The full cleanout still mattered, but it stopped being the only tool in the box.
Separate spot cleaning, full cleanout, and disinfection
Beginners often hear the word clean used for three different levels of work. That creates bad advice in both directions. Some keepers are told to strip and sanitize constantly. Others hear that a deep-litter system means they can ignore moisture and manure. Neither approach starts with the actual condition of the coop.
Disinfection is not the deluxe version of ordinary cleaning. Organic material can keep a disinfectant from reaching the surface it is supposed to treat. A coop that still holds manure and dirty bedding does not become biosecure because something fragrant or harsh was sprayed over it. Remove the material, wash when needed, dry, and use the product only for its labeled purpose.
Let coop condition set the frequency
University of Minnesota Extension recommends cleaning the coop and pen weekly or as needed to control manure and odor, with a thorough cleaning at least once a year. Treat that as a sanitation floor and observation habit, not a promise that every flock can use the same calendar. A tightly stocked coop during wet weather loads differently from a roomy, dry coop where birds spend most daylight hours outside.
Do not use your nose as the only instrument. Smell matters, but ventilation can move odor while wet bedding and manure remain. Touch the bedding with a gloved hand, look beneath the roost, inspect the water zone, and check the hidden edges around nest boxes and walls. If the same place fails repeatedly, change the layout instead of only cleaning it faster. In cold weather, use the winter coop ventilation check to separate useful high airflow from direct air movement across the roost.
Gather a small dedicated cleaning kit
CDC advises washing hands for 20 seconds after touching poultry, eggs, supplies, or the areas where birds live. It also recommends dedicated coop footwear and keeping poultry supplies outside the house. Clean the tools and equipment outside rather than carrying a dirty feeder, brush, or boot through the kitchen to reach a sink.
How to clean a chicken coop step by step
Drying is part of cleaning. Penn State Extension emphasizes dry poultry housing and notes that dampness and ammonia buildup can indicate inadequate ventilation for the number of birds. If a wooden floor, nest box, or wall remains wet when the birds return, the cleanout has created tomorrow's bedding problem. Use airflow and time rather than burying damp material beneath fresh shavings.
Clean feeders, waterers, and nest boxes separately
The floor is only one part of the sanitation system. Empty and clean waterers often enough to keep water fresh and equipment free of residue. Remove wet feed instead of topping it off. Inspect feeder seams and undersides for pests. Clean equipment outside, follow the manufacturer's instructions, and let it dry as required before refilling.
Nest boxes deserve a lighter but more frequent touch. Remove broken-egg material promptly, replace dirty or damp nesting material, and avoid flooding porous wooden boxes during every routine visit. Keeping nests cleaner supports cleaner eggs, but it does not replace safe egg handling and refrigeration rules.
Do not use chemicals to cover a layout problem
A recurring wet patch usually needs a waterer change, a leak repair, better drainage, or a different location. Heavy manure under one roost may justify a removable droppings board. A corner that never dries may need airflow or structural work. Fragrance, lime, powders, herbs, and stronger cleaners do not fix the route moisture and manure use to enter the system.
Do not invent disinfectant recipes or combine products. Follow the label for dilution, protective equipment, contact time, compatible surfaces, animal reentry, storage, and disposal. If birds are sick, deaths are unexplained, or a reportable disease may be involved, stop treating the job like normal housekeeping and contact a veterinarian, state animal-health authority, or Extension poultry professional.
Build a cleaning schedule that fits the coop
A deep-litter system changes the work but does not cancel it. It requires suitable bedding, enough depth and space, active moisture and manure management, ventilation, turning or aeration as appropriate, and a clear plan for removal. Wet, foul, caked, or ammonia-heavy litter is not successful deep litter. Beginners should learn from local poultry guidance before using the phrase as permission to postpone cleanout.
Plan where the used bedding goes
Do not begin a full cleanout with nowhere to take the wheelbarrow. Local ordinances, lot size, neighbors, drainage, bedding material, and whether you can manage compost all affect the answer. Keep removed litter from washing into wells, ditches, streams, storm drains, or a neighbor's property. Cover or contain it when rain and pests can turn the pile into a second problem.
Oregon State University Extension explains that chicken manure and plant bedding can be composted, but the pile needs real management and maturity. Penn State cautions against applying fresh poultry manure directly to growing food crops because of pathogen and nutrient concerns. If you cannot manage manure-based compost confidently, use an approved local disposal or manure-management route instead of guessing.
Where an optional bedding upgrade fits
Bedding earns its place by helping the coop stay dry, giving birds suitable footing and nesting material, fitting the floor system, and leaving the property through a manageable waste route. Local large-flake pine shavings are often affordable, available, and entirely adequate. Start there when they work. Do not pay freight on a premium bale because a wet waterer or roof leak keeps defeating the floor.
For a keeper who has already corrected moisture, crowding, airflow, and access, the RentACoop 300-liter hemp bale is one optional test. The manufacturer markets it as processed, compostable, lower-dust, absorbent bedding. Those claims make it worth comparing, not automatically buying. Measure delivered cost per usable volume, how much storage the bale needs, how often you spot clean, how much leaves during cleanout, and whether local pine already gives you a dry coop for less money.
What matters first and what can wait
Choose bedding for the system you actually have
Compare coop bedding without treating one material as magic
The bedding guide compares pine shavings, hemp, straw, and sand through moisture, dust, composting, storage, floor design, cost, and cleanout reality.
Compare beginner coop beddingA clean coop is not one that looks untouched. It is dry enough to manage, open enough to inspect, safe enough to work in, and predictable enough that a five-minute correction can still prevent a two-hour problem. Learn the three maps first: where manure concentrates, where moisture enters, and where clean bedding stays clean. The schedule gets much easier after that.
Frequently asked questions
How often should a chicken coop be cleaned?
Inspect the coop every day and remove wet bedding, broken eggs, spills, and concentrated manure before they become larger problems. University of Minnesota Extension advises cleaning the coop and pen weekly or as needed to control manure and odor, plus a thorough cleaning at least annually. Actual frequency depends on flock density, bedding system, weather, ventilation, water placement, roost design, and how much time the birds spend indoors.
Do I need to disinfect my chicken coop every time I clean it?
No. Routine removal of manure, wet litter, spilled feed, and dirty nesting material is not the same as disease-response disinfection. Disinfectants work poorly through organic debris, so cleaning comes first. Use a poultry-appropriate product exactly as labeled when disinfection is warranted, and get guidance from a veterinarian or Extension professional when illness, a new flock, or a known disease exposure changes the biosecurity plan. Never mix cleaning chemicals.
Can chickens stay in the run while I clean the coop?
They can remain in a secure, shaded run if it is safely separated from the work area and they still have appropriate water, weather protection, and predator security. Keep birds away from dust, tools, loose doors, chemicals, wash water, and removed litter. If the run does not provide safe separation, use another secure temporary enclosure.
Should I wash a wooden chicken coop with water?
Not during every routine clean. Dry removal and spot maintenance are often enough for ordinary upkeep. When a full wet cleaning is appropriate, protect electrical systems, remove loose material first, use the least water needed, rinse as the product label requires, and let wood and other surfaces dry completely before adding bedding or returning birds. Repeatedly soaking a coop that cannot dry can create a moisture problem instead of solving one.
Can used chicken bedding go into compost?
Many plant-based beddings mixed with chicken manure can be composted, but poultry manure can carry pathogens and contains concentrated nutrients. Manage the pile deliberately, keep runoff away from wells and surface water, follow local rules, and use current Extension guidance before applying manure-based compost around food crops. Do not treat a pile of removed litter as finished compost simply because it sat outside.
Recommendations
Useful tools and resources for this decision
These are included only where they reduce repeated friction, clarify a next step, or help you avoid buying the wrong thing first.
Free checklist
Beginner Backyard Chicken Checklist
A free checklist covering flock size, housing, predator protection, feed, water, recurring chores, and the supplies that need a real place before birds arrive.
Best for: Beginners building the cleaning routine before the first flock comes home
Read the guideExtension source
University of Minnesota Extension small-flock guidance
Research-based guidance on daily care, sanitation, manure management, dust precautions, routine cleaning, and annual cleanout.
Best for: Checking the flock-care recommendations behind this cleaning schedule
View resourceHousing source
Penn State Extension small-scale poultry housing guide
Current guidance on dry housing, ventilation, moisture, storage, easy cleaning access, and cleanable coop construction.
Best for: Diagnosing a coop that remains wet or difficult to clean despite regular work
View resourcePublic-health source
CDC backyard poultry safety guidance
Federal public-health guidance on handwashing, dedicated footwear, keeping poultry supplies outside, and reducing Salmonella exposure around backyard flocks.
Best for: Keeping coop tools, footwear, cleaning, and hand hygiene separate from the household
View resourceCompost source
Oregon State University Extension chicken-manure compost guidance
Practical Extension guidance on bedding, batch composting, pile management, maturity, and using chicken-manure compost around a garden.
Best for: Planning where removed manure and plant-based bedding go after the wheelbarrow leaves the coop
View resourceOptional bedding upgrade
RentACoop premium hemp bedding, 300 L
A large compressed bale of processed hemp bedding marketed for chicken coops and nesting boxes. Compare delivered cost, usable volume, storage, dust, moisture control, and cleanout time against local pine shavings before ordering.
Best for: Keepers who have already fixed leaks, spills, crowding, ventilation, and access but want to test a lower-dust, compostable bedding option
Check current priceRecommended next reads
Read next if it helps the decision
Move into the next guide only if it clarifies the next practical step.
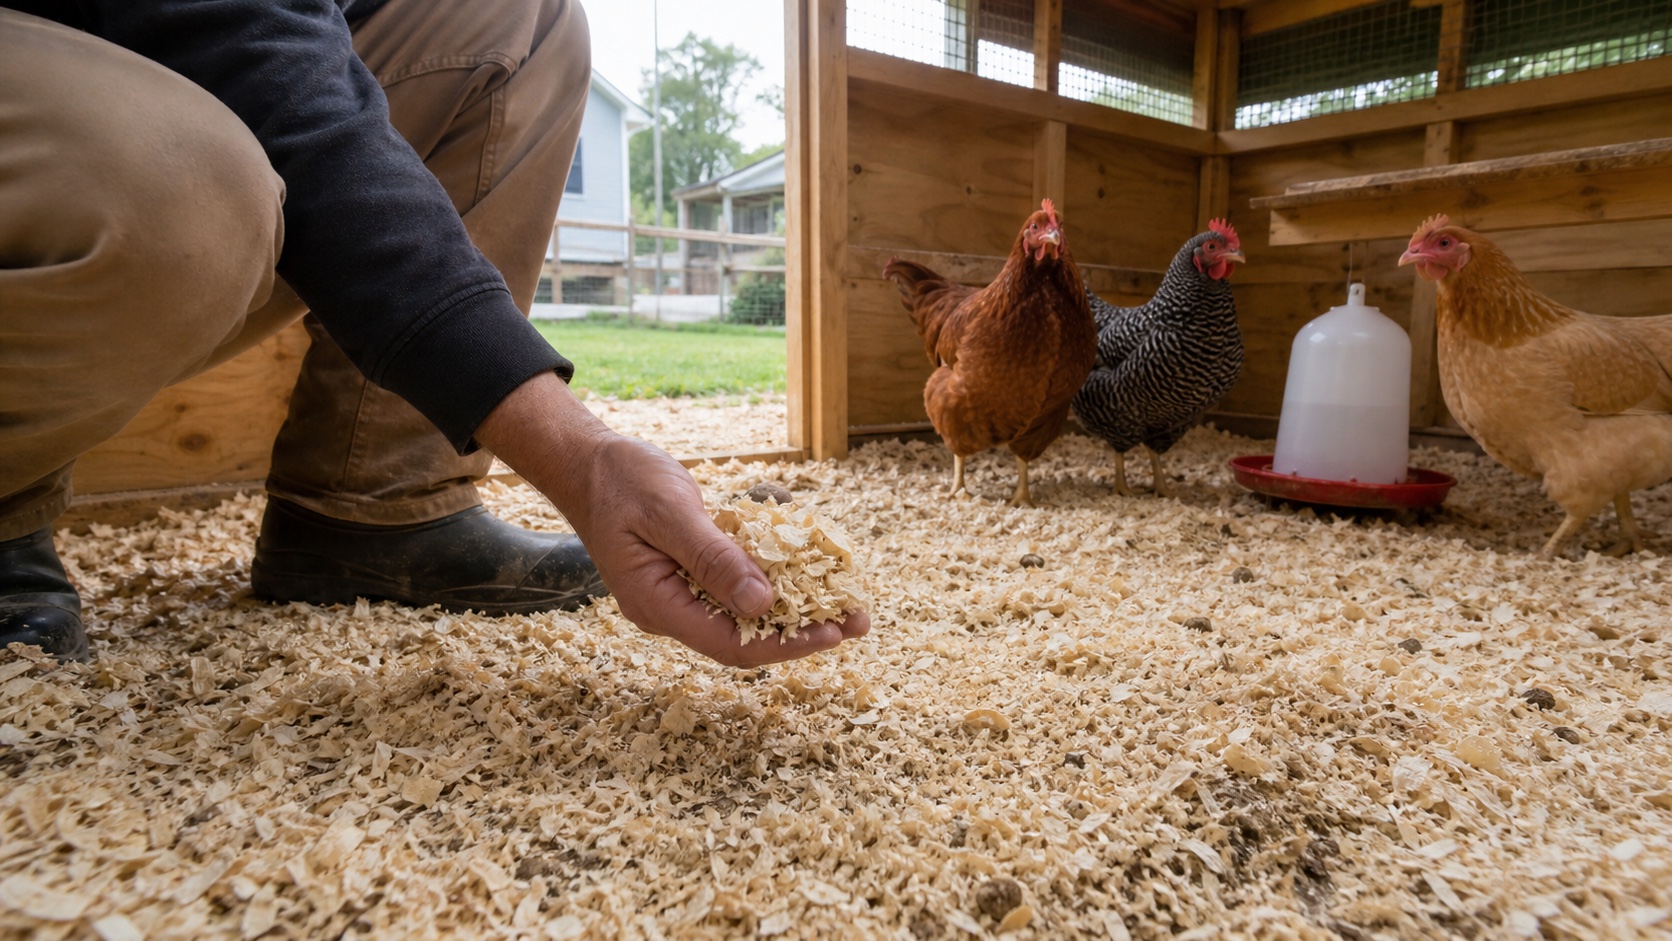
Chickens
Best Chicken Coop Bedding for Beginners
Compare pine shavings, hemp, straw, and sand by moisture control, dust, cleanup, cost, composting, and the kind of coop routine each one requires.
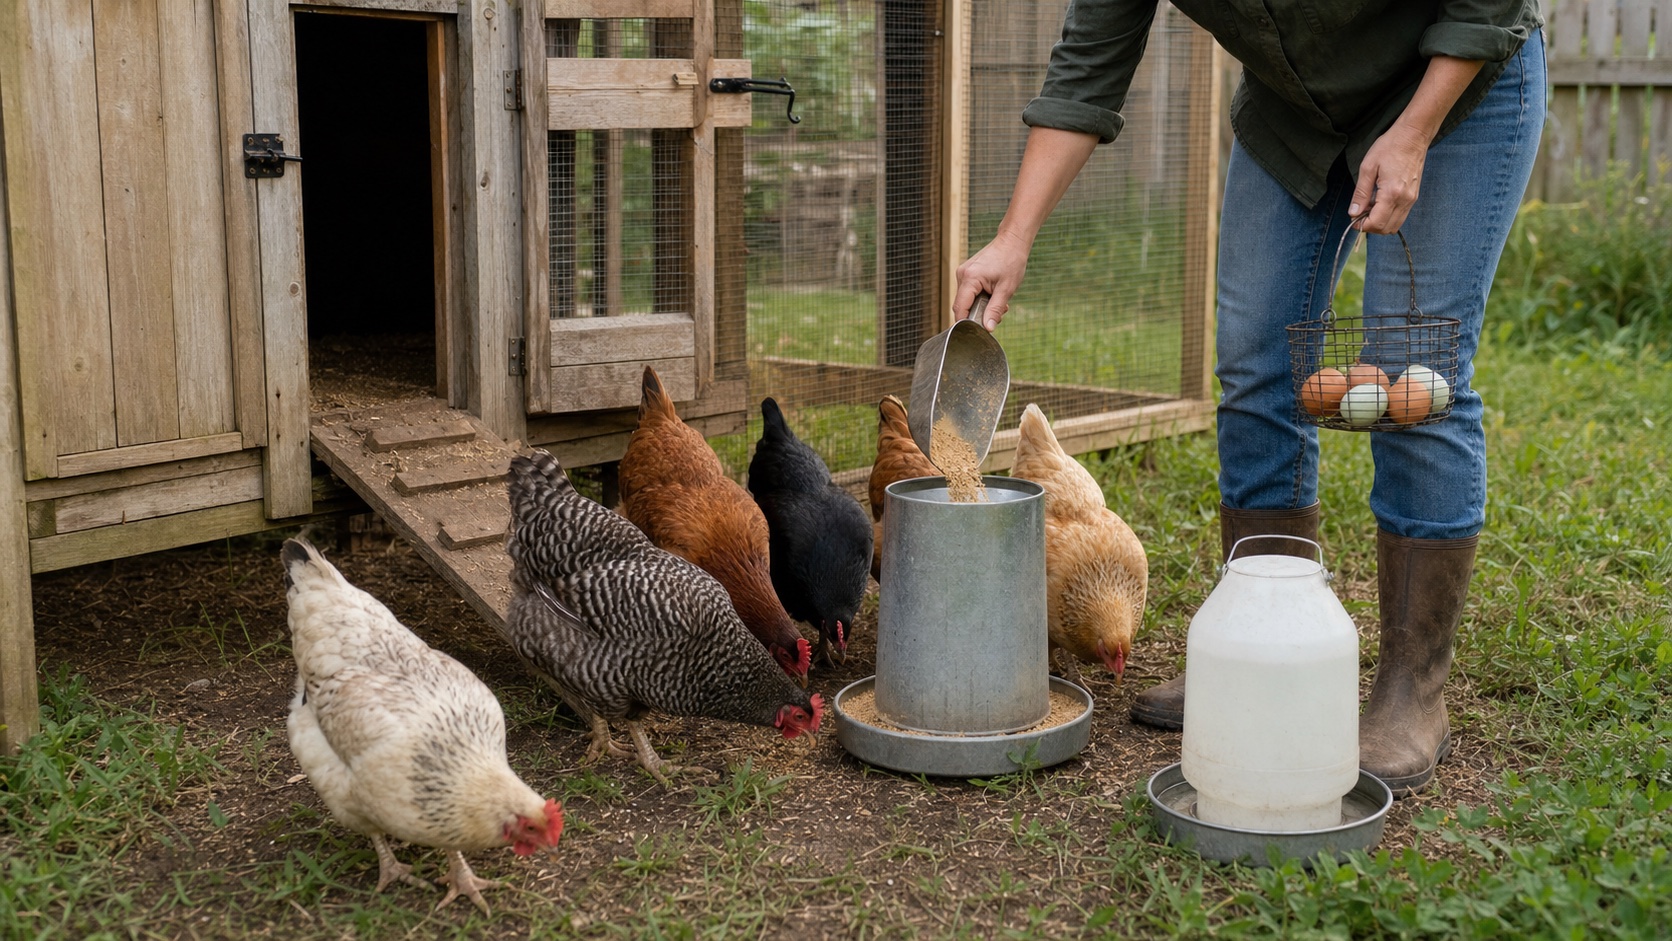
Chickens
Daily Chicken Care Routine for Busy Families
A realistic morning and evening chicken-care routine built around fresh water, feed, eggs, observation, a secure coop, and the few checks busy families should not skip.
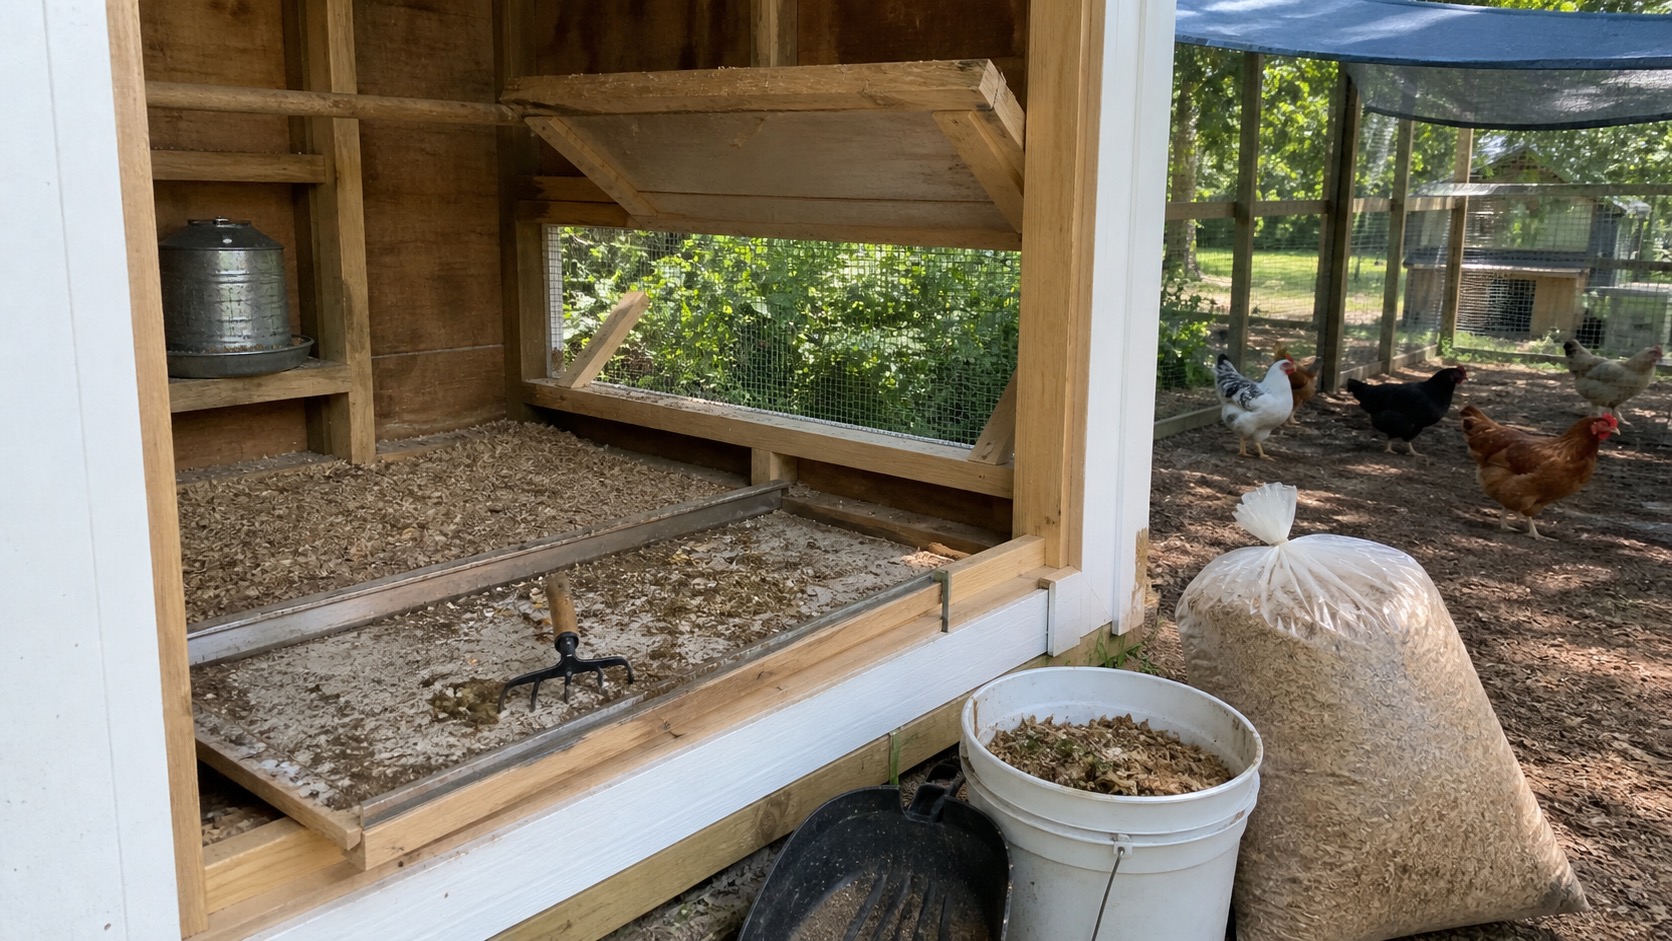
Chickens
How to Keep a Chicken Coop From Smelling Bad in Summer
A practical summer coop odor guide for beginners: ventilation, dry bedding, manure under roosts, water leaks, run drainage, ammonia warning signs, and what not to cover up.
Chicken setup support
Get the chicken setup checklist before you buy more flock gear.
Use the first-year checklist to price the flock honestly, cover the starter essentials, and delay the upgrades that can wait.
Best for: Readers trying to price a first flock honestly and avoid a scattered chicken setup.
- A pre-chick setup checklist
- A recurring-cost planning section
- A simple weekly flock-care rhythm
Chicken setup notes, beginner flock lessons, and the checklist first.
After signup, the download will unlock right here so you can save or print it.
About the author
William Mock
Founder, writer, and beginner homesteader
William writes from the beginner side of rebuilding after a layoff: homestead plans, family systems, budgets, tools, and the decisions that make a home feel less fragile.
Read why this site existsRelated Guides
Keep building context
Chickens
Best Chicken Coop Bedding for Beginners
Compare pine shavings, hemp, straw, and sand by moisture control, dust, cleanup, cost, composting, and the kind of coop routine each one requires.
Chickens
Daily Chicken Care Routine for Busy Families
A realistic morning and evening chicken-care routine built around fresh water, feed, eggs, observation, a secure coop, and the few checks busy families should not skip.
Chickens
How to Keep a Chicken Coop From Smelling Bad in Summer
A practical summer coop odor guide for beginners: ventilation, dry bedding, manure under roosts, water leaks, run drainage, ammonia warning signs, and what not to cover up.