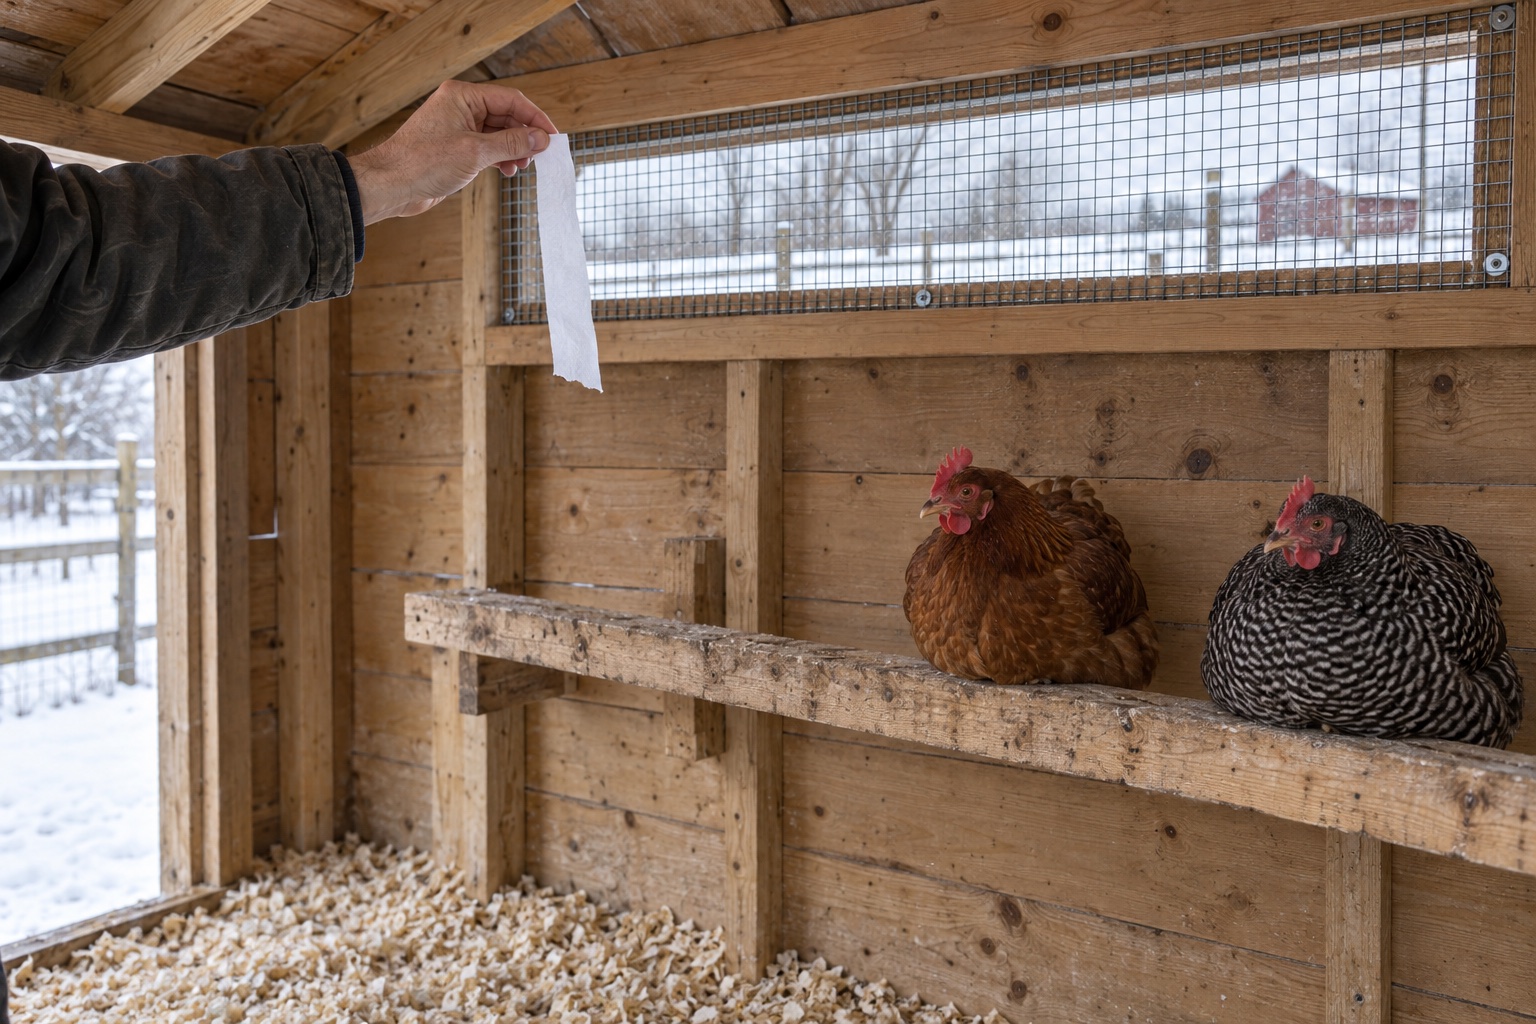
Good chicken-coop ventilation in winter lets warm, damp, stale air escape above the birds without sending a steady stream of cold air across the roost. Keep protected openings high and away from perched birds, block direct wind and precipitation at bird level, remove wet bedding and concentrated manure, fix water spills and leaks, and watch the coop in more than one kind of weather. The goal is not a sealed warm box. It is a dry, secure shelter with controlled air exchange.
That distinction matters because moisture comes from more places than a roof leak. Chickens breathe, manure contains a great deal of water, and a waterer can dampen one corner night after night. Closing every crack may stop obvious wind while trapping the moisture and ammonia that the coop still needs to release. Opening everything, on the other hand, can put birds directly in the path of winter wind.
The cleanout that showed me the coop differently
During a coop cleanout, I loaded old bedding into a wheelbarrow and immediately saw the building differently. Once the loose material was out, the floor, corners, roost area, damp spots, and hidden places became an honest map. I first wrote about that moment in my garden cart versus wheelbarrow guide, because moving the bedding was what revealed how the setup actually worked.
That lesson belongs here too. It is easy to stand outside a coop, see a vent near the roof, and decide ventilation is handled. The useful clues are inside: where moisture settles, where manure piles up, where the roost sits in relation to openings, and what changes when the wind changes direction. A vent drawing on paper is not the same thing as a dry coop on a cold morning.
I like a simple fix as much as anyone, especially after the layoff made every purchase and every unfinished project feel heavier. Winter ventilation does not reward that instinct. More holes are not automatically better, and more caulk is not automatically safer. The better first move is to expose the evidence, trace each moisture source, and change the smallest part of the system that is actually failing.
Ventilation and drafts are not the same thing
Ventilation is planned air exchange. It gives moisture, ammonia, carbon dioxide, and stale air a route out while replacement air enters without blasting the birds. A draft is uncontrolled air movement through or toward the occupied zone, especially across birds resting on the roost. Penn State Extension recommends ample air movement without drafts and specifically cautions against openings that direct incoming air onto perching birds.
The words high and low are relative to the actual coop. A vent can be near the roof and still sit directly above a high roost in a short prefab house. A window can face away from yesterday's wind and into tomorrow's. Map the line from each opening to the birds rather than trusting the product label or the height from the floor alone.
Map the moisture before cutting another vent
University of Minnesota Extension notes that manure is about 70 percent water. Overnight, birds also add moisture through respiration. Add a leaking roof seam, a waterer splashed onto shavings, snow tracked through the door, or wet ground pushing dampness into a wooden floor, and the ventilation system has much more work to do.
Correct what you can at the source. Scrape concentrated manure, remove wet litter instead of covering it, stabilize the waterer, repair the leak, redirect runoff, and clear safe vents. The beginner coop-cleaning schedule shows how to separate a daily wet-spot check from weekly and deeper work. Ventilation supports those chores; it does not replace them.
Inspect the coop from outside, then from the roost
Begin outside on a dry day. Identify the prevailing cold-weather wind, but remember that buildings, fences, trees, and storms can redirect it. Check whether roof overhangs or covers keep precipitation out without blocking the opening. Make sure every vent remains secured against predators with suitable durable material and sound fasteners. A loose screen or a gap beside it is not a winter ventilation feature.
Then go inside and crouch or sit near the roost height. Look from each seam and opening toward the places where birds settle. Check the roof underside, fasteners, corners, and window edges for droplets, frost, staining, or damp wood. Move bedding with a gloved hand at the water station, under the roost, and in the quiet corners. Smell near bird level, but do not use smell alone; moving air can dilute odor while the litter underneath remains wet.
Correct the airflow without opening everything
If the coop is damp but the roost is not drafty, start by clearing and preserving the intended high outlets and reducing moisture at the source. If wind crosses the roost, block or redirect that specific path with a sound permanent repair while keeping the high exhaust route open. Penn State notes that incoming air can be directed upward so it mixes with warmer, drier air before reaching birds. The exact baffle, hood, soffit, ridge, or wall-opening design has to fit the building and local weather.
Do not publish a universal square-inches-per-bird number onto your coop and call the problem solved. Ventilation needs change with flock size, coop volume, bird time indoors, manure management, bedding, weather, opening shape, and pressure around the building. University of Minnesota Extension explicitly notes that the amount of ventilation needed depends on the coop and number of chickens. The outcome inside matters more than a borrowed formula with no context.
A common prefab-coop problem
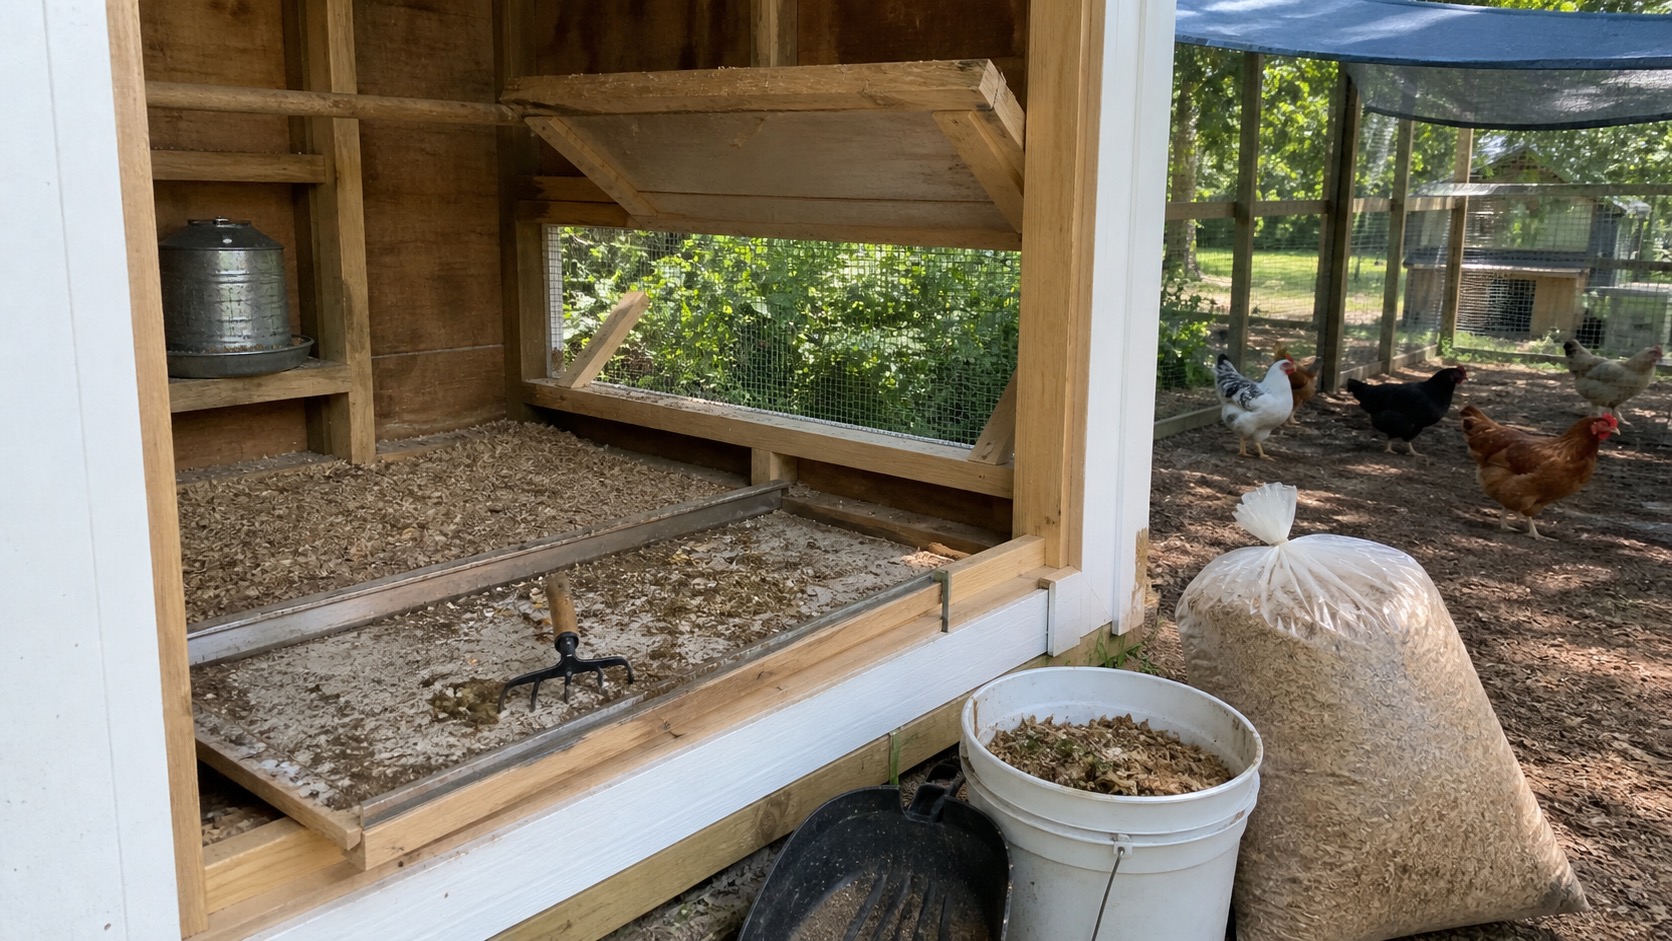
Imagine a small prefab coop with two screened slots near the roof, a roost almost level with one slot, and a slide-out tray beneath the birds. The product has vents, but one can still push wind directly across the roost. The tray can also hold a concentrated layer of wet manure close to the birds, while a small interior means humidity changes quickly.
The sensible order is to clean the tray and remove wet bedding, verify both slots are clear and predator-secure, test the path of air during the wind that actually reaches the coop, and move the roost or safely redirect the inlet if it sits in that path. Check whether the waterer contributes moisture. Then inspect the next cold morning. Buying a heater or sealing both slots skips the evidence and can create a different risk.
If the coop cannot keep rain and snow out while maintaining ventilation, cannot secure the openings, or is too small for the flock's winter use, treat that as a housing limitation rather than an air-freshener problem. Reducing crowding or changing the structure may be the honest fix. The chicken-space guide helps evaluate capacity beyond the number printed on a box.
A humidity monitor is a clue, not a verdict
You do not need to buy a monitor before checking the bedding, manure, waterer, roof, vents, and roost. Those observations are free and more actionable. If you want repeatable temperature and relative-humidity trends, a basic local-display thermometer-hygrometer can help compare a dry morning with a damp one or show whether humidity repeatedly rises overnight.
The ThermoPro TP50 thermometer-hygrometer is one straightforward option. The manufacturer lists current temperature and humidity, daily high-low readings, and a 10-second refresh on the local display. I am including it from its published specifications, not claiming a long-term personal coop test. It is not weatherproof, does not read ammonia, does not show where air moves, and does not control anything. Keep it dry and protected where birds cannot peck it, and do not let one number overrule damp litter, condensation, odor, or flock behavior.
I would use a monitor to compare patterns, not chase a universal humidity target. Outdoor humidity, temperature, flock size, and coop construction all change the reading. A sudden rise can tell you to investigate; it cannot tell you whether the cause is breathing birds, a spill, wet manure, a roof leak, or blocked ventilation.
What matters first, and what can wait
Use a 10-minute cold-morning check
This short loop is more useful than waiting for a dramatic smell or a sheet of ice inside. It also makes the larger winter routine easier because water, bedding, bird condition, and ventilation stop being separate chores. They become one daily look at whether the shelter is staying dry and dependable.
Build a dry winter system, not a sealed box
The practical standard is simple to say and worth checking repeatedly: dry bedding, managed manure, liquid water without spills, protected high air exchange, no steady wind across perched birds, and secure construction. When one of those conditions changes, trace the change before buying around it.
For the rest of the cold-weather setup, continue with the beginner winter chicken-care checklist. It covers water, bedding, roosts, feed, flock checks, frostbite risk, power planning, and the jobs that deserve attention before the first hard freeze. If temperature still raises questions after the moisture and draft inspection, use the separate guide to decide whether chickens need heat in winter. You can also browse the backyard chickens for beginners hub for the next step that matches your flock.
Frequently asked questions
Should I close chicken-coop vents in winter?
No. Block direct wind and rain from reaching birds at roost level, but preserve protected ventilation high in the coop so moisture, ammonia, and stale air can escape. A tightly sealed coop can stay damp even when it feels warmer for a moment.
Where should winter chicken-coop vents be placed?
Protected openings are generally most useful high on a wall or near the roof, above and offset from the roost rather than aimed directly at resting birds. Account for prevailing wind, blowing precipitation, roof design, and predator security. Every coop is different, so judge the result by conditions inside as well as by vent location.
How can I tell whether my chicken coop needs more ventilation?
Look for condensation, frost or dampness on interior surfaces, wet or caked bedding, persistent ammonia odor, and moisture concentrated beneath roosts or around the waterer. Correct leaks, spills, and manure buildup too; opening a vent cannot compensate for every moisture source.
How can I check for a draft at the chicken roost?
On a cold or windy day, hold a narrow strip of light tissue near each bird-level seam and around the roost, then compare it with movement near the intended high outlet. This is only a directional check, so repeat it in different weather and pair it with bedding, condensation, odor, and bird observations. Do not use a candle, smoke, or another combustion source in the coop.
Do I need a humidity monitor in my chicken coop?
No. A basic thermometer-hygrometer can help you compare patterns, but it cannot diagnose airflow, ammonia, leaks, or bird comfort. Start with direct observation, keep any monitor dry and protected, and use its readings as one clue rather than a universal pass-or-fail number.
Recommendations
Useful tools and resources for this decision
These are included only where they reduce repeated friction, clarify a next step, or help you avoid buying the wrong thing first.
Read the winter-care guide
University of Minnesota Extension cold-weather chicken guide
Research-based guidance on winter ventilation, condensation, manure moisture, bedding, roosts, water, frostbite risk, and electrical safety.
Best for: Checking a winter coop plan against current poultry guidance
View resourceReview poultry housing guidance
Penn State Extension small-scale poultry housing guide
Detailed housing guidance covering air movement without drafts, moisture and ammonia removal, opening placement, roosts, and secure construction.
Best for: Planning or correcting vent placement around an existing roost
View resourceCheck the winter housing advice
University of New Hampshire Extension winter chicken guide
Practical cold-weather guidance on wind protection, moisture and ammonia escape, roosts, predator security, and heat risk.
Best for: Reviewing the whole winter shelter rather than treating vents in isolation
View resourceCheck the current TP50 listing
ThermoPro TP50 thermometer-hygrometer
A small local-display temperature and humidity monitor with current and daily high-low readings, a 10-second refresh rate, and no app or wireless setup.
Best for: Comparing overnight temperature and humidity patterns in a dry, protected part of the coop
Check current priceRecommended next reads
Read next if it helps the decision
Move into the next guide only if it clarifies the next practical step.
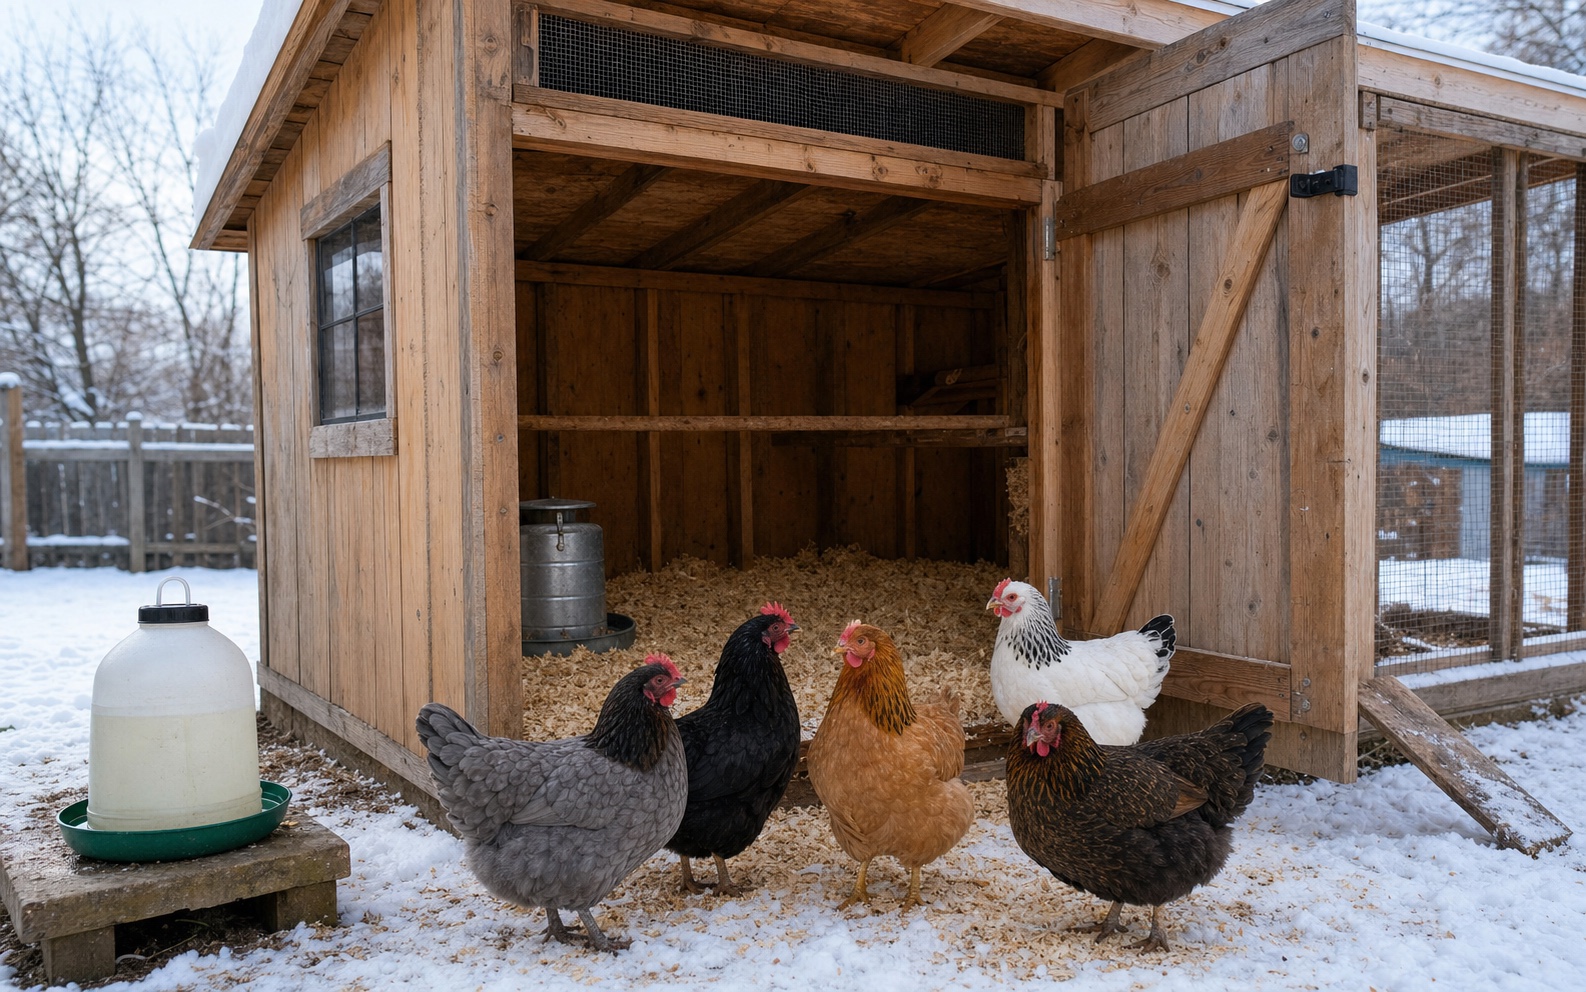
Chickens
Winter Chicken Care for Beginners: Prepare Before the First Freeze
A practical first-winter checklist for unfrozen water, dry bedding, useful ventilation, safe power, flock checks, feed, frostbite risk, and cold-weather routines.
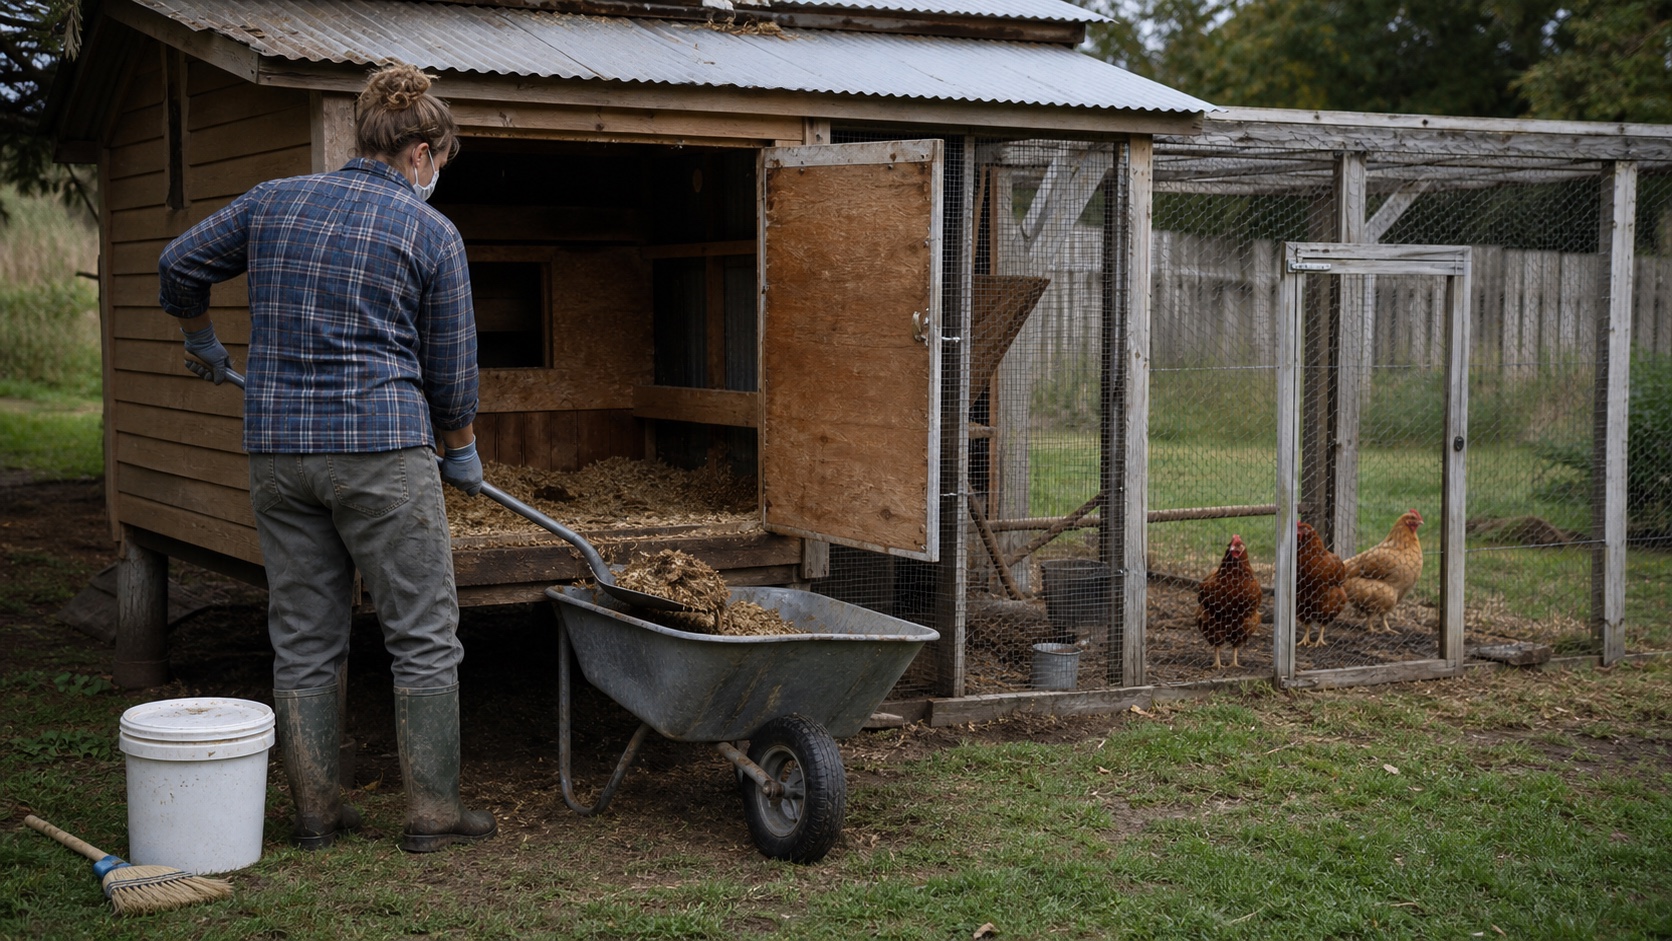
Chickens
How to Clean a Chicken Coop: A Beginner Schedule
Clean a chicken coop without turning every week into a full cleanout. Use condition-based checks, a safe step-by-step method, and a realistic beginner schedule.
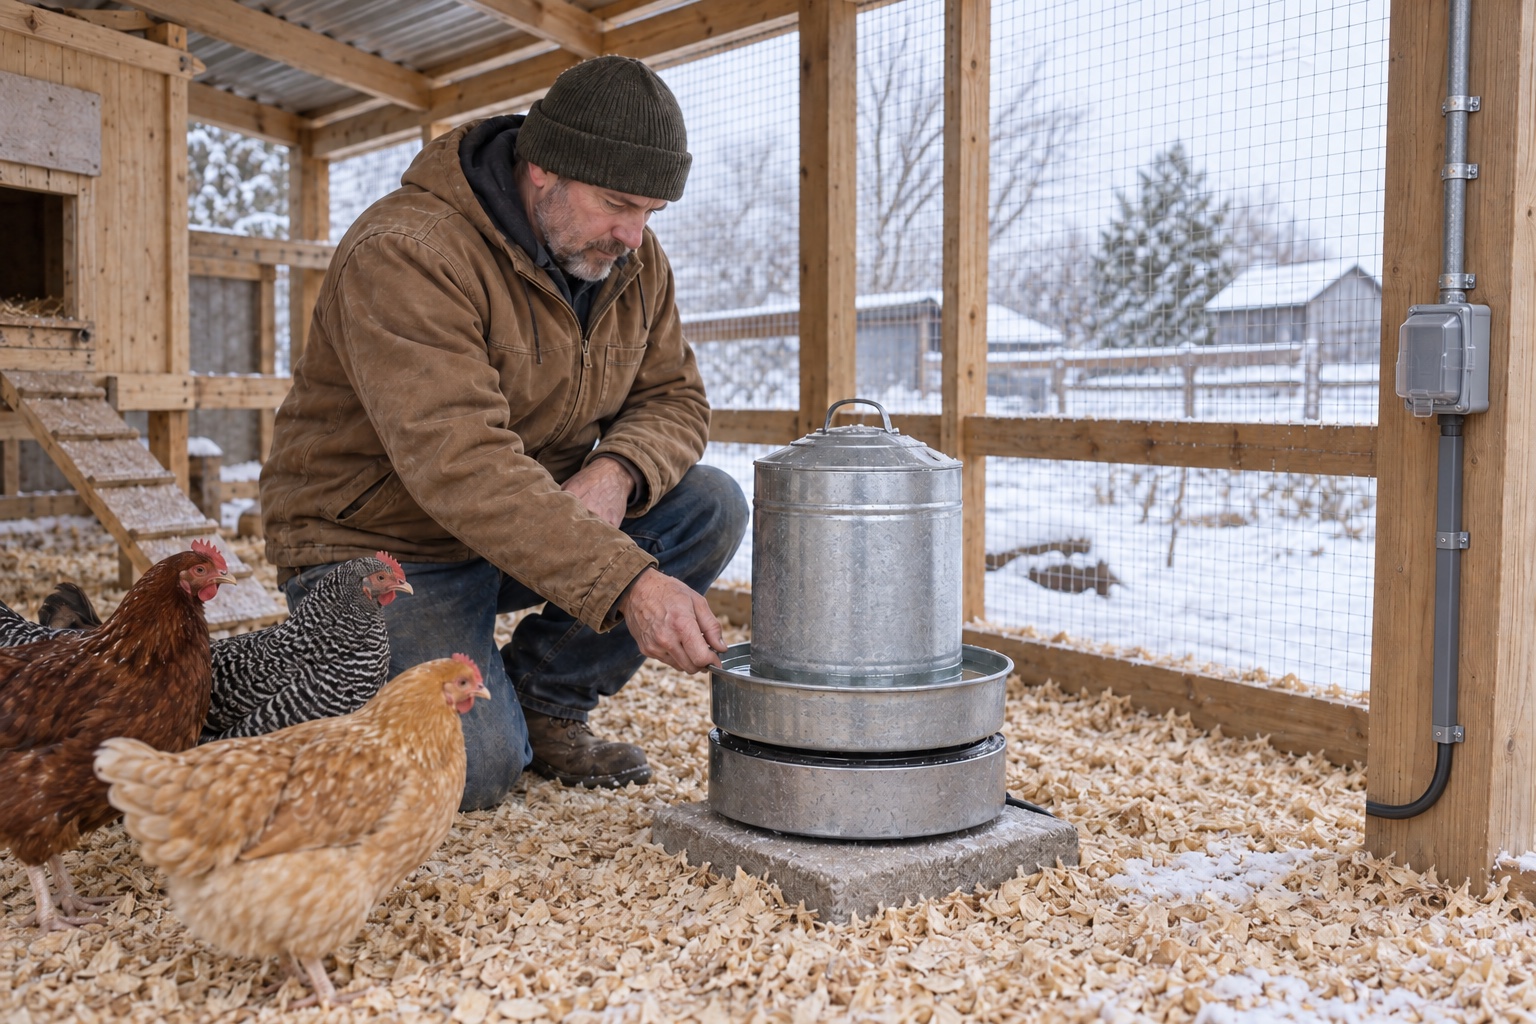
Chickens
Heated Chicken Waterer vs. Heated Base: What Beginners Need for Winter
Compare a heated chicken waterer, a heated base, and manual bowl swaps so you can keep winter water available without buying the wrong setup.
Chicken setup support
Get the chicken setup checklist before you buy more flock gear.
Use the first-year checklist to price the flock honestly, cover the starter essentials, and delay the upgrades that can wait.
Best for: Readers trying to price a first flock honestly and avoid a scattered chicken setup.
- A pre-chick setup checklist
- A recurring-cost planning section
- A simple weekly flock-care rhythm
Chicken setup notes, beginner flock lessons, and the checklist first.
After signup, the download will unlock right here so you can save or print it.
About the author
William Mock
Founder, writer, and beginner homesteader
William writes from the beginner side of rebuilding after a layoff: homestead plans, family systems, budgets, tools, and the decisions that make a home feel less fragile.
Read why this site existsRelated Guides
Keep building context
Chickens
Winter Chicken Care for Beginners: Prepare Before the First Freeze
A practical first-winter checklist for unfrozen water, dry bedding, useful ventilation, safe power, flock checks, feed, frostbite risk, and cold-weather routines.
Chickens
How to Keep a Chicken Coop From Smelling Bad in Summer
A practical summer coop odor guide for beginners: ventilation, dry bedding, manure under roosts, water leaks, run drainage, ammonia warning signs, and what not to cover up.
Chickens
How to Clean a Chicken Coop: A Beginner Schedule
Clean a chicken coop without turning every week into a full cleanout. Use condition-based checks, a safe step-by-step method, and a realistic beginner schedule.