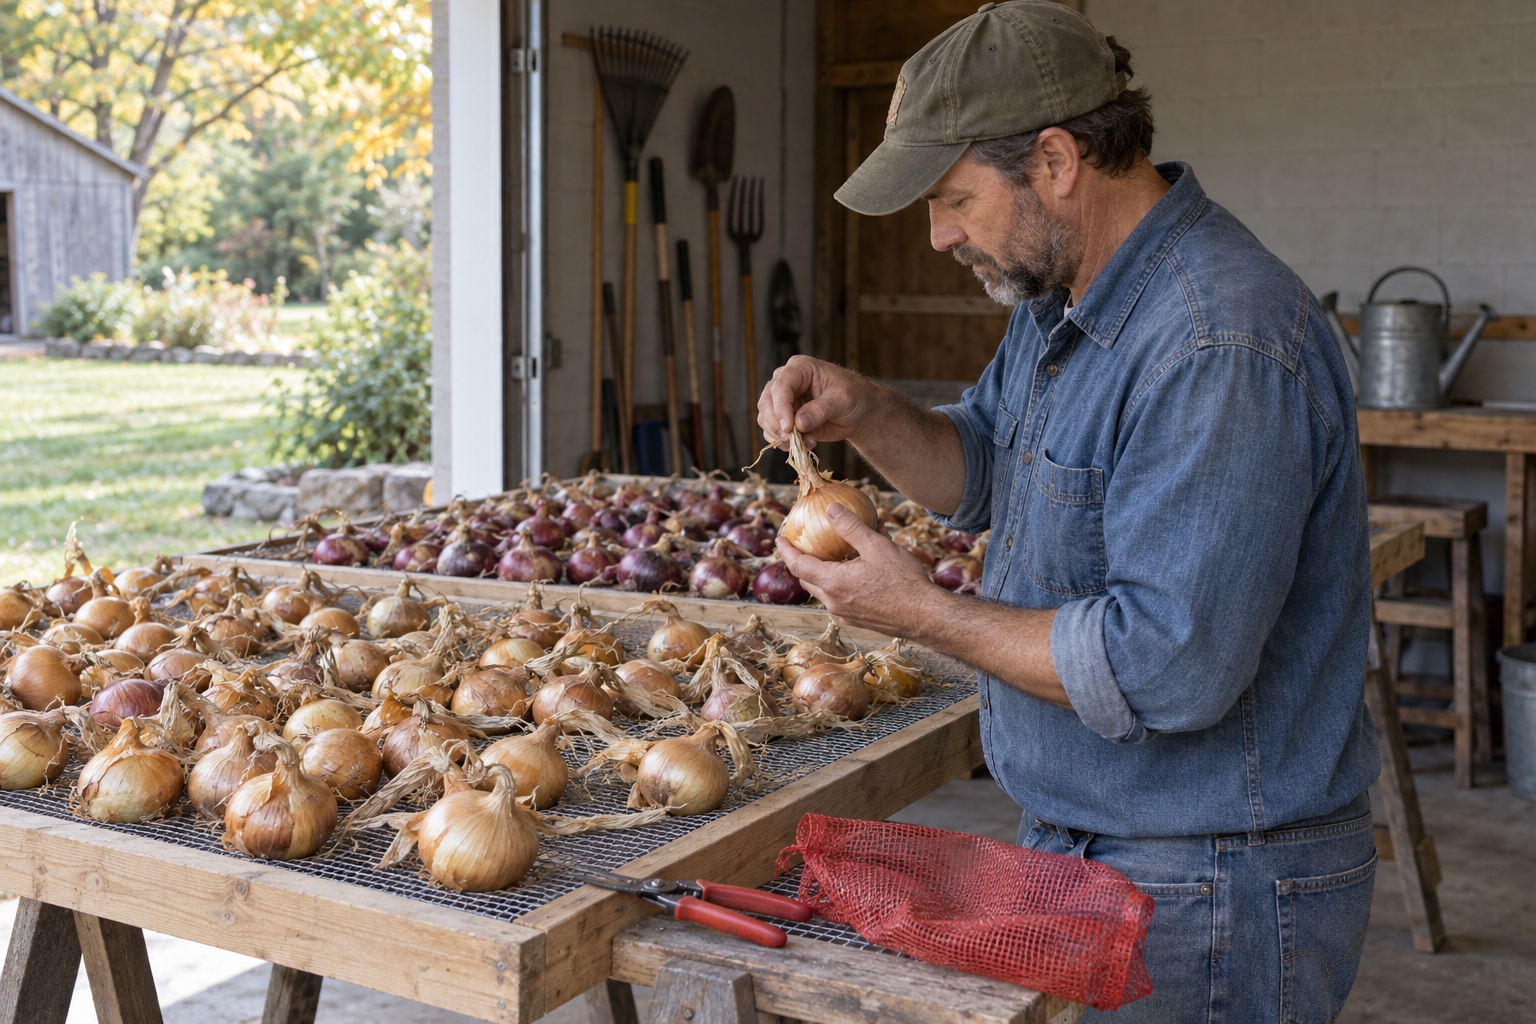
To cure and store onions after harvest, wait until roughly half the tops fall over naturally, lift the bulbs gently, and spread them under warm, dry cover with strong airflow. Let them cure until the necks are tight, the roots are dry, and the outer skins rustle. Then sort out every soft, damaged, thick-necked, or immature bulb and store only the sound storage onions in a cold, dry, dark, ventilated place.
This is one part of the larger beginner gardening and harvest plan, but onions need their own conditions. Do not carry over the warmer curing and storage rules from the winter squash storage guide; a dry onion neck and cold storage target make this a different job.
Plan the whole harvest season
Finish the fall jobs that protect next season
Use the fall homestead checklist to sequence garden cleanup, water, tools, chickens, stored food, and cold-weather preparation without turning one weekend into an emergency.
Open the fall checklistThe harvest picture in my head stopped one step too early
After the layoff, I started looking at food differently. A garden was no longer just a satisfying project for some future property. It represented a little more margin, one useful skill, and a household that could become less fragile a layer at a time. The picture in my head was usually the rewarding part: a basket of food coming through the door.
That picture was incomplete. A harvest does not become security because it reaches the kitchen. It becomes useful when there is a dry place ready, when the family knows what should be eaten first, and when the crop can be checked without moving six other projects out of the way. A pile of onions makes that lesson plain. The work is not finished when the bulbs leave the soil.
That changed the way I judge a food system. I want the plan to include the ordinary middle: the screen across two sawhorses, the rain forecast that changes harvest day, the questionable bulbs set beside the cutting board instead of hidden in the storage bag, and the weekly check that keeps one soft onion from becoming a larger loss. The cool part is not pretending every onion will last until spring. It is watching a simple system carry good food farther than the harvest basket could on its own.
Storage begins with the right onion
Not every onion is meant for long storage. Pungent dry onions bred as storage types generally keep longer than mild, high-moisture sweet onions. A thick neck, active green growth, injury, disease, and an immature bulb all shorten the odds further. No curing trick can turn a short-storage variety into a long keeper.
Read the seed packet or supplier description before assigning a storage goal. If the variety is unknown, use a conservative plan: cure sound bulbs properly, keep them visible, and cook with them steadily instead of promising yourself a specific number of months.
Wait for the tops to fall naturally
University of Minnesota Extension recommends harvesting when about half the tops are falling over and dry. Utah State similarly advises leaving bulb onions until the tops fall over. That natural lodging is a maturity signal. Do not bend healthy tops over early to make the crop look ready; forced bending can interrupt bulb growth without creating a mature storage onion.
A storm, disease concern, or hard freeze can force an earlier decision. Protect the crop first and lower the storage expectation. Immature or damaged onions can still be useful in near-term meals, but they should not be hidden among the best keepers.
Lift without creating the storage problem
Cure onions with air, not a pile
Curing dries the neck and outer scales so the bulb is better protected in storage. Minnesota Extension gives a home-garden range of about 75 to 90 degrees F for two to four weeks. Its postharvest guidance also emphasizes warm moving air and notes that onion necks may take three to four weeks to dry fully. Weather and setup matter more than choosing one universal day count.
A roof is not enough. If the air is still and the onions are stacked, moisture remains around the necks. A simple hardware-cloth screen across sawhorses can be more useful than an expensive rack because air reaches the bottom and every bulb stays visible. Use clean food-appropriate materials and keep the crop away from fuel, paint, pesticides, cleaners, vehicle exhaust, rodents, and workshop debris.
Use the dry-neck test, not just the calendar
Do not trim on schedule if the neck is still damp. Utah State advises cutting cured leaves about 1 to 2 inches above the bulb; Minnesota says tops can be cut after the bulbs are properly dry. Leaving a short dry neck reduces the chance of cutting into living tissue. Sound fully dry tops can also be braided, but braiding is not a substitute for curing.
Sort into store, use soon, and discard
The use-soon group is not a failure. It protects the storage group and gives the meal plan a clear starting point. Keep it physically separate so nobody returns a thick-necked or bruised onion to the long-term bag after dinner.
Build a cold, dry storage space
Properly cured onions keep best cold, dry, dark, and ventilated. Utah State gives 32 to 40 degrees F for home storage. Minnesota notes that onions can sprout above 40 degrees F and that household conditions shorten storage life as they move away from ideal. Do not let bulbs freeze, and do not assume a basement or garage holds one stable temperature all season.
A refrigerator can provide cold, relatively dry conditions for a small amount, and Minnesota Extension lists household refrigeration as workable for long-term onion and garlic storage. Large harvests may crowd normal food storage or experience condensation during repeated handling. Use the space you can monitor safely rather than forcing the whole crop into one location.
Keep onions and potatoes in separate storage plans
The common advice to keep onions and potatoes apart is useful, but the practical reason is more than a slogan about one crop spoiling the other. Their preferred humidity differs. Onions need dry storage so necks and scales stay dry. Potatoes generally need much higher humidity to limit water loss while remaining dark and cool. One compromise room may be wrong for both.
Use separate containers and, when possible, separate zones. That lets you manage the potato curing and storage plan around darkness and higher humidity while keeping onions dry and ventilated. It also prevents a leaking onion from disappearing into a potato bin.
Inspect every week and cook from the weak end first
Remove a failing bulb immediately and inspect every onion that touched it. Do not taste a questionable onion to investigate spoilage. Clean and dry the container before sound bulbs return. Move sprouting but otherwise sound onions into meals promptly, using current food-safety judgment and discarding anything rotten or moldy.
What matters first and what can wait
If your home cannot hold ideal onion conditions, store fewer bulbs and use them faster. Freeze or dry suitable onions using a tested Extension method when whole-bulb storage does not fit the space. If canning is part of the plan, remember that onions are low-acid food and require an exact tested recipe and process rather than a homemade shortcut.
The goal is not a photogenic onion braid that quietly fails in a warm kitchen. The goal is a mature crop, a fully dry neck, an honest sort, and a storage rhythm that keeps food visible. Carry those onions into the rotating pantry system so the harvest becomes dinner instead of inventory.
Keep it practical
Plan the first season before buying more gear
Get the free First-Season Homestead Checklist for a practical sequence covering food, tools, routines, budget, and projects that can wait.
Practical notes from the work in progress. Low-noise and easy to leave.
Sources and storage guidance
This guide uses University of Minnesota Extension for maturity, warm curing, dry-neck checks, airflow, and household storage conditions; Utah State University Extension for harvest timing, papery-skin and dry-root checks, trimming, ventilated containers, and cold dry storage; and Penn State Extension for alternative preservation guidance. Variety, climate, harvest disease, and room conditions can change the right plan, so use your seed supplier and local county Extension office when their guidance is more specific.
Recommendations
Research before you store the crop
Read the Extension guide
University of Minnesota Extension onion guide
Home-garden guidance for maturity, lifting, warm curing, dry necks, and cool storage.
Best for: Checking the complete grow-to-storage sequence for dry bulb onions
Use local Extension guidance when your climate, harvest weather, or variety differs.
View resourceReview curing guidance
University of Minnesota postharvest guide
Detailed guidance for field and indoor curing, airflow, dry necks, sorting, and home produce-storage conditions.
Best for: Planning an indoor curing area when fall weather is unreliable
Commercial details should be scaled carefully to a household harvest.
View resourceRead the onion guide
Utah State University onion guide
Practical maturity signs, curing checks, trimming guidance, ventilated containers, and cold, dry storage advice.
Best for: Confirming what a cured bulb should look and feel like
Variety and household conditions still determine actual storage life.
View resourceReview preservation options
Penn State Extension onion preservation guide
An updated overview of storing, freezing, drying, and safely preserving onions when whole-bulb storage is not practical.
Best for: Choosing another preservation route for onions that will not keep well whole
Onions are a low-acid food. Use tested recipes and current preservation instructions rather than improvising a canning method.
View resourceRecommended next reads
Keep the harvest moving
Store potatoes under their own conditions, build a pantry rotation for ordinary meals, or finish the larger cold-weather checklist.
Gardening
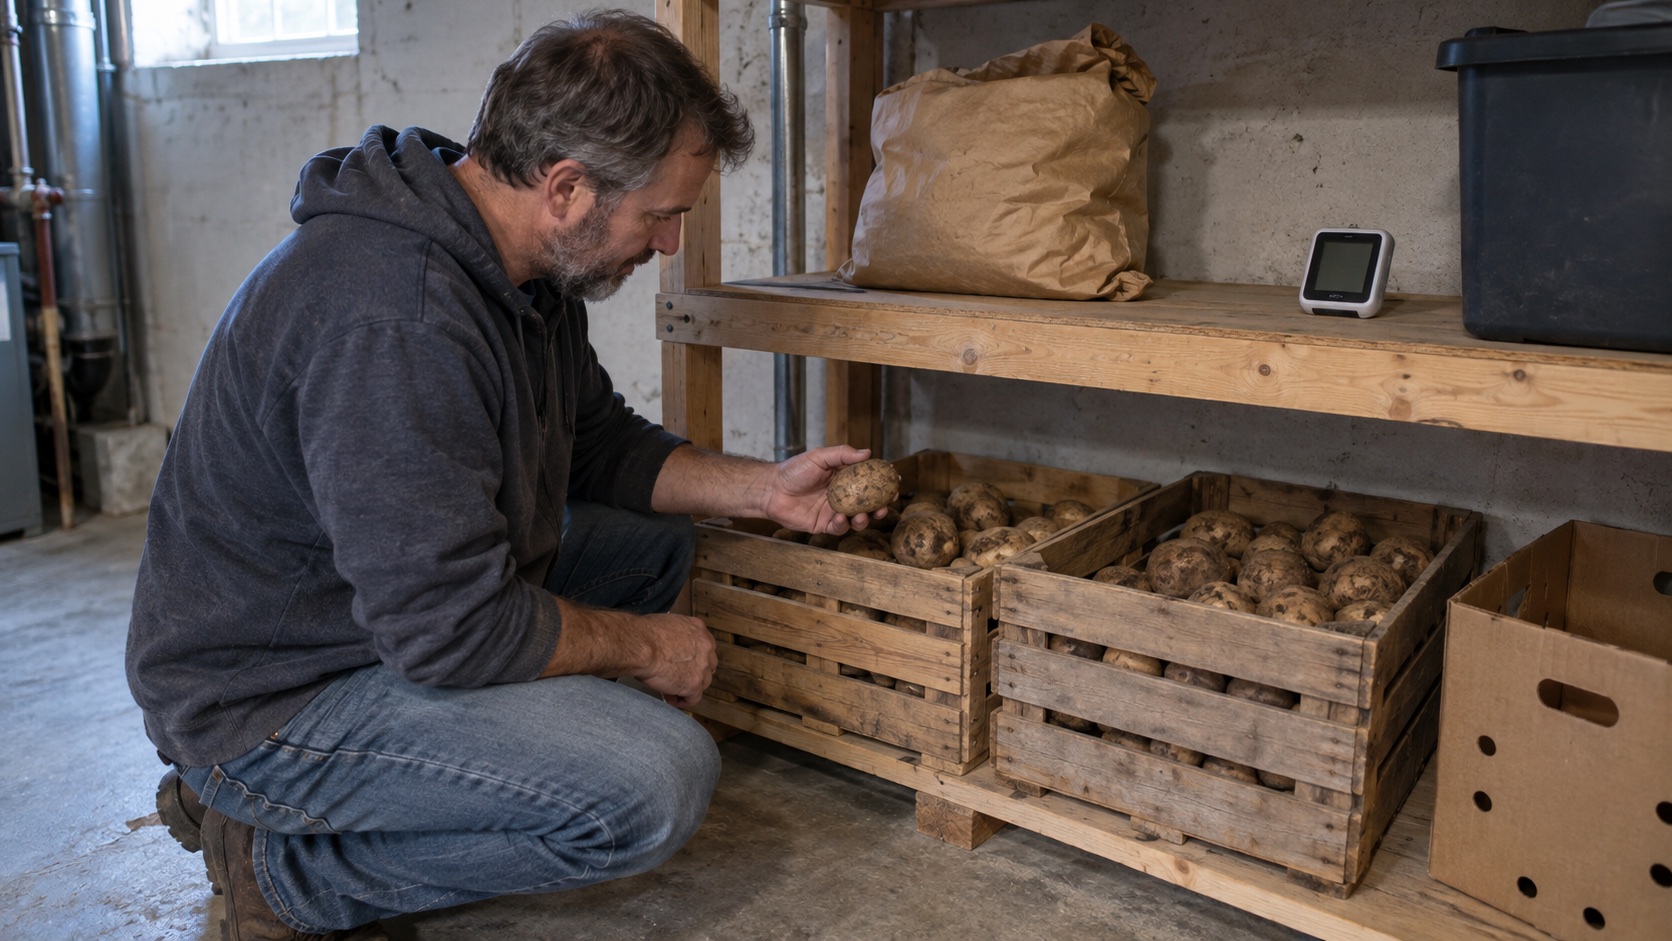
How to Cure and Store Potatoes Without a Root Cellar
Cure mature potatoes unwashed, sort them carefully, and store only sound tubers in the coolest practical dark space with airflow. Here is how to do it without a root cellar.
Fresh Start
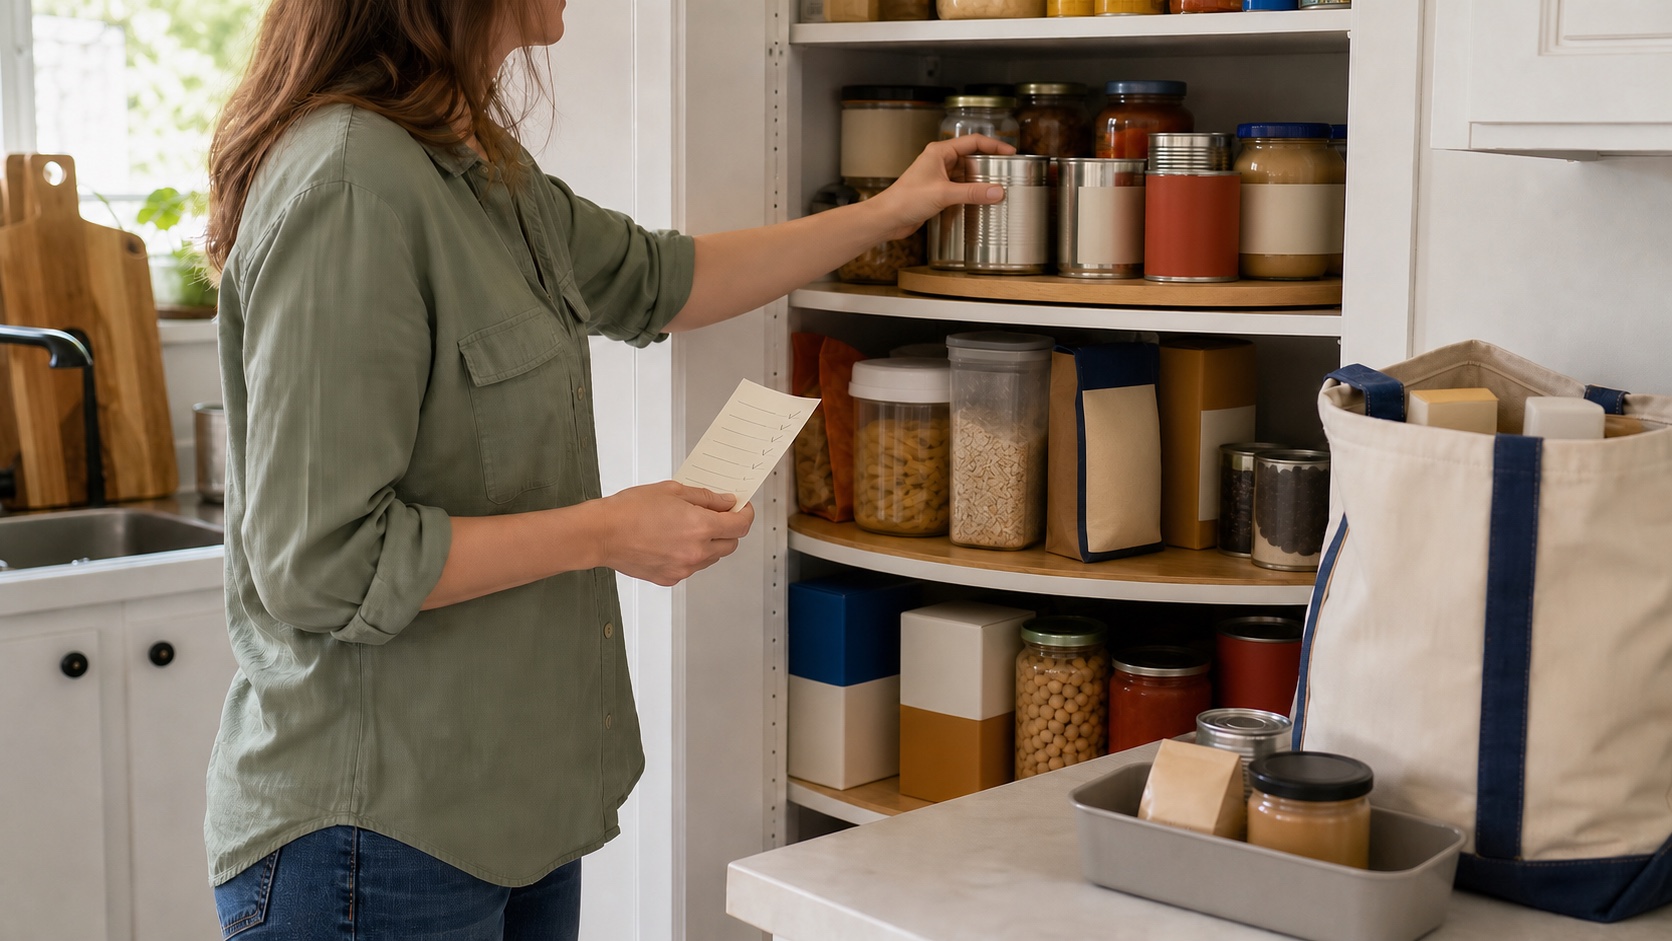
How to Build a Rotating Pantry Without Wasting Food
Build a small rotating pantry around meals your household already eats, then use a simple three-zone system to keep older food visible, useful, and out of the trash.
Systems
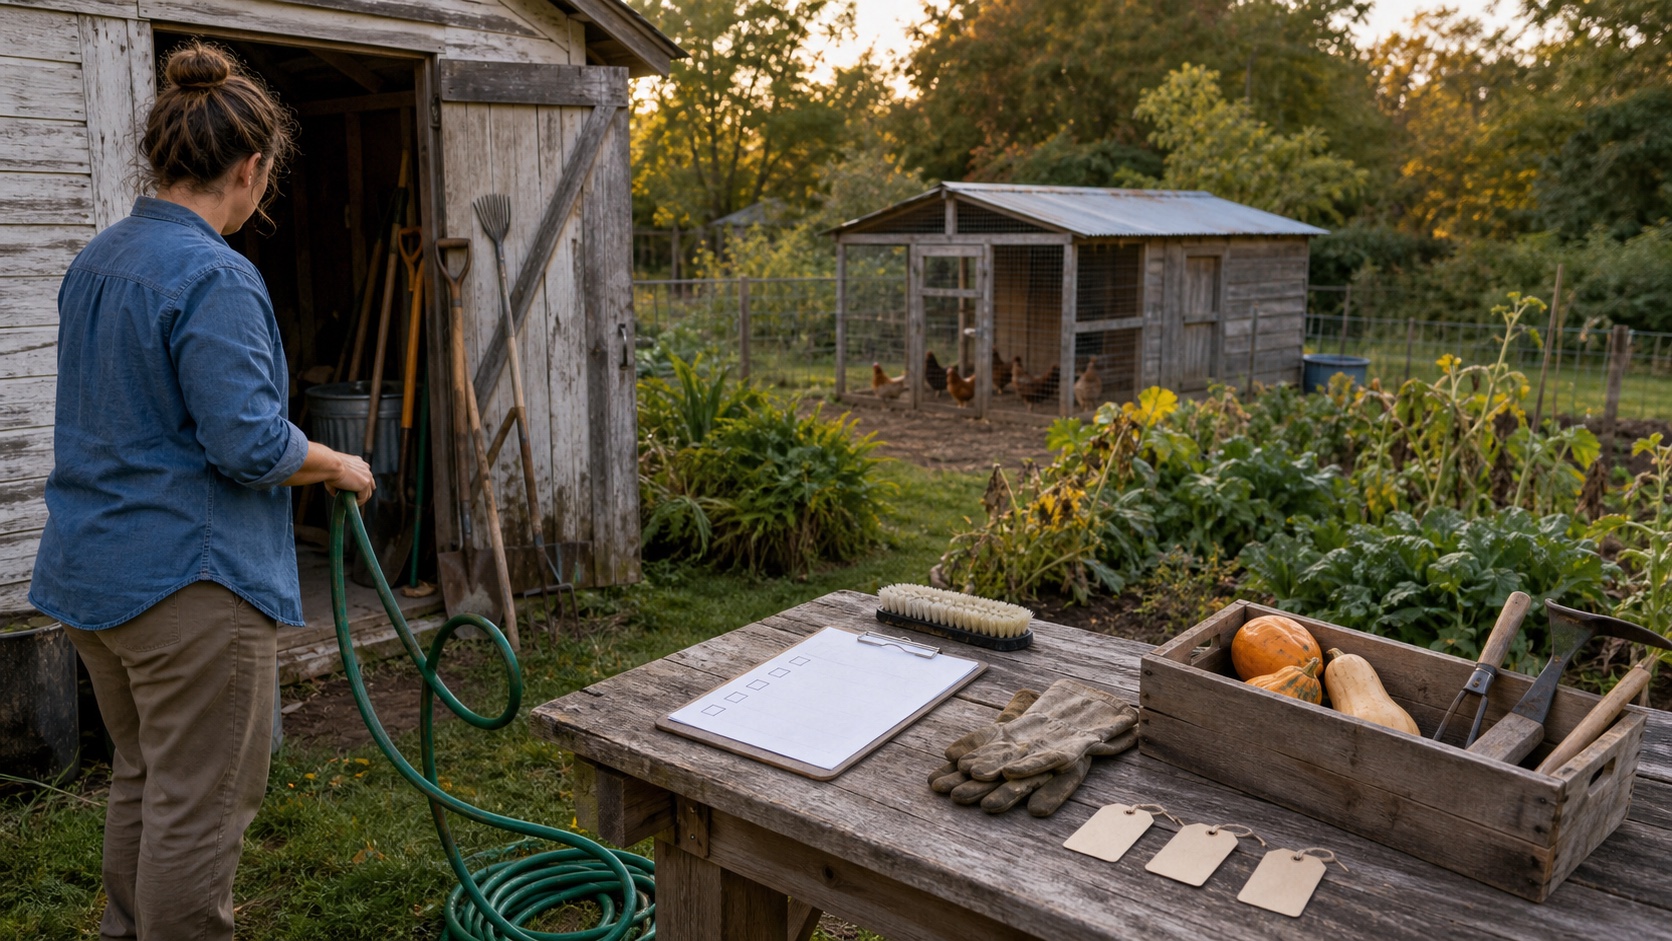
Fall Homestead Checklist for Beginners: What to Finish Before Cold Weather
A practical fall homestead checklist for sorting safety, animals, garden harvests, water, tools, food storage, and unfinished projects before cold weather arrives.
Frequently asked questions
How do I know when onions are ready to harvest?
For dry bulb onions intended for storage, wait until roughly half the tops have fallen over naturally and begun drying. The necks should be soft rather than actively pushing new growth. Lift the bulbs gently instead of pulling hard on the tops, and move them under cover if rain or prolonged damp weather is likely.
How long do onions need to cure?
Home-garden guidance commonly allows about two to four weeks, depending on temperature, humidity, airflow, bulb maturity, and weather. Do not use the calendar alone. A cured onion has dry, papery outer skins, dry roots, and a neck that is tight and dry all the way to the bulb.
Can onions cure in a garage or shed?
Yes, if the space is warm, dry, shaded, protected from rain, and well ventilated. Spread onions in a single loose layer on screens, racks, or another clean surface that allows air movement. A damp closed garage is not a curing space just because it has a roof.
Should onion tops be cut before curing?
For a beginner home harvest, let the tops and necks dry fully before trimming. Cutting a neck while it is still green or moist can create a path for decay. After curing, trim the dry top while leaving about 1 to 2 inches of neck, or leave sound dry tops intact for braiding.
What temperature is best for storing cured onions?
Properly cured dry onions keep best under cold, dry conditions, generally around 32 to 40 degrees F with airflow and protection from freezing. Most homes cannot hold ideal commercial conditions, so expect a shorter storage life in a warmer pantry or basement and inspect the bulbs often.
Can onions and potatoes be stored together?
They are better managed separately. Onions need dry storage, while potatoes generally need much higher humidity to limit shriveling. A compromise space can leave onions too damp or potatoes too dry. Separate containers also make it easier to inspect each crop and remove a failing bulb or tuber quickly.
Recommendations
Useful tools and resources for this decision
These are included only where they reduce repeated friction, clarify a next step, or help you avoid buying the wrong thing first.
Read the Extension guide
University of Minnesota Extension onion guide
Home-garden guidance for maturity, lifting, warm curing, dry necks, and cool storage.
Best for: Checking the complete grow-to-storage sequence for dry bulb onions
Use local Extension guidance when your climate, harvest weather, or variety differs.
View resourceReview curing guidance
University of Minnesota postharvest guide
Detailed guidance for field and indoor curing, airflow, dry necks, sorting, and home produce-storage conditions.
Best for: Planning an indoor curing area when fall weather is unreliable
Commercial details should be scaled carefully to a household harvest.
View resourceRead the onion guide
Utah State University onion guide
Practical maturity signs, curing checks, trimming guidance, ventilated containers, and cold, dry storage advice.
Best for: Confirming what a cured bulb should look and feel like
Variety and household conditions still determine actual storage life.
View resourceReview preservation options
Penn State Extension onion preservation guide
An updated overview of storing, freezing, drying, and safely preserving onions when whole-bulb storage is not practical.
Best for: Choosing another preservation route for onions that will not keep well whole
Onions are a low-acid food. Use tested recipes and current preservation instructions rather than improvising a canning method.
View resourceRecommended next reads
Read next if it helps the decision
Move into the next guide only if it clarifies the next practical step.
Gardening
How to Cure and Store Potatoes Without a Root Cellar
Cure mature potatoes unwashed, sort them carefully, and store only sound tubers in the coolest practical dark space with airflow. Here is how to do it without a root cellar.
Fresh Start
How to Build a Rotating Pantry Without Wasting Food
Build a small rotating pantry around meals your household already eats, then use a simple three-zone system to keep older food visible, useful, and out of the trash.
Systems
Fall Homestead Checklist for Beginners: What to Finish Before Cold Weather
A practical fall homestead checklist for sorting safety, animals, garden harvests, water, tools, food storage, and unfinished projects before cold weather arrives.
Garden gear support
Get the buy-first guide before the first garden collects too much gear.
Use the guide to decide which early garden purchases earn money now, which ones can be borrowed, and which ones can wait until the routine proves itself.
Best for: Beginners who keep seeing useful things online and need a disciplined way to decide what actually earns a place.
- A buy now, borrow, wait, or skip framework
- Starter category shortlists
- A three-question purchase test
Garden planning notes, restrained gear decisions, and the guide first.
After signup, the download will unlock right here so you can save or print it.
About the author
William Mock
Founder, writer, and beginner homesteader
William writes from the beginner side of rebuilding after a layoff: homestead plans, family systems, budgets, tools, and the decisions that make a home feel less fragile.
Read why this site existsRelated Guides
Keep building context
Gardening
How to Cure and Store Potatoes Without a Root Cellar
Cure mature potatoes unwashed, sort them carefully, and store only sound tubers in the coolest practical dark space with airflow. Here is how to do it without a root cellar.
Gardening
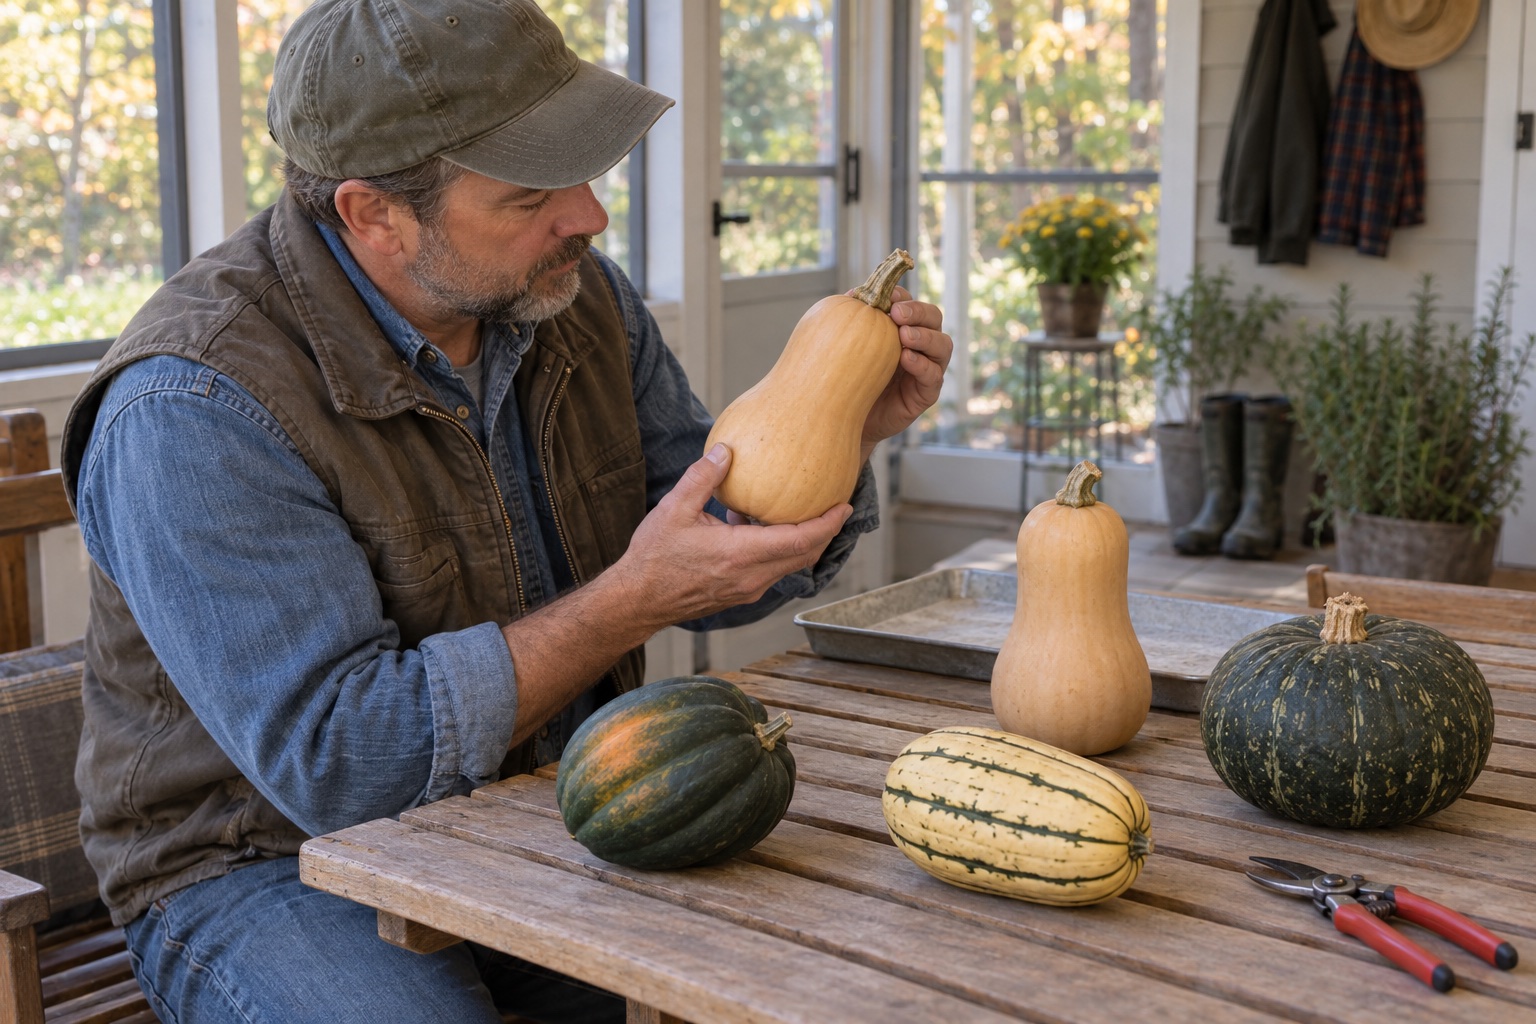
How to Cure and Store Winter Squash Without Losing the Harvest
Harvest mature winter squash before damaging cold, cure only the varieties that benefit, and store sound fruit around 50 to 55 degrees F with airflow and weekly checks.
Fresh Start
How to Build a Rotating Pantry Without Wasting Food
Build a small rotating pantry around meals your household already eats, then use a simple three-zone system to keep older food visible, useful, and out of the trash.