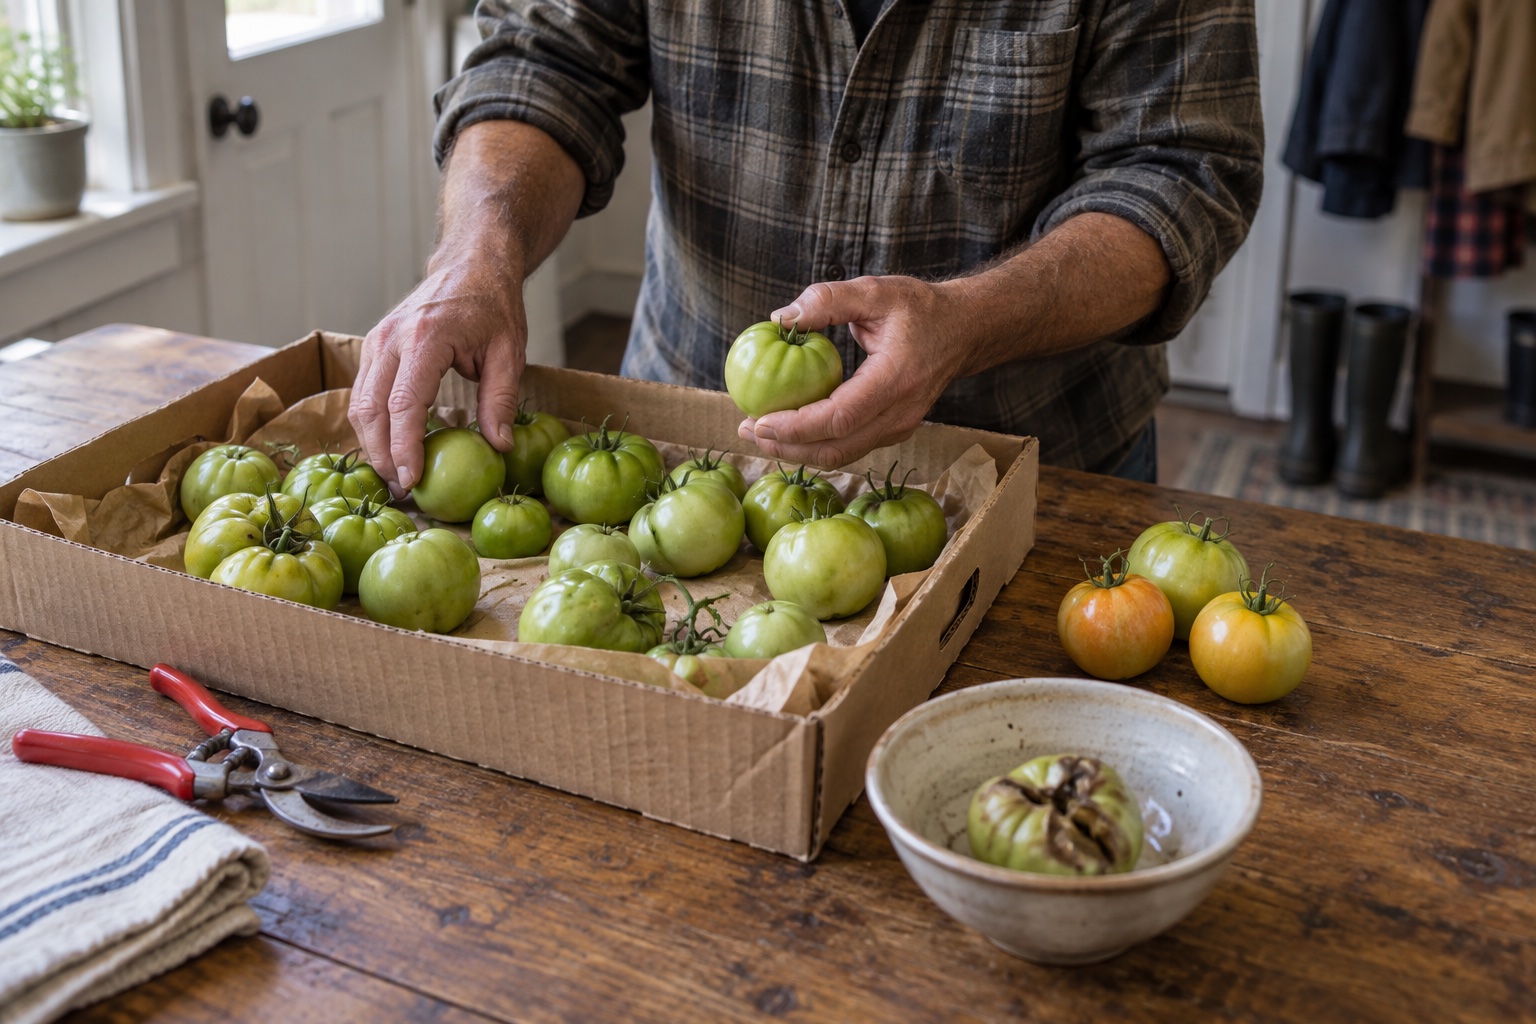
Before the first hard frost, pick tomatoes that are full size and mature green, along with every fruit already showing white, pink, orange, or red color. Bring them inside before freezing weather, remove stems, sort out damaged or decaying fruit, and place the sound tomatoes in a single layer at room temperature. Keep them out of direct sun, check them every day or two, and use each one as it ripens.
This is one late-season decision inside the larger beginner gardening plan, not a full garden-frost plan. If you are still deciding which beds to cover and which crops to harvest, begin with the first-frost vegetable garden guide. Then come back here to sort the tomatoes without treating every green fruit as equally likely to ripen.
The unfinished plans I kept trying to save
After the layoff, I spent more than one evening at the kitchen table trying to keep every version of the future alive at the same time. There were lists for work, lists for money, lists for the move we might make, and lists for the practical skills I thought I should learn immediately. Crossing something off felt too much like admitting it would never happen.
The result was not resilience. It was a table covered with unfinished decisions. I was giving the same attention to a plan with a real next step and a plan that only looked good on paper. Once I started sorting them honestly, the week got lighter. Some plans were ready. Some needed more time. Some were taking up room that the family needed for something real.
A tray of green tomatoes carries the same quiet lesson. The goal is not to prove that every fruit can be rescued. The useful work is recognizing what has a reasonable path to the table, giving that fruit the right conditions, and releasing the rest before one bad tomato damages the good ones. That kind of sorting does not look dramatic, but it is exactly how a small harvest becomes less wasteful and a household system becomes calmer.
First decide whether to cover the plants or pick the fruit
A brief light frost followed by warm weather is a different decision from a hard freeze or a lasting turn toward cold. Utah State Extension notes that covering plants with a tarp or blanket can protect immature fruit when only an early light frost threatens. If a hard frost is imminent, it recommends picking mature-green and slightly pink tomatoes for storage.
Do not risk a useful harvest because the calendar says the average first frost should still be days away. Your low spot, open yard, and local forecast matter more than a regional average. If the fruit is ready enough and the protection plan depends on a rushed late-night scramble, picking is usually the calmer choice.
Tell mature-green tomatoes from fruit that is too immature
Green describes color, not maturity. A tomato can be fully developed and still green on the outside, or it can be far too young to ripen well after harvest. Oregon State Extension defines the mature-green stage as the point when the fruit cavity has filled with gel. Minnesota Extension also points to full size and a fading green color, sometimes with a white star or streak at the blossom end.
Size alone is not perfect because varieties differ, and the blossom-end star is not universal. Use several signs together. When a plant carries dozens of fruit, cut one representative green tomato from the same stage. If the seed cavities are still dry and the seeds look undeveloped, lower your expectation for the rest of that group.
Harvest without bruising the tomatoes you want to keep
A tomato can look tough and still bruise under a full basket. Those pressure spots may not become obvious until several days later. A cardboard flat, baking sheet with a rim, or other shallow household tray is more useful than a special ripening gadget because it keeps the fruit visible and limits stacking.
Sort before one bad tomato becomes a batch problem
Ripen green tomatoes indoors without turning it into a project
For most households, the simplest method is also the easiest to monitor: arrange sound tomatoes one layer deep, leave a little space between them, and keep them at room temperature. Minnesota Extension says light is not necessary. Oregon State gives 65 to 70 degrees F as the optimum range for ripening mature-green tomatoes, while Utah State warns that storage below about 50 to 55 degrees F can lead to poor flavor or chilling damage.
A windowsill is not required and can create unnecessary heat swings. A dark shelf, pantry, or spare counter works if the temperature is appropriate and the fruit stays visible enough to check. Do not seal tomatoes in a plastic bag; condensation and poor visibility work against the frequent inspection that protects the batch.
Choose a tray, box, or paper bag by the size of the batch
The banana trick is optional. Tomatoes produce their own ethylene as they mature, and adding another ripening fruit can speed the process without improving an immature tomato. The more enclosed the setup, the more often it deserves inspection. For a beginner, visibility usually matters more than speed.
Use the tomatoes as they ripen
Indoor-ripened tomatoes may not match the flavor of fruit that finished on a healthy vine in good weather, but mature fruit can still be useful. Move each ripe tomato into the next meal instead of waiting for the whole tray to change color at once. Sandwiches, eggs, soup, sauce, roasted vegetables, and chili can absorb a staggered harvest without creating a special preservation weekend.
When several sound tomatoes ripen together, the beginner method for freezing tomatoes for sauce can buy more time. If the volume still feels larger than the household can process, use the 24-hour plan for too much garden produce to eat, preserve, share, and release it in that order.
What matters first and what can wait
The best pre-frost harvest is not the one with the most tomatoes on the counter. It is the one you can inspect, use, and preserve safely without losing the week to it. Pick the fruit with a real path forward, keep the system visible, and let the forecast close the season without turning it into a verdict on the whole garden.
Plan the next practical step
Use the beginner homestead checklist
Build a realistic starting plan for food, money, skills, and household capacity without trying to begin every homestead project at once.
Get the free checklistSources and safety notes
Ripening and harvest guidance in this article was checked against University of Minnesota Extension, Utah State University Extension, and Oregon State University Extension. The canning warning comes from the National Center for Home Food Preservation's USDA-based tomato guide. Forecasts, varieties, and growing conditions differ, so use local Extension advice when disease, freeze damage, or food safety makes the decision uncertain.
Frequently asked questions
Will green tomatoes ripen after they are picked?
Mature-green tomatoes often ripen satisfactorily indoors. Fruit that has reached full size and begun changing from dark green toward a lighter green, whitish, or faintly pink stage has better odds than small, hard, deeply green fruit. A tomato harvested too immature may shrivel or rot without developing good flavor.
How can I tell whether a green tomato is mature enough to ripen?
Look for fruit that is full size for its variety, feels firm and solid, and has shifted from an even dark green toward a paler green or a light star-like area at the blossom end. If you need to test one representative fruit, a mature-green tomato has developed gel around the seeds inside.
Do green tomatoes need sunlight to ripen indoors?
No. University of Minnesota Extension notes that light is not necessary; warmth matters more. Keep sound tomatoes at room temperature in a single layer with space between them, away from direct sun and strong heat, and inspect them frequently.
How long does it take green tomatoes to ripen indoors?
At normal room temperature, mature-green tomatoes commonly need about two weeks, but variety, maturity, and temperature can make the process shorter or longer. Utah State Extension notes that temperatures near 70 degrees F speed ripening, while cooler conditions slow it. Check the fruit every day or two rather than relying on one date.
Should I put green tomatoes in a paper bag with a banana?
A paper bag or loosely closed box can concentrate ethylene and may speed ripening, and Utah State Extension describes using a ripening banana in a box. It is optional, not required. Use only a few sound tomatoes, avoid sealing them in plastic, and check daily because trapped moisture or one decaying fruit can spoil the batch.
Can I can tomatoes picked after a frost?
Do not can tomatoes from dead or frost-killed vines. The National Center for Home Food Preservation and University of Minnesota Extension both give that warning. For canning, use sound, high-quality tomatoes and a current research-tested recipe with the required acidification. Harvesting appropriate fruit before the freeze avoids that uncertainty.
Recommendations
Useful tools and resources for this decision
These are included only where they reduce repeated friction, clarify a next step, or help you avoid buying the wrong thing first.
Read the tomato guide
University of Minnesota Extension tomato guide
Clear home-garden guidance on frost harvest, mature-green signs, one-layer indoor ripening, temperature, and the fact that light is unnecessary.
Best for: Checking whether a green tomato is mature enough to ripen indoors
View resourceReview storage guidance
Utah State University harvest and storage guide
Practical guidance for harvesting before a hard frost, removing stems, arranging fruit in a box, and managing ripening temperature.
Best for: Planning a simple indoor ripening setup
View resourceRead the Extension guide
Oregon State University tomato and tomatillo guide
Research-based detail on mature-green fruit, gel development, chilling injury, and the 65 to 70 degree F ripening range.
Best for: Understanding maturity and temperature limits
View resourceOpen the canning guide
National Center for Home Food Preservation tomato guide
Current USDA-based home-canning directions, including the warning not to can tomatoes from dead or frost-killed vines.
Best for: Making a safe preservation decision after harvest
Use the current tested recipe exactly; this article is not a canning recipe.
View resourceRecommended next reads
Read next if it helps the decision
Move into the next guide only if it clarifies the next practical step.
Gardening
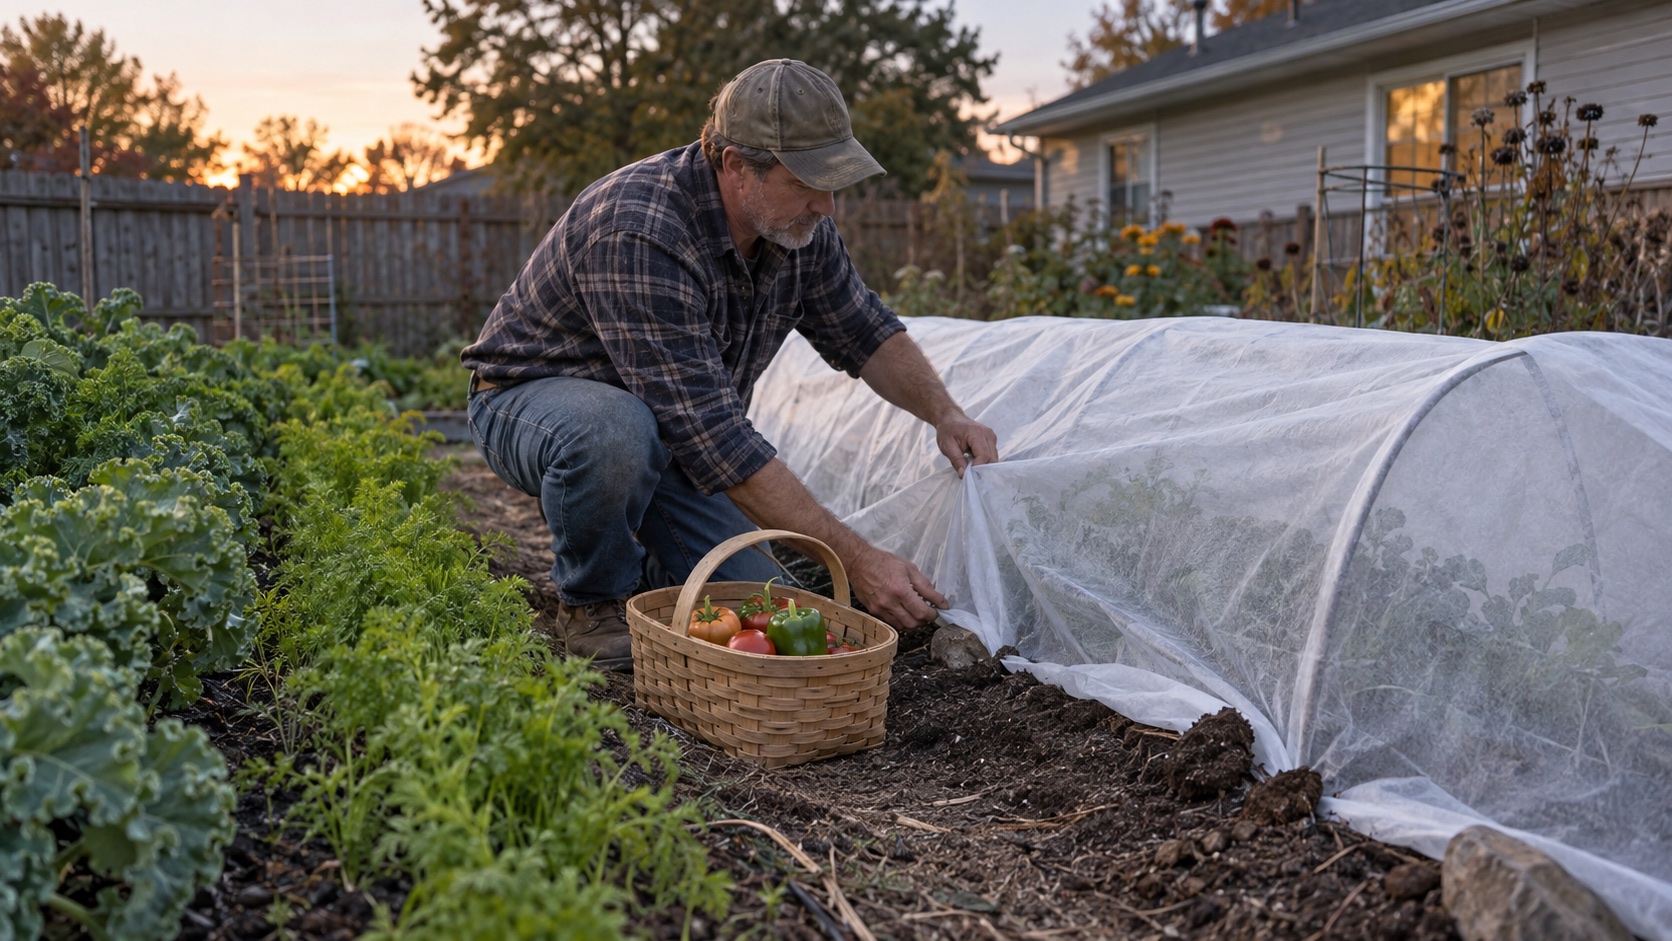
How to Protect a Vegetable Garden From the First Frost
Protect a vegetable garden from frost by harvesting tender crops first, covering only what is worth extending, and leaving cold-tolerant crops alone when conditions allow.
Gardening
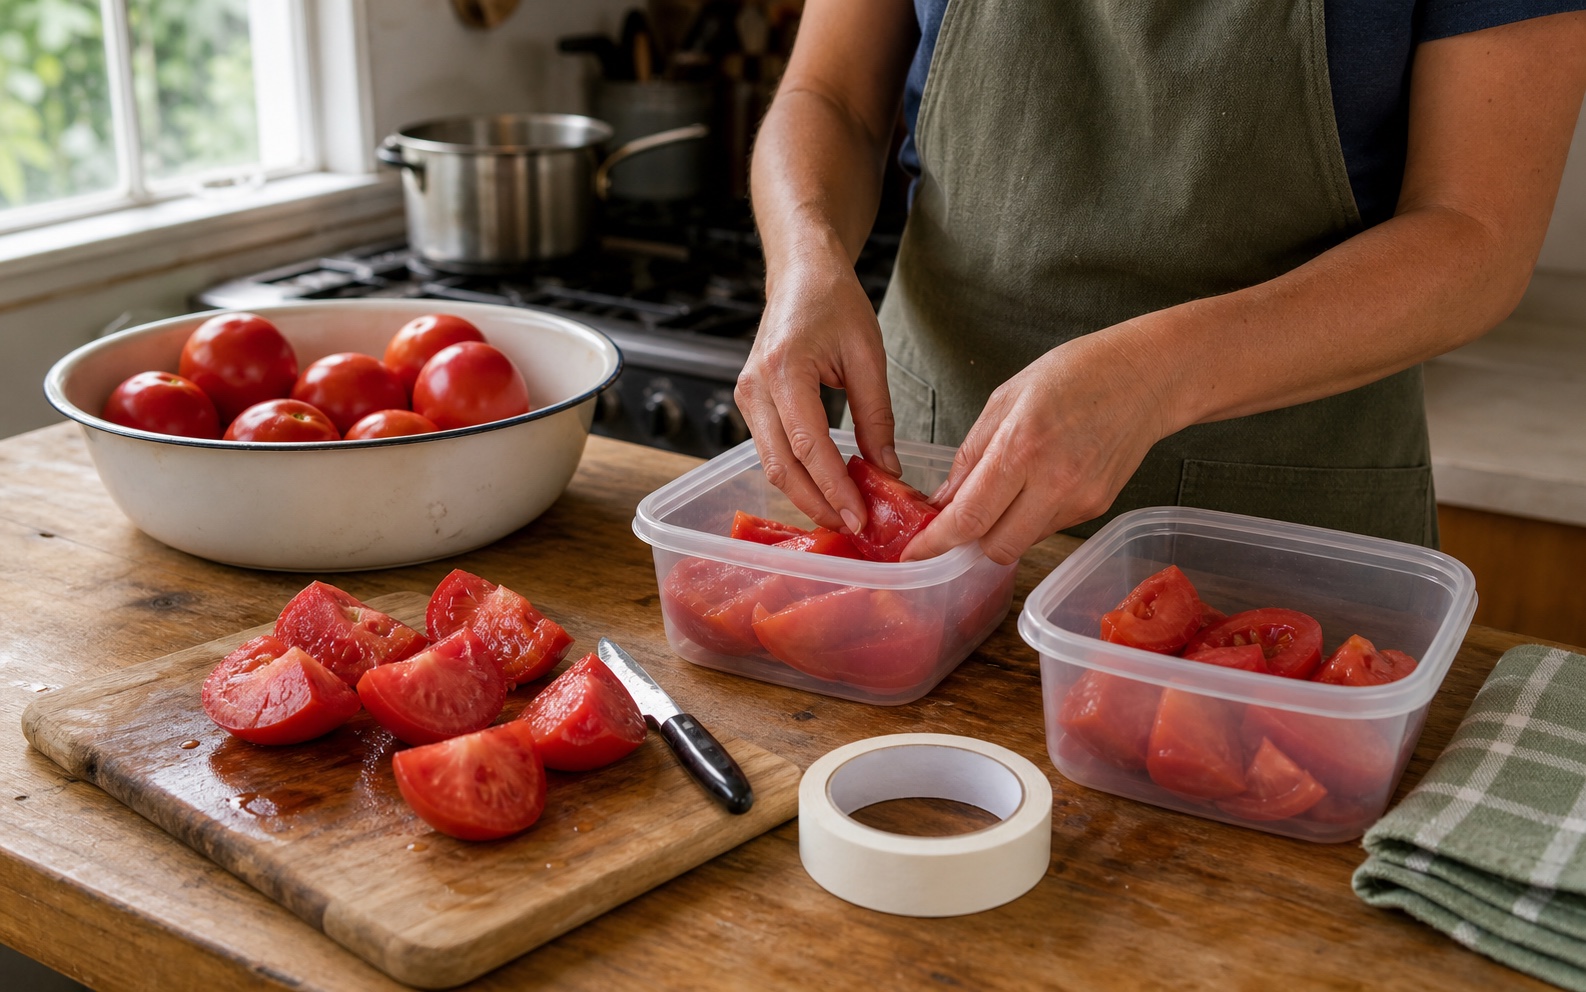
How to Freeze Tomatoes for Sauce Later: A Beginner Method
Freeze ripe tomatoes in meal-sized portions for future sauce without pretending they will thaw firm. This beginner method covers peeling, packing, headspace, labeling, thawing, and the difference between freezing and canning.
Gardening
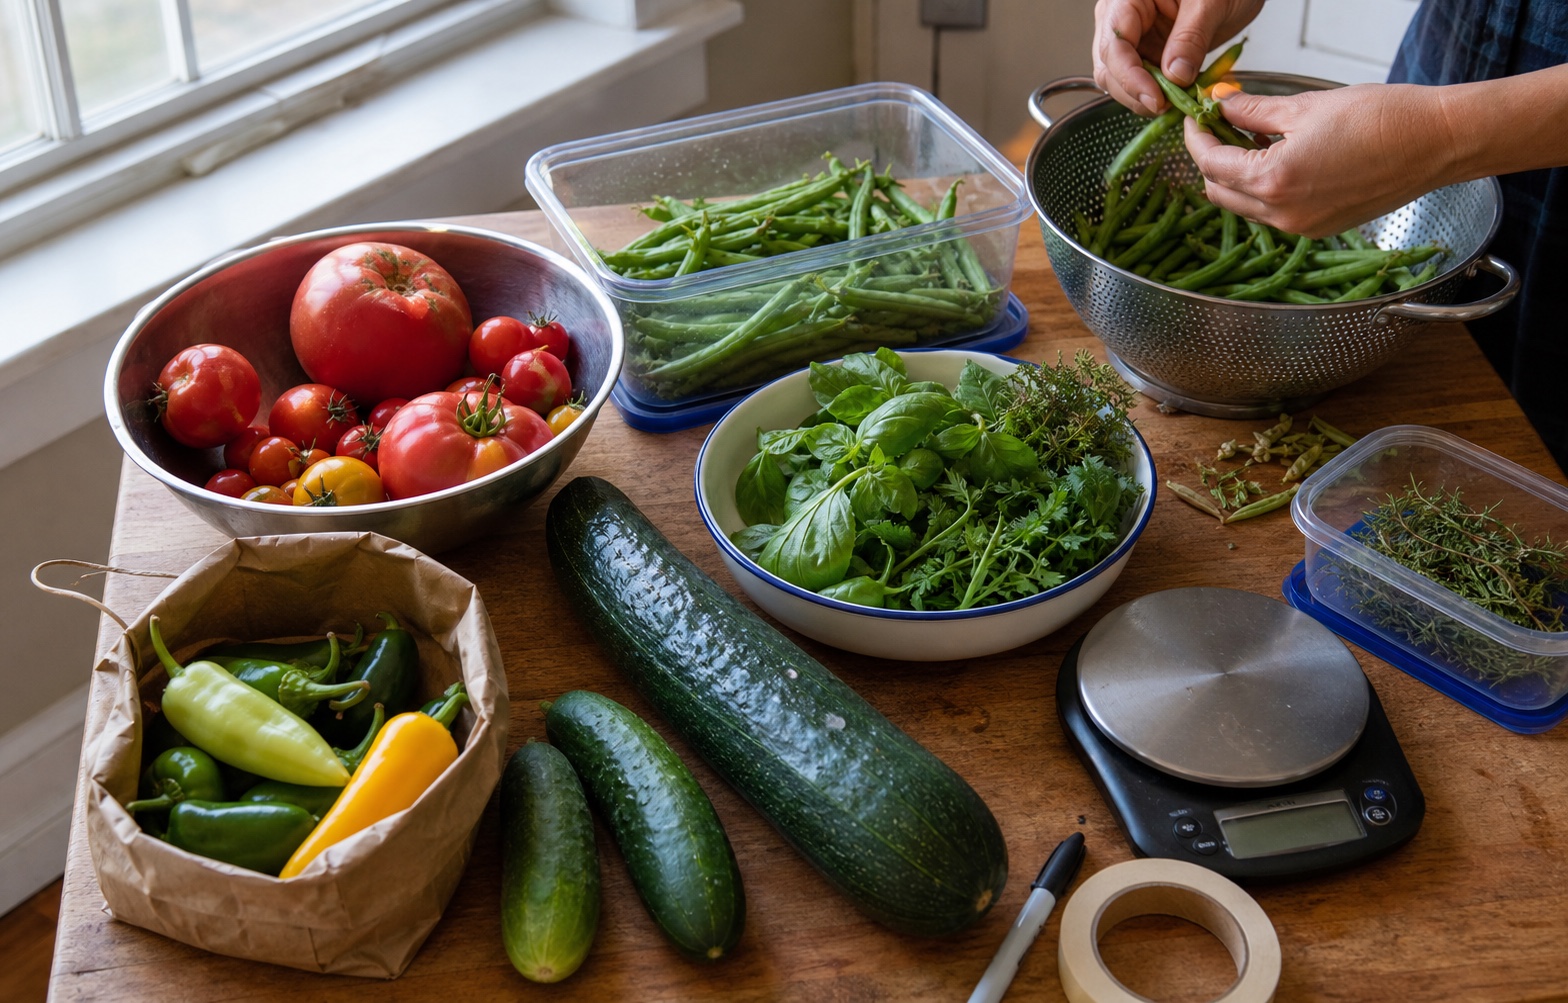
What to Do With Too Much Garden Produce: A 24-Hour Plan
A calm four-lane plan for moving an overflowing garden harvest from the counter into meals, short-term storage, tested preservation, or someone else's kitchen before it becomes waste.
Garden gear support
Get the buy-first guide before the first garden collects too much gear.
Use the guide to decide which early garden purchases earn money now, which ones can be borrowed, and which ones can wait until the routine proves itself.
Best for: Beginners who keep seeing useful things online and need a disciplined way to decide what actually earns a place.
- A buy now, borrow, wait, or skip framework
- Starter category shortlists
- A three-question purchase test
Garden planning notes, restrained gear decisions, and the guide first.
After signup, the download will unlock right here so you can save or print it.
About the author
William Mock
Founder, writer, and beginner homesteader
William writes from the beginner side of rebuilding after a layoff: homestead plans, family systems, budgets, tools, and the decisions that make a home feel less fragile.
Read why this site existsRelated Guides
Keep building context
Gardening
How to Protect a Vegetable Garden From the First Frost
Protect a vegetable garden from frost by harvesting tender crops first, covering only what is worth extending, and leaving cold-tolerant crops alone when conditions allow.
Gardening
How to Freeze Tomatoes for Sauce Later: A Beginner Method
Freeze ripe tomatoes in meal-sized portions for future sauce without pretending they will thaw firm. This beginner method covers peeling, packing, headspace, labeling, thawing, and the difference between freezing and canning.
Gardening
Why Tomatoes Split After Rain and What to Do Next
Tomatoes often split when dry soil turns suddenly wet. Here is how to sort the fruit, reduce the next round of cracks, and stop blaming the wrong garden problem.