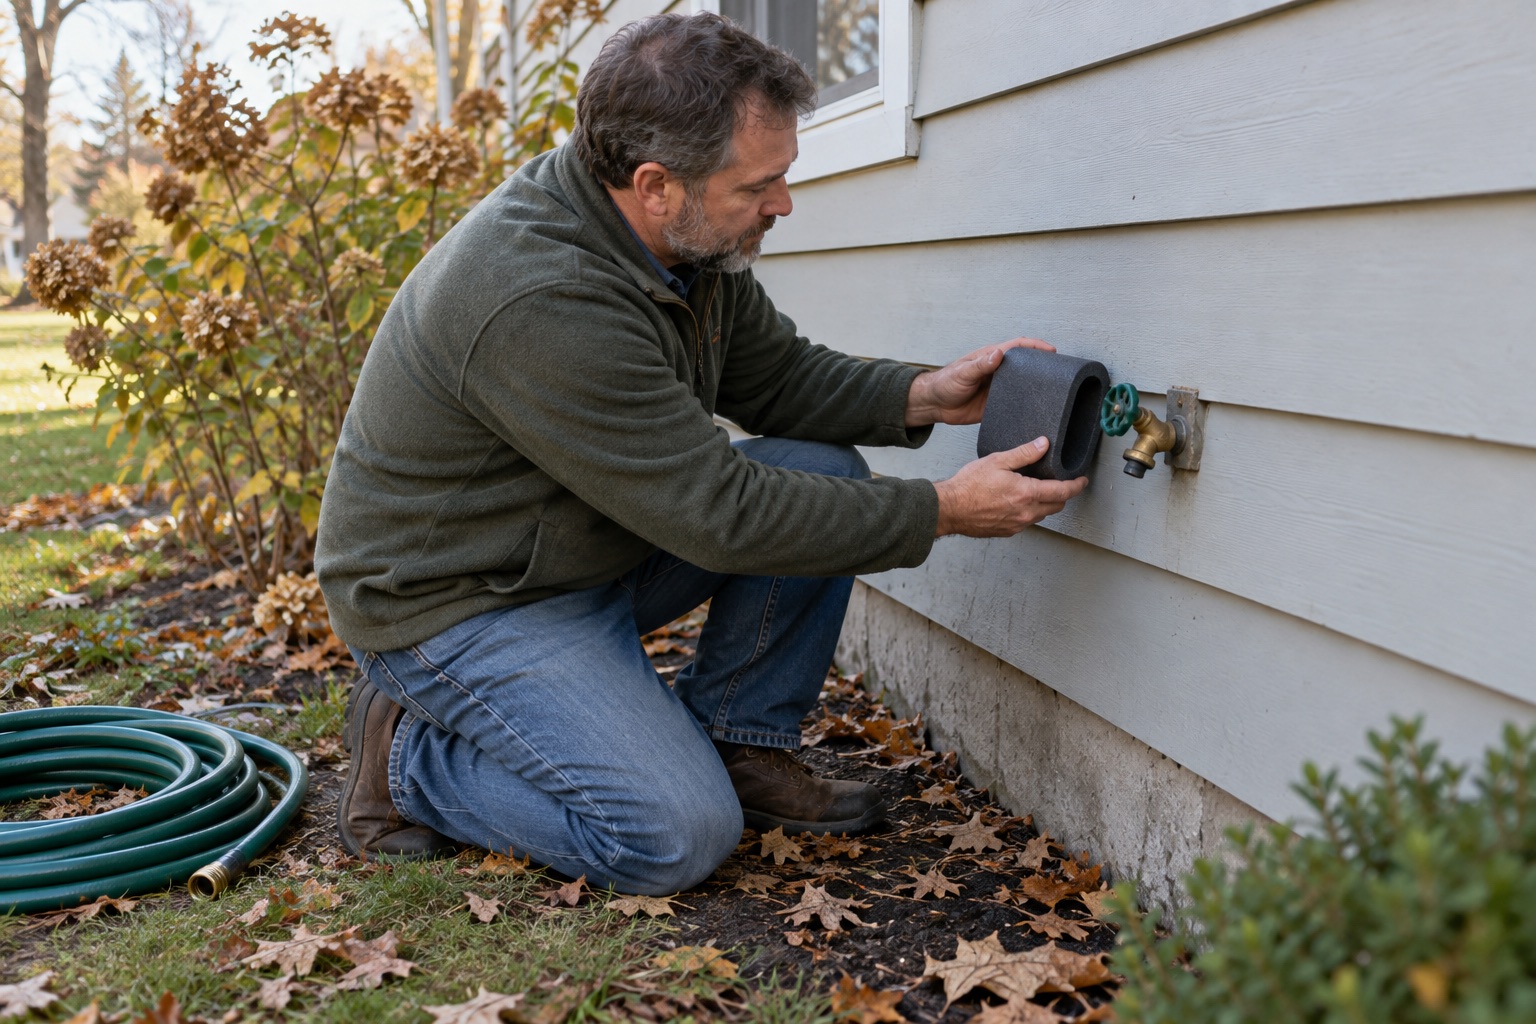
To winterize an outdoor faucet, first remove the hose, timer, splitter, nozzle, and every other restriction. Then identify the faucet type and follow its actual cold-weather procedure: a conventional hose bib may have a separate indoor shutoff and drain step, while many frost-free faucets must be installed correctly and left able to drain through the outlet. Add a fitted insulating cover only after those steps. If you cannot identify the valve or find an unexplained leak, stop guessing and call a plumber before freezing weather.
This is one seasonal job inside a broader beginner homestead maintenance schedule. It is also the plumbing-side next step after the separate guide to draining and storing a garden hose. The hose and the building connection touch each other all summer, but they are not the same winterization job.
The summer route stopped at the wall
When I walked the hose route from the spigot to the sunny strip we were considering for growing space, I was thinking about ordinary summer problems. The gate needed to open. The family needed the path. The hose needed to reach without becoming a green trip line with ambitions. That walk changed how I thought about buying the hose.
Later, while working through the winter-storage guide, I realized that my route had ended too neatly at the wall. I could disconnect, drain, inspect, and coil the hose, but none of that identified the valve inside the house or proved that the faucet barrel could drain. The part I could see was not the whole water system.
I do not have a dramatic story about discovering a burst pipe at midnight, and I am not going to borrow one for atmosphere. The useful personal lesson was quieter: I had treated the familiar handle outside as if familiarity meant understanding. It did not. Once I separated the hose job from the faucet job, the next move became obvious. Identify what is actually installed before cold weather asks the question for me.
Start with the setup, not the shopping list
Outdoor faucet, hose bib, sillcock, and wall hydrant are often used loosely in conversation. The label matters less than the mechanism in your wall. A cover from the hardware aisle cannot tell you where the actual shutoff sits, whether the faucet drains, or whether an attached device blocks that drainage.
Woodford's explanation of a standard frost-proof faucet shows the shutoff inside the heated portion of the building and the barrel pitched toward the outlet. It also shows why a connected hose can prevent drainage. By contrast, Woodford separately lists automatic-draining models designed to drain with a hose attached. Similar appearance is not identification.
Look for a model name, casting mark, instruction tag, installation record, or clear plumbing documentation. Trace only what is safely visible. Do not remove a permanent vacuum breaker, backflow device, cap, or wall-mounted component because it resembles a removable garden accessory. If the supply route disappears into a finished wall or the valves are unlabeled, a plumber can identify the arrangement without turning an autumn checklist into exploratory demolition.
Remove every outlet restriction
Before the forecast reaches freezing, disconnect removable hoses, timers, splitters, quick-connect fittings, and closed nozzles from the faucet. PRIER's cold-weather guidance specifically calls out hoses, nozzles, splitters, and timers because they can leave water where a freezeless faucet is supposed to drain. The hose has no retirement plan; it will stay attached until February if nobody gives it one.
Do not wrench a seized attachment against the plumbing inside the wall. Hold-off force at the wrong place can turn a stubborn ten-dollar fitting into hidden damage. If an accessory will not come off with ordinary hand pressure, or the faucet twists at the wall, stop and get qualified help.
Follow the right shutoff and drainage path
For a conventional outdoor hose bib with a verified separate indoor supply valve, both the American Red Cross frozen-pipe guidance and the City of Portland winter-plumbing guide advise closing the inside valve, opening the outdoor faucet, and allowing the exterior line to drain. The Red Cross advises keeping that outside valve open so remaining water has room to expand. Use this only when you have positively identified the valve and know it serves that faucet.
Do not copy that sequence blindly onto every frost-free faucet. A standard frost-free wall faucet normally closes at the handle and drains through the outlet when it has the right pitch and no restriction. An automatic-draining model may have another mechanism. Follow the exact manufacturer's instructions, local utility guidance for your climate, or the plumber who can see the installation. There is no prize for confidently operating the wrong valve.
Use a faucet cover as a second layer
Portland's water bureau recommends insulating outdoor faucets with a molded foam cover or another suitable weather-protected insulating method. A fitted cover can reduce direct exposure to cold air and wind. It cannot drain a trapped barrel, repair poor installation, close a leaking valve, or identify the supply line.
If you need a basic molded cover, the Frost King FC1 is one researched option. The manufacturer identifies it as a reusable oval foam cover for an outside faucet. Measure the available space and check the exact model at checkout; siding profile, faucet projection, vacuum-breaker hardware, and nearby obstacles can all affect fit. I have not personally tested this cover, and I would keep a serviceable cover already on hand rather than replacing it for the pleasure of receiving another cardboard box.
One working-family example
Imagine a home with one standard frost-free faucet, a 50-foot hose, a two-way splitter, and a battery timer used for the garden. This is an example, not a report about our plumbing. The rushed version is to unscrew the hose, leave the splitter and timer in place, press a cover over the whole arrangement, and feel productive. The faucet is now wearing a hat over two possible drainage restrictions.
The steadier version takes one pass before the cold night: disconnect every removable item, drain the hose, store the timer within its temperature limits, confirm the faucet model, inspect for drips, and verify that the barrel drains as its instructions describe. Then fit the cover if the local plan calls for one. Add the main shutoff location and plumber number to the household notes while nobody is standing in freezing rain.
That is small enough to assign. One person handles the hose and accessories. One confirms the faucet instructions and shutoff location. The job is complete when the system is understood and documented, not when a foam shell makes the wall look winter-themed.
If the faucet is already frozen
Treat a frozen outdoor faucet as a plumbing problem, not a reason to add force. Do not twist a frozen handle, strike the fixture, or use a blowtorch, propane heater, charcoal device, or other open flame. The Red Cross advises calling a licensed plumber when the frozen section is inaccessible, cannot be located, or cannot be thawed safely. Check other faucets because one frozen line can signal broader exposure.
Know how to shut off the home's water and watch for leakage as conditions change. A standard frost-free faucet can split inside the wall while frozen and reveal the damage only after thawing or the next time it is opened. If you see water where it should not be, hear flow with fixtures closed, or find reduced pressure you cannot explain, shut down the appropriate supply if you can do so safely and call a plumber.
A 10-minute pre-freeze check
A yard hydrant, irrigation system, well component, backflow assembly, livestock water line, or outdoor kitchen supply is not automatically handled by this wall-faucet checklist. Those systems have their own drain points, buried depth, pressure, backflow, and winter-use requirements. Put each one on the homestead backup plan with the correct manual or service contact.
What matters first, and what can wait
Finish the free steps first: disconnect, identify, inspect, and document. Then buy only what solves a verified gap. That order protects the house better than beginning with a cover and hoping the foam understands the plumbing behind the wall.
When the faucet is ready, close the rest of the outdoor-water loop with the garden hose winter-storage checklist. Then use the fall homestead checklist to decide what truly needs attention before the season changes. A calmer winter plan is not built by treating every outdoor object as an emergency. It is built by understanding the few systems that can become one.
Frequently asked questions
Do I need to cover a frost-free outdoor faucet?
A cover can add a modest insulating layer, but it does not replace correct installation, drainage, or the model's instructions. Many standard frost-free faucets must drain through the outlet after shutoff, so remove the hose and other restrictions first. Some automatic-draining models work differently. Identify the exact faucet before deciding what the cover is doing.
Should I leave an outdoor faucet open during winter?
There is no safe universal answer for every installation. The American Red Cross advises closing the inside valve that supplies a conventional outdoor hose bib, opening the outside bib to drain it, and leaving that outside valve open. A frost-free or automatic-draining faucet may use a different operating position. Follow the installed model, local utility guidance, or a plumber's instructions.
Can I leave a garden hose attached to a frost-free faucet?
Do not assume so. Many standard frost-free faucets depend on an open outlet so the barrel can drain; an attached hose, timer, splitter, or closed nozzle can trap water. A few models are specifically designed to drain with a hose attached, but that feature must be confirmed from the exact model's instructions.
When should I winterize an outdoor faucet?
Finish the setup-specific steps before freezing weather reaches your property, using the local forecast rather than a generic calendar date. If watering is finished, handling it earlier gives you time to identify a shutoff, replace a failed cover, or call a plumber without making the first cold night the project deadline.
What should I do if my outdoor faucet is already frozen?
Do not force the handle, strike the faucet, or use a torch or other open flame. Know how to shut off the home's water and check for signs of leakage. If the frozen area is inaccessible, the installation is unknown, a pipe is damaged, or you cannot restore normal flow safely, call a licensed plumber. Damage may become visible only after thawing or when the faucet is used again.
Recommendations
Useful tools and resources for this decision
These are included only where they reduce repeated friction, clarify a next step, or help you avoid buying the wrong thing first.
Researched faucet-cover option
Frost King FC1 outdoor foam faucet cover
A reusable oval foam cover sized for a standard outside faucet. Confirm that the FC1 fits the wall, faucet, and surrounding hardware before ordering.
Best for: Adding a simple insulating layer after the hose is removed and the faucet's correct winter procedure is complete
Check current priceCheck manufacturer details
Frost King FC1 manufacturer specifications
The manufacturer's product page confirms the FC1 model, foam construction, oval format, intended outdoor-faucet fit, and reusable insulating purpose.
Best for: Checking the product identity and purpose independently from the retailer listing
View resourceRecommended next reads
Read next if it helps the decision
Move into the next guide only if it clarifies the next practical step.
Tools
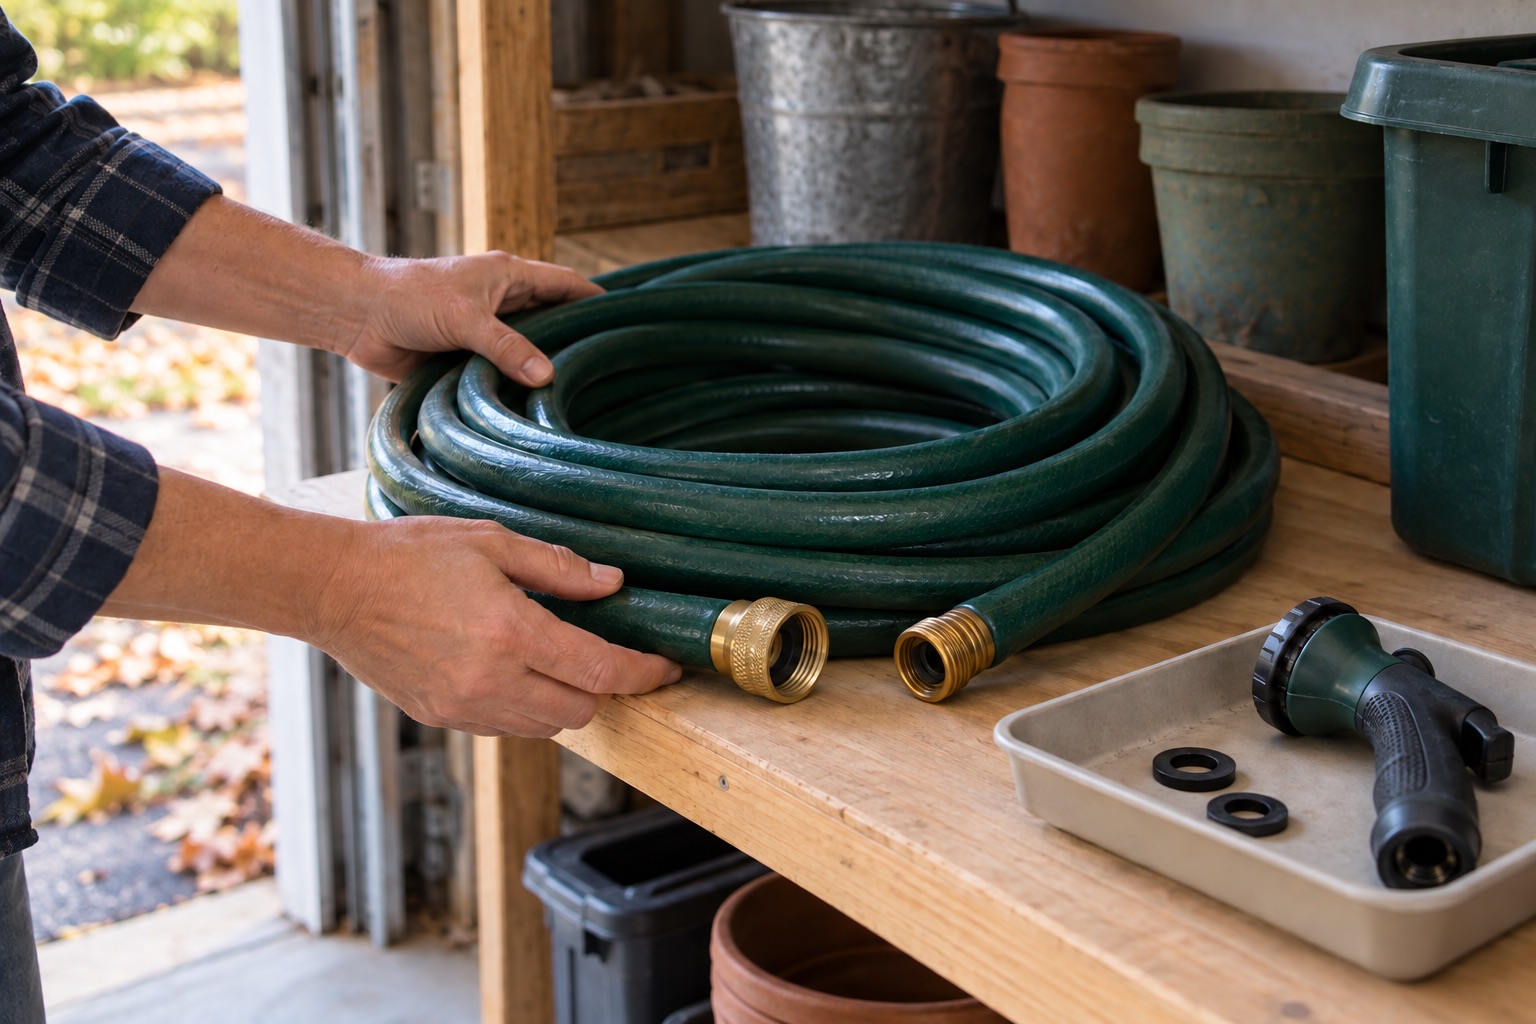
How to Drain and Store a Garden Hose for Winter
Disconnect, drain, inspect, and store your garden hose before freezing weather, with separate checks for the faucet, nozzle, timer, and reel.
Systems
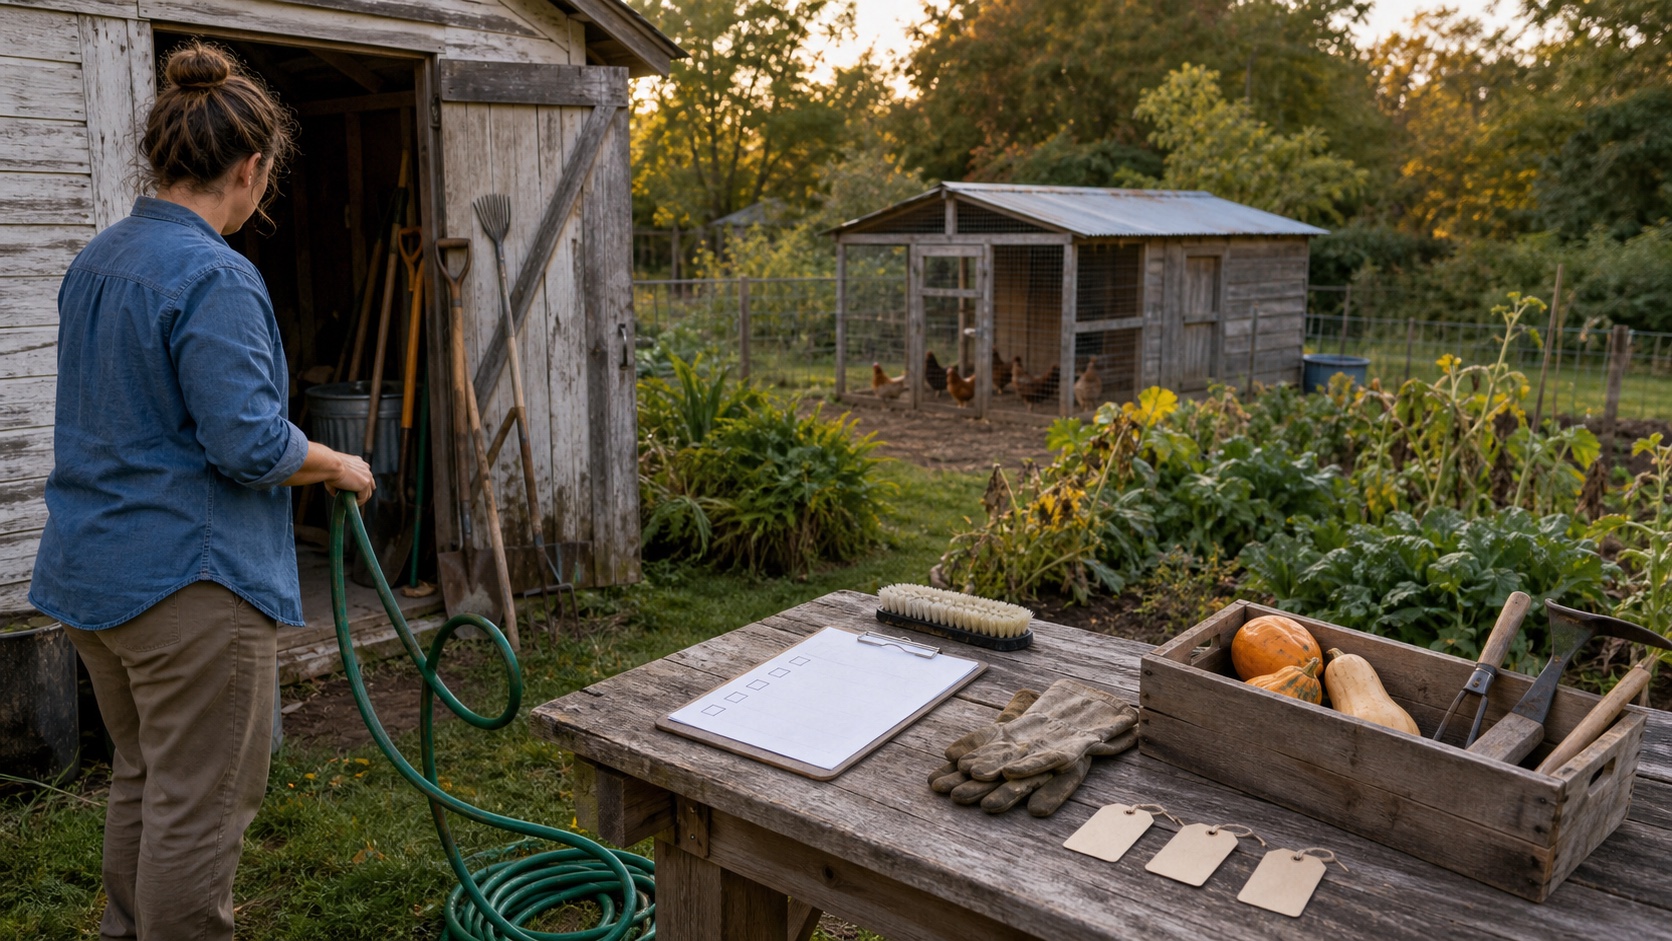
Fall Homestead Checklist for Beginners: What to Finish Before Cold Weather
A practical fall homestead checklist for sorting safety, animals, garden harvests, water, tools, food storage, and unfinished projects before cold weather arrives.
Systems
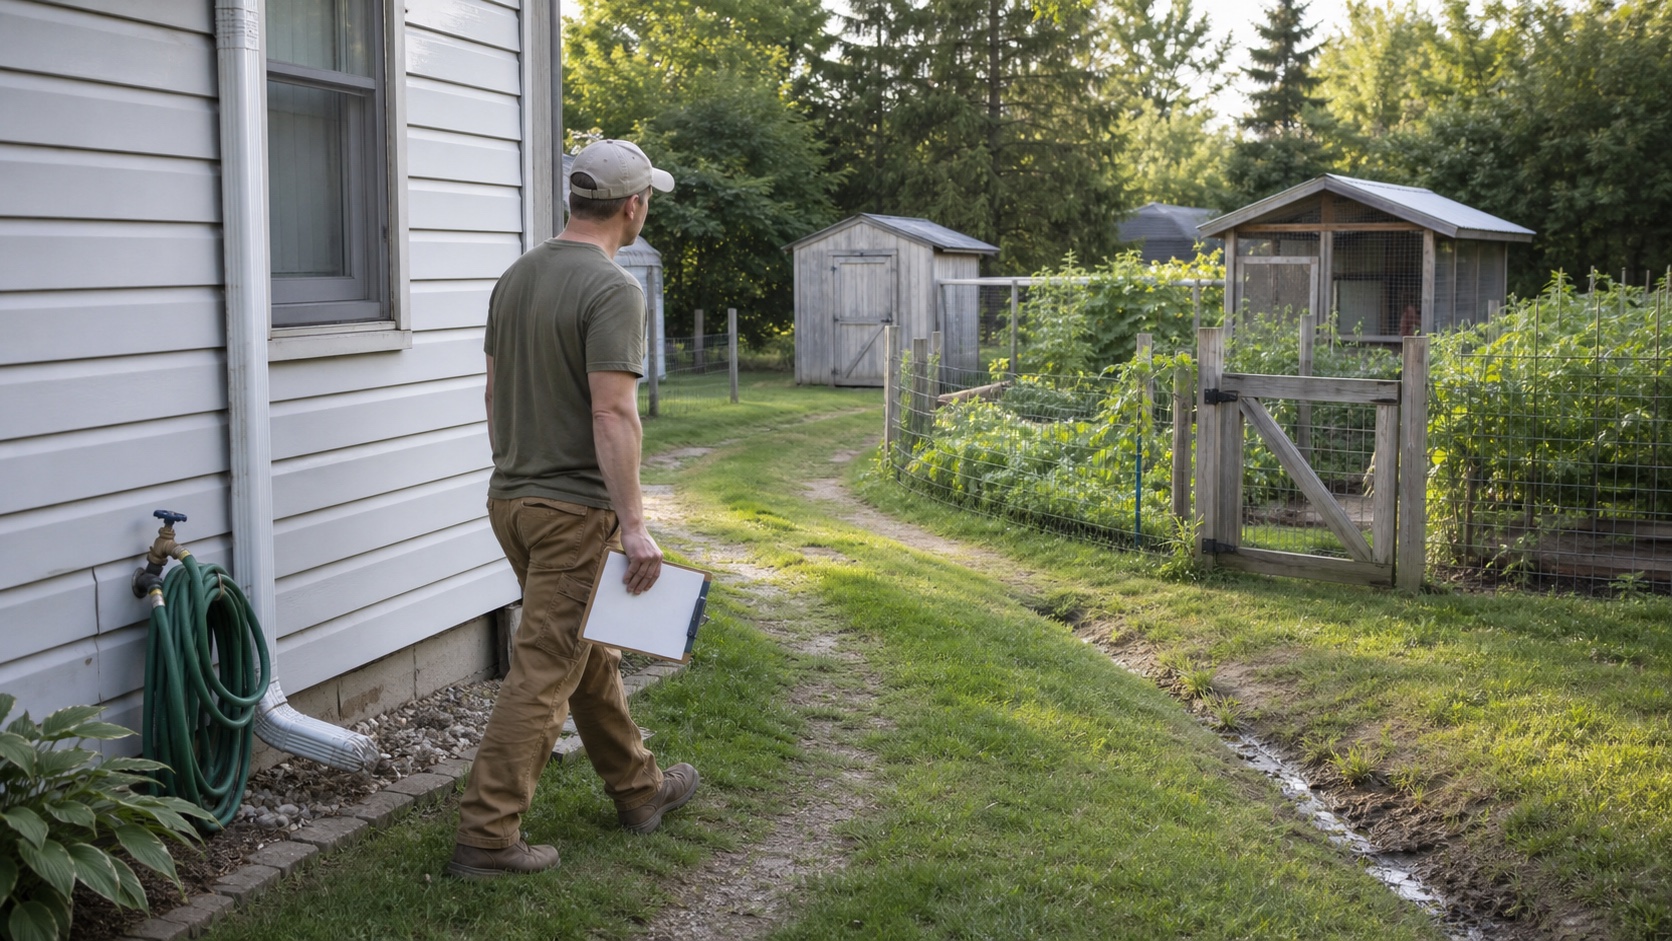
A Beginner Homestead Maintenance Schedule That Won't Take Over Your Week
Build a realistic homestead maintenance schedule around the systems you actually own, one monthly inspection route, seasonal work, and clear repair priorities.
Weekly rhythm support
Get the weekly reset planner that keeps the week from scattering.
A print-friendly weekly planner for resets, anchor tasks, and the few routines that make the house feel steadier.
Best for: Readers who need a calmer household rhythm before they need more projects.
- A weekly anchor planner
- A reset checklist
- A what-to-drop, delay, or delegate review
Low-noise notes on routines, resets, and steadier household systems.
After signup, the download will unlock right here so you can save or print it.
About the author
William Mock
Founder, writer, and beginner homesteader
William writes from the beginner side of rebuilding after a layoff: homestead plans, family systems, budgets, tools, and the decisions that make a home feel less fragile.
Read why this site existsRelated Guides
Keep building context
Tools
How to Drain and Store a Garden Hose for Winter
Disconnect, drain, inspect, and store your garden hose before freezing weather, with separate checks for the faucet, nozzle, timer, and reel.
Systems
Fall Homestead Checklist for Beginners: What to Finish Before Cold Weather
A practical fall homestead checklist for sorting safety, animals, garden harvests, water, tools, food storage, and unfinished projects before cold weather arrives.
Systems
A Beginner Homestead Maintenance Schedule That Won't Take Over Your Week
Build a realistic homestead maintenance schedule around the systems you actually own, one monthly inspection route, seasonal work, and clear repair priorities.