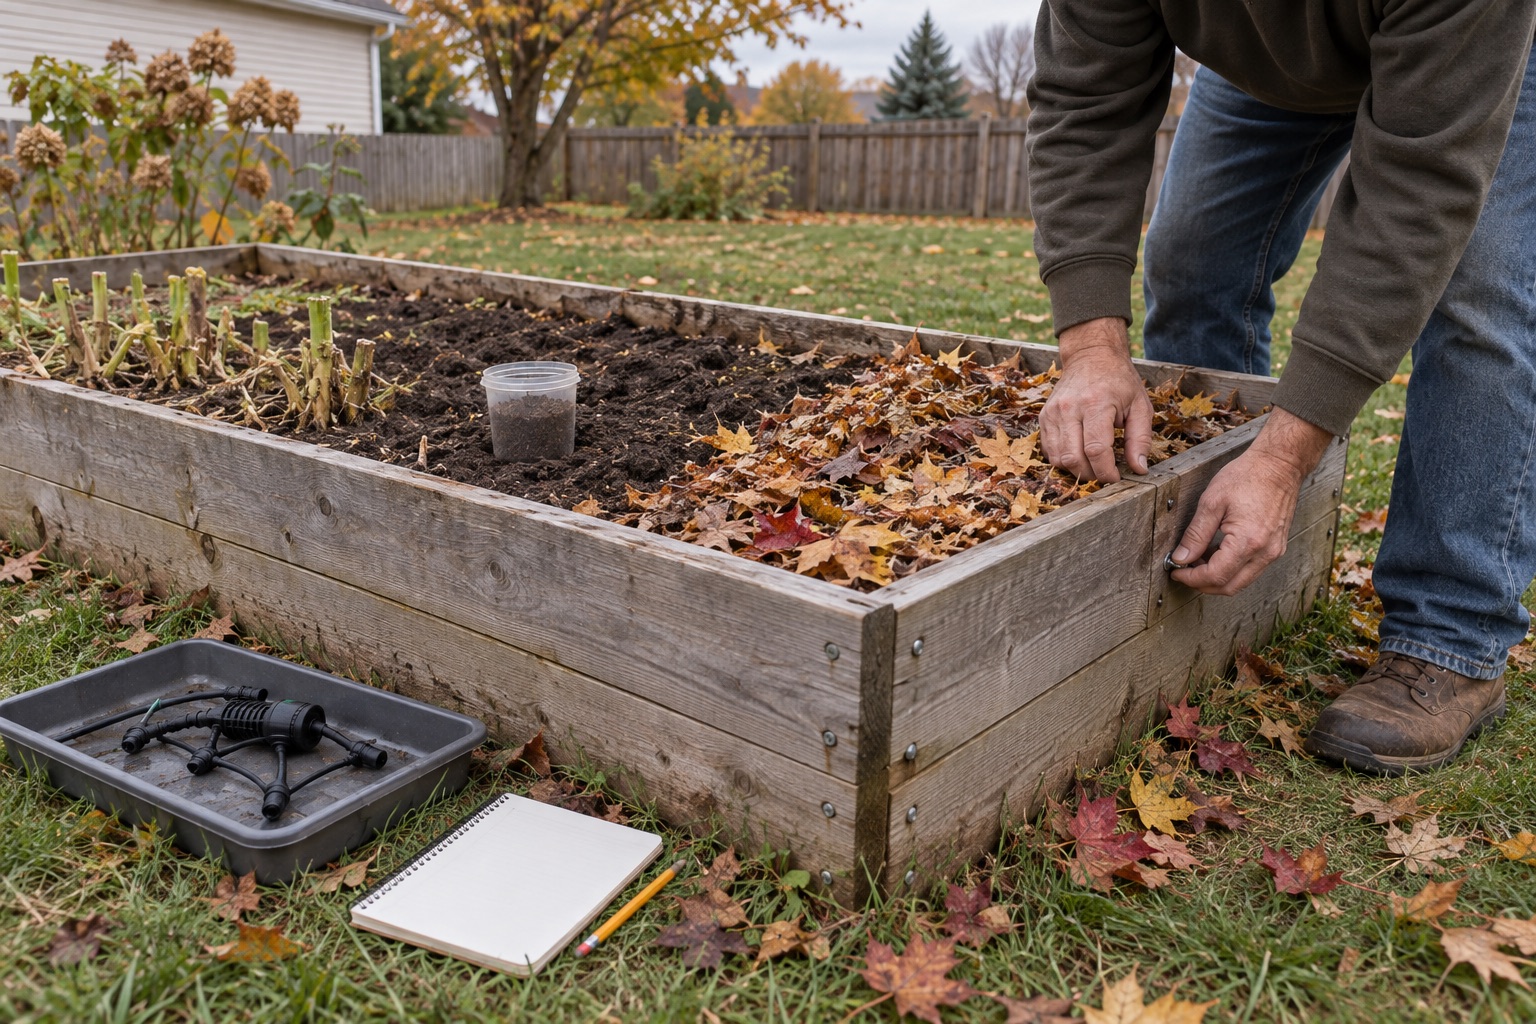
To winterize a raised garden bed, finish or protect the crops that still matter, remove diseased plants and fallen produce, record what happened in the bed, take a soil sample before adding amendments when one is due, cover the soil, drain irrigation components, and inspect the frame and paths. The goal is not a perfectly empty box. It is a protected bed with fewer unanswered questions waiting in spring.
Raised beds need a slightly different closing routine than an open garden row. Their soil can dry and change temperature faster, the sides and fasteners create maintenance points, imported soil can accumulate nutrients or salts, and irrigation fittings often sit above ground where trapped water matters. A useful winter plan closes those specific loops without turning one bed into a weekend renovation.
The empty bed that looked finished
In my fall garden cleanup guide, I wrote about how strongly I wanted visible finish lines after being laid off. A cleared table, a checked box, or a stack of papers reduced to one folder felt like proof that life was moving. When the larger questions stayed unsettled, neatness could impersonate progress for an afternoon.
That same instinct can follow me outside. A raised bed stripped to bare soil looks decisive. Every stalk is gone. The edges are visible. The job seems closed. But an empty bed can still be holding a loose corner, a wet irrigation fitting, a repeated tomato-family rotation, an amendment habit the soil did not ask for, and no record of where disease showed up.
The better finish line is a handoff. Winterization should tell spring what happened, protect what is worth protecting, and remove the small failures that freezing weather can make worse. I still like a job I can call done. I just trust the kind of done that leaves evidence more than the kind that only looks clean.
First decide whether the bed is finished growing
Do not winterize by calendar alone. A bed with productive kale, carrots, spinach, garlic, perennial herbs, strawberries, or another cold-tolerant planting is not the same as a bed of spent tomatoes after disease or frost. Identify every living crop before cutting anything. Check its cold tolerance, your forecast, and your local Extension guidance, then decide whether to harvest, protect, leave dormant, or remove it. For carrots, account for the raised bed's exposed sides when deciding whether to keep the roots in the ground for winter harvest.
Temporary frost protection is also different from winter closure. A cover can buy time for a defined crop during a light cold event, but it does not turn a tender summer crop into an all-winter planting. The first-frost garden guide explains that short-term decision. This guide begins once you know which section of the bed is truly done.
Sort residue before the clues disappear
Cleanup is the best time to separate useful organic material from material that can carry a problem forward. Healthy annual tops can often go to a managed compost system or another locally appropriate use. Diseased plants, rotting fruit, seed-heavy weeds, contaminated material, and unknown residue deserve a conservative route based on local rules. A backyard pile may not heat evenly enough to destroy every pathogen or weed seed.
Look before you remove. Note which corner stayed wet, where roots were weak, where a pest repeated, and whether one crop shaded another. Photograph a symptom if identification is uncertain. If the same crop family has occupied that bed repeatedly, write it down now; crop rotation is harder to reconstruct from memory beside spring seed packets.
Sample the soil before adding more
A raised bed can settle and still have plenty of fertility. It can also look dark and rich while phosphorus or soluble salts are already high. University of Minnesota Extension recommends testing established raised beds every two to three years and applying compost, fertilizer, or other inputs according to the result. Penn State also warns against assuming that repeated additions are automatically good soil care.
If a test is due, take the sample before spreading compost, manure, lime, fertilizer, ash, or a new soil mix. Use the laboratory's own sampling instructions because depth, number of subsamples, container, and requested tests can differ. Tell the lab the bed grows vegetables. If contamination or an unusual salt problem is possible, ask the lab or local Extension office which additional test is appropriate instead of guessing from appearance.
A low soil line needs diagnosis too. Organic matter decomposes and mixes settle, but soil may also be washing through a failed seam or slumping beside a bowed board. Repair the loss point before paying to refill the bed. When material is genuinely needed, choose a reputable source and match the addition to the test, bed depth, drainage, and next crop rather than buying whichever bag promises better growth.
Choose one practical way to cover the soil
Bare soil is more exposed to erosion, crusting, weeds, and temperature swings. Penn State's raised-bed soil-health guidance treats keeping soil covered as a core principle. That cover can be living roots, crop residue, clean organic mulch, or another method suited to the bed. The right choice depends on how much growing season remains and how quickly you need the bed in spring.
If cover-crop timing still works, use the small-garden cover-crop guide to choose a species by its spring exit plan. If the planting window has closed, a modest layer of clean leaves may be simpler. The leaf-mold guide explains how to separate leaves used now from the clean excess worth aging for later.
Do not heap mulch against wooden bed sides, plant crowns, trunks, or the siding of a nearby structure. Do not seal wet soil under an improvised plastic cover and forget it. Apply enough clean material to protect the surface, then check after wind and heavy rain. Regional guidance matters because a wet coastal winter, a windy dry winter, and repeated Midwest freeze-thaw cycles do not create the same management problem.
Drain the water system before freezing weather
Disconnect the bed from its water source before the first hard freeze. Illinois Extension advises removing, drying, and storing the backflow preventer, filter, pressure reducer, and other vulnerable head components indoors. Open the lowest point so gravity can drain the lines. Follow the manufacturer when a system has valves, sharp elevation changes, rigid fittings, or another place that can trap water.
Keep removed parts together in a labeled container or attach a blank diagram showing where they return. Cap or protect open lines from dirt and insects without trapping water inside. If the raised bed is supplied by a regular garden hose, disconnect and store that separately using the garden-hose winter storage steps. A hose and a drip head assembly share a water source, but they are not the same equipment.
Inspect the box, corners, and paths
Walk all four sides before mulch or snow hides the base. Look for a corner pulling apart, a bowed board, exposed fastener, sharp edge, loose cap, unstable trellis socket, soil escaping through a seam, or a low path that directs runoff toward the bed. Press lightly rather than climbing or sitting on a questionable wall. Keep children away from a structure that has become unstable.
Repair a condition that is actively releasing soil, creating a sharp edge, blocking drainage, or likely to fail under winter load. Photograph and measure a cosmetic check, minor weathering, or future replacement that can safely wait. Use hardware and repair methods compatible with the bed material and food-growing use. When structural safety is uncertain, get qualified local help rather than improvising around a loaded wall.
A realistic one-bed winterization scenario
Picture one four-by-eight wooden bed after tomatoes and beans. The tomatoes showed leaf spotting late in the season, the beans stayed healthy, one corner has loosened slightly, and a short drip line still runs beneath the mulch. There is also a row of fall spinach at the far end. This is not one cleanup decision. It is four smaller ones.
The spinach stays and gets managed for the forecast. Tomato plants, fallen fruit, and questionable residue leave by the conservative local route. Healthy bean tops go to the normal compost system. The gardener records where the tomatoes grew, samples the open soil because the bed is due for testing, drains and stores the irrigation head, tightens the active corner connection, and covers only the finished section with a light layer of clean shredded leaves.
Nothing about that afternoon looks dramatic. That is the point. The bed enters winter with one crop still useful, one problem contained, one soil decision waiting for evidence, one repair completed, and one spring setup preserved. The work follows the bed instead of forcing the whole box into a single tidy picture.
What matters first and what can wait
What I would not buy just to winterize one bed
I would not buy a packaged winterizing kit, a random fertilizer, a fresh load of compost, decorative bed covers, a soil meter, or replacement boards merely to make the project feel complete. A notebook, clean local mulch, the tools already used to maintain the bed, and the correct storage place for irrigation parts will handle most of this job. Soil testing and a proven repair can earn money later because they answer a real question.
That is why this article has no affiliate recommendation. The useful decision is mostly sequencing and observation. Adding a product link would pressure the advice toward a purchase when the strongest first move is to inspect what the bed already has. If a future repair or irrigation problem identifies an exact part, buy to that measured need and the manufacturer's specification.
Leave spring a clear handoff
Finish with one note that can survive your memory. Record the crop families, any disease or pest question, the soil-test date, what cover went on, where irrigation parts are stored, which repair was made, and the first action needed before planting. A photograph of the finished bed can preserve layout and problem spots better than a polished garden plan.
A winterized raised bed is not a sealed box or a blank slate. It is a small system paused on purpose. Protect the soil, drain what can freeze, repair what is actively failing, and preserve the season's evidence. Then let the bed be quiet without asking fall cleanup to solve every spring decision early.
Keep the first garden manageable
Use the beginner garden plan for the next season
Winter notes are most useful when they feed a garden plan small enough to water, weed, observe, and maintain through an ordinary family week.
Open the beginner garden planRecommended next reads
Finish the fall garden sequence
These guides cover the decisions immediately around raised-bed winterization: sorting residue, choosing living cover, and putting clean excess leaves to work.
Gardening
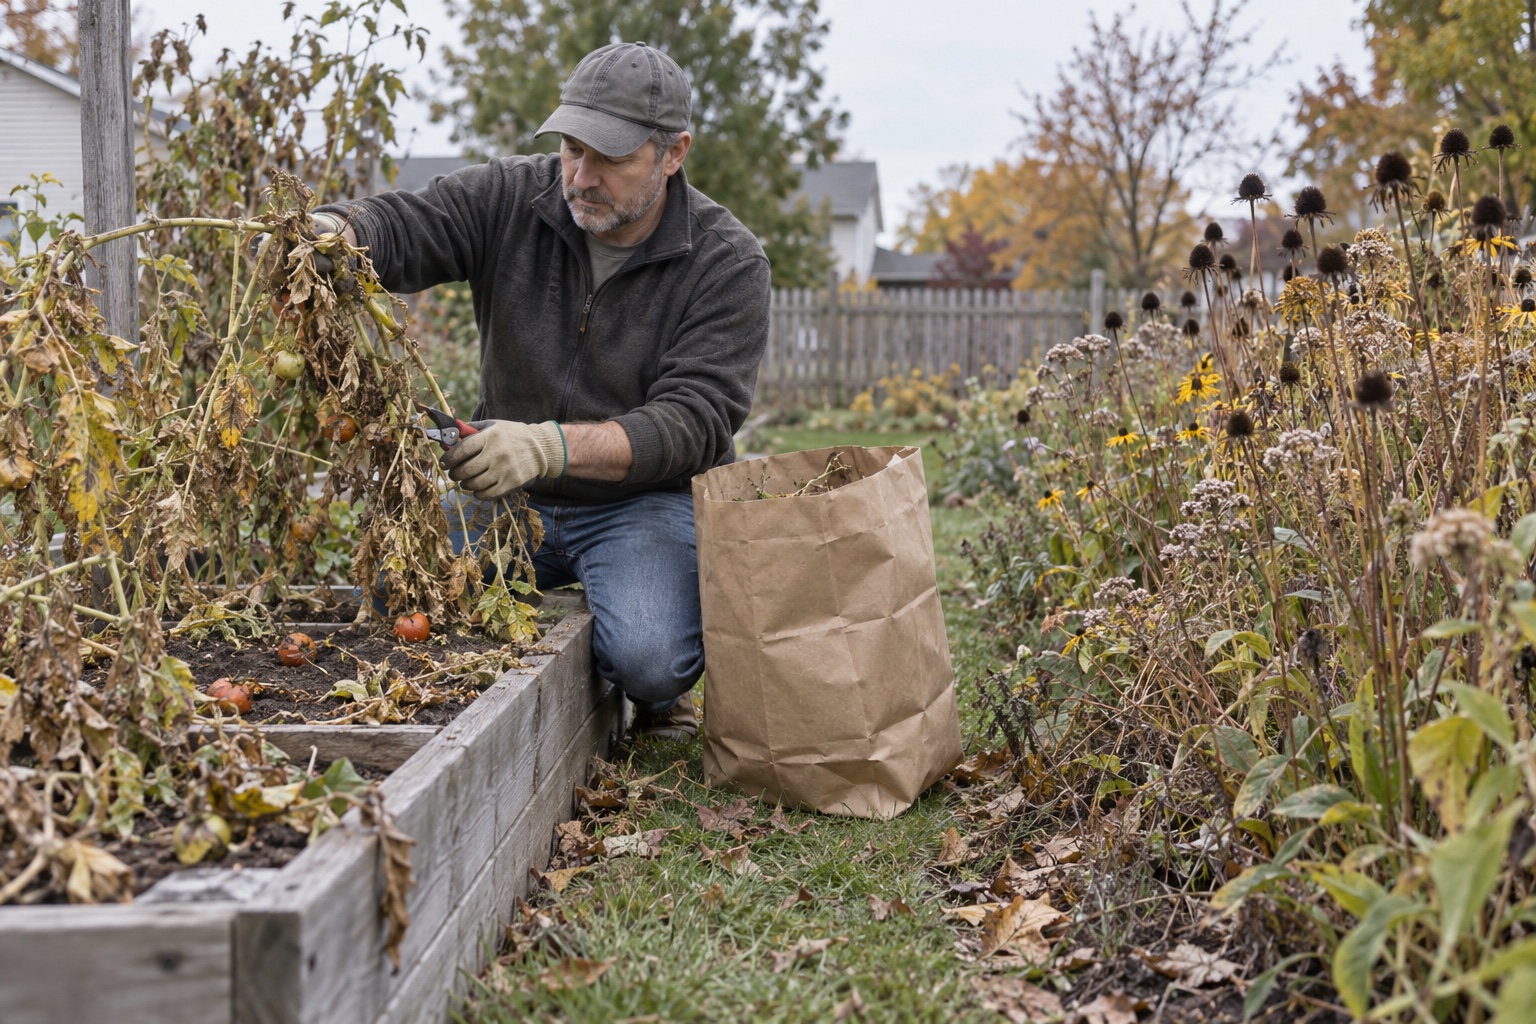
Fall Garden Cleanup for Beginners: What to Remove and Leave
Remove spent vegetable plants, diseased debris, fallen fruit, and seed-heavy weeds, but leave healthy perennial stems and some leaf litter where they support winter habitat.
Gardening
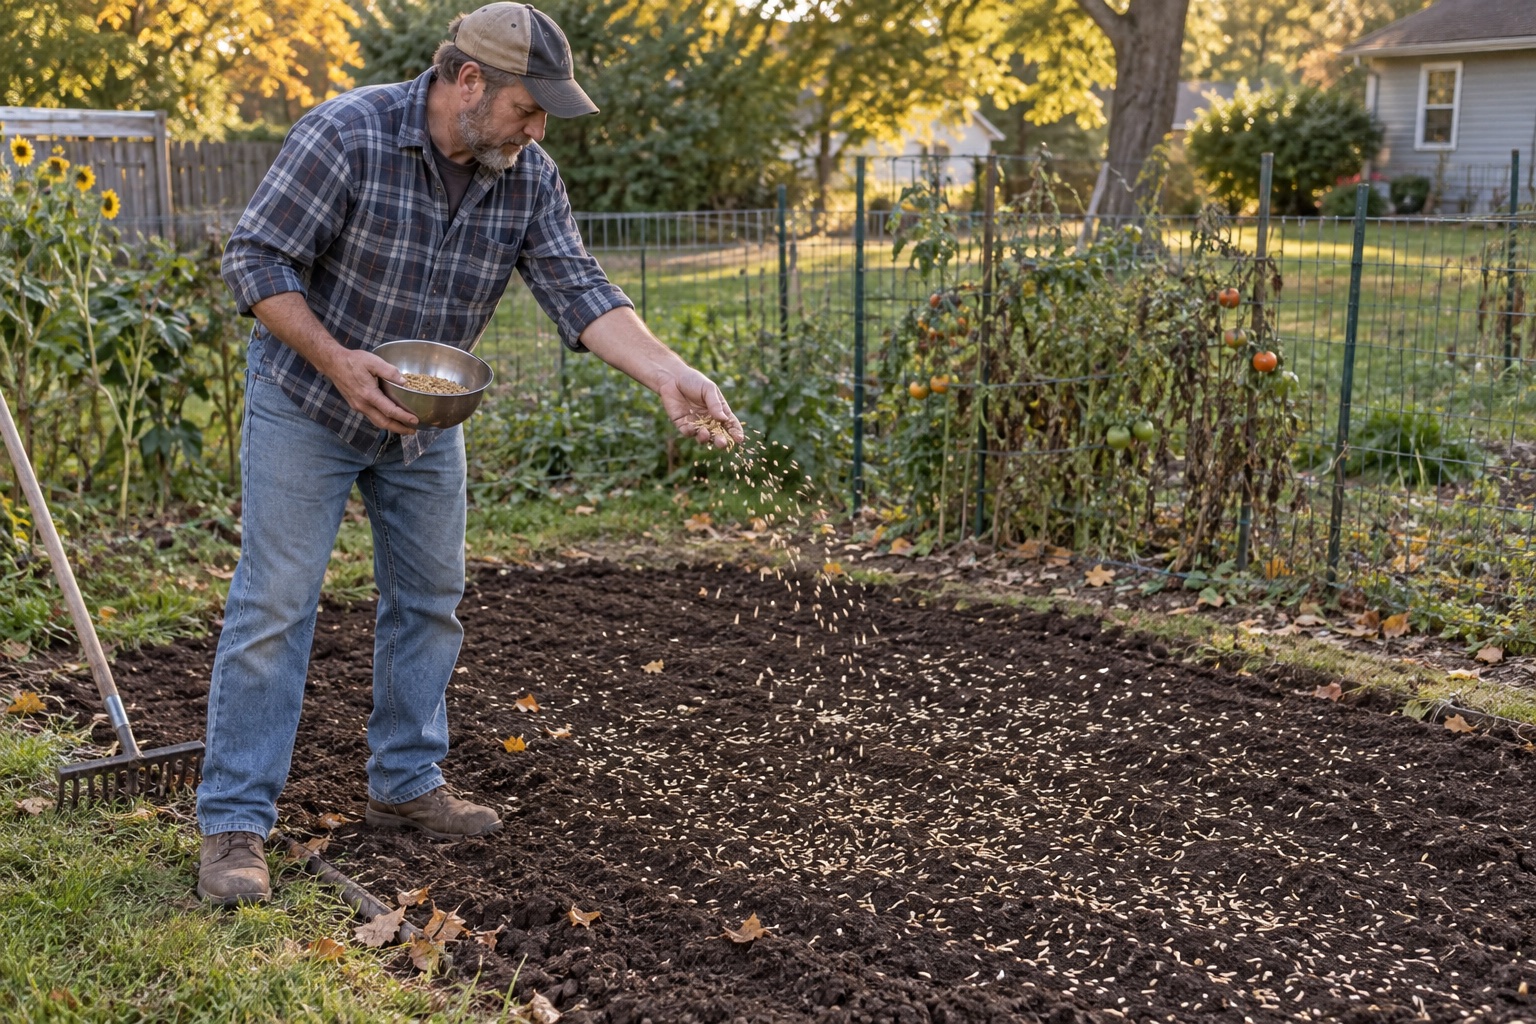
How to Plant a Cover Crop in a Small Vegetable Garden
Start with one cleared bed, choose a cover crop around your spring planting date, and make the termination plan before you sow. Here is the simplest beginner approach.
Gardening
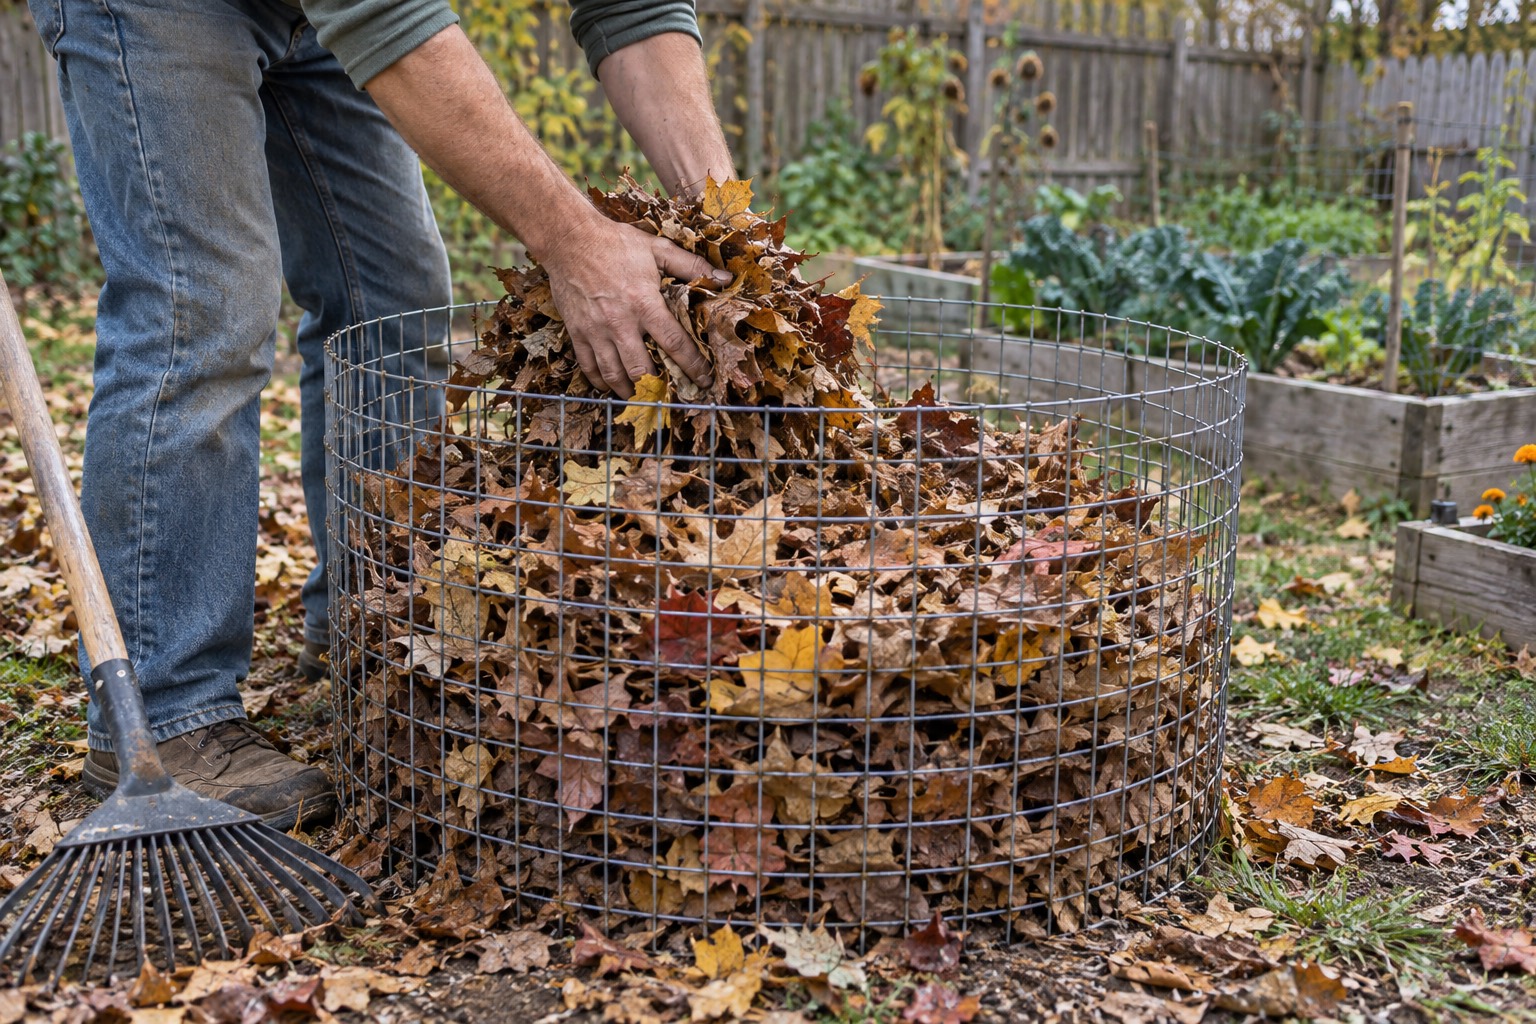
How to Make Leaf Mold From Fall Leaves
Turn clean fall leaves into a useful garden soil amendment with a simple pile, wire bin, or ventilated container and enough patience.
Frequently asked questions
Should I cover a raised garden bed for winter?
Cover the soil, but do not automatically seal the whole bed under plastic. A suitable cover crop, clean organic mulch, or crop residue can protect soil from erosion and temperature swings. Choose the method for your climate, planting schedule, and pest or disease history. Keep any temporary fabric or plastic used for active crops secured and managed according to its purpose rather than leaving it unattended all winter.
Should I add compost to raised beds every fall?
Not automatically. Raised beds can accumulate phosphorus and soluble salts when compost or manure is added heavily year after year. Test the soil periodically and use the result, crop plan, and the compost's source to decide whether the bed needs compost, another amendment, or nothing yet.
Should I pull old vegetable plants or cut them at soil level?
Remove the whole plant when roots or crowns appear diseased, badly infested, or need inspection. A healthy annual can often be cut at soil level so roots decompose in place with less disturbance. Remove fallen fruit, seed-heavy weeds, and questionable residue rather than burying a known problem.
Can I leave drip irrigation in a raised bed over winter?
Follow the system manufacturer's instructions and local Extension guidance. At minimum, disconnect the water source, remove and dry the backflow preventer, filter, pressure reducer, timer, and other vulnerable head components, then open the low point so the lines can drain. Systems with fittings that trap water may need additional winterization.
Do raised beds need more soil before winter?
A lower soil line does not automatically mean the bed needs to be filled immediately. First check whether the mix simply settled, washed out, or escaped through a failed corner. Repair the cause, review a soil test when fertility is uncertain, and add an appropriate tested soil or amendment only when the bed actually needs it.
Recommendations
Useful tools and resources for this decision
These are included only where they reduce repeated friction, clarify a next step, or help you avoid buying the wrong thing first.
Read the soil-health guide
Penn State Extension raised-bed soil health guide
A current raised-bed reference covering minimal disturbance, soil cover, crop diversity, living roots, mulch, and the risks of treating compost as an unlimited input.
Best for: Choosing how to protect and improve raised-bed soil without piling on unnecessary amendments
View resourceReview raised-bed maintenance
University of Minnesota Extension raised-bed guide
Research-based guidance on raised-bed maintenance, soil testing, compost and soluble-salt caution, crop rotation, watering, and season extension.
Best for: Checking soil, amendment, rotation, and long-term maintenance decisions
View resourceCheck the irrigation steps
Illinois Extension drip-irrigation guide
A practical guide to home drip systems, including filters, pressure reducers, laterals, maintenance, and freeze-season winterization.
Best for: Closing down a raised-bed drip system before freezing weather
View resourceOpen the raised-bed guide
Oregon State Extension raised-bed care guide
A concise raised-bed reference covering faster drying, faster temperature changes, irrigation, and a winter layer of leaves or other organic material.
Best for: Understanding why raised beds need a deliberate soil-cover and moisture plan
View resourceRecommended next reads
Read next if it helps the decision
Move into the next guide only if it clarifies the next practical step.
Gardening
Fall Garden Cleanup for Beginners: What to Remove and Leave
Remove spent vegetable plants, diseased debris, fallen fruit, and seed-heavy weeds, but leave healthy perennial stems and some leaf litter where they support winter habitat.
Gardening
How to Plant a Cover Crop in a Small Vegetable Garden
Start with one cleared bed, choose a cover crop around your spring planting date, and make the termination plan before you sow. Here is the simplest beginner approach.
Gardening
How to Make Leaf Mold From Fall Leaves
Turn clean fall leaves into a useful garden soil amendment with a simple pile, wire bin, or ventilated container and enough patience.
Garden gear support
Get the buy-first guide before the first garden collects too much gear.
Use the guide to decide which early garden purchases earn money now, which ones can be borrowed, and which ones can wait until the routine proves itself.
Best for: Beginners who keep seeing useful things online and need a disciplined way to decide what actually earns a place.
- A buy now, borrow, wait, or skip framework
- Starter category shortlists
- A three-question purchase test
Garden planning notes, restrained gear decisions, and the guide first.
After signup, the download will unlock right here so you can save or print it.
About the author
William Mock
Founder, writer, and beginner homesteader
William writes from the beginner side of rebuilding after a layoff: homestead plans, family systems, budgets, tools, and the decisions that make a home feel less fragile.
Read why this site existsRelated Guides
Keep building context
Gardening
Fall Garden Cleanup for Beginners: What to Remove and Leave
Remove spent vegetable plants, diseased debris, fallen fruit, and seed-heavy weeds, but leave healthy perennial stems and some leaf litter where they support winter habitat.
Gardening
How to Plant a Cover Crop in a Small Vegetable Garden
Start with one cleared bed, choose a cover crop around your spring planting date, and make the termination plan before you sow. Here is the simplest beginner approach.
Gardening
How to Make Leaf Mold From Fall Leaves
Turn clean fall leaves into a useful garden soil amendment with a simple pile, wire bin, or ventilated container and enough patience.