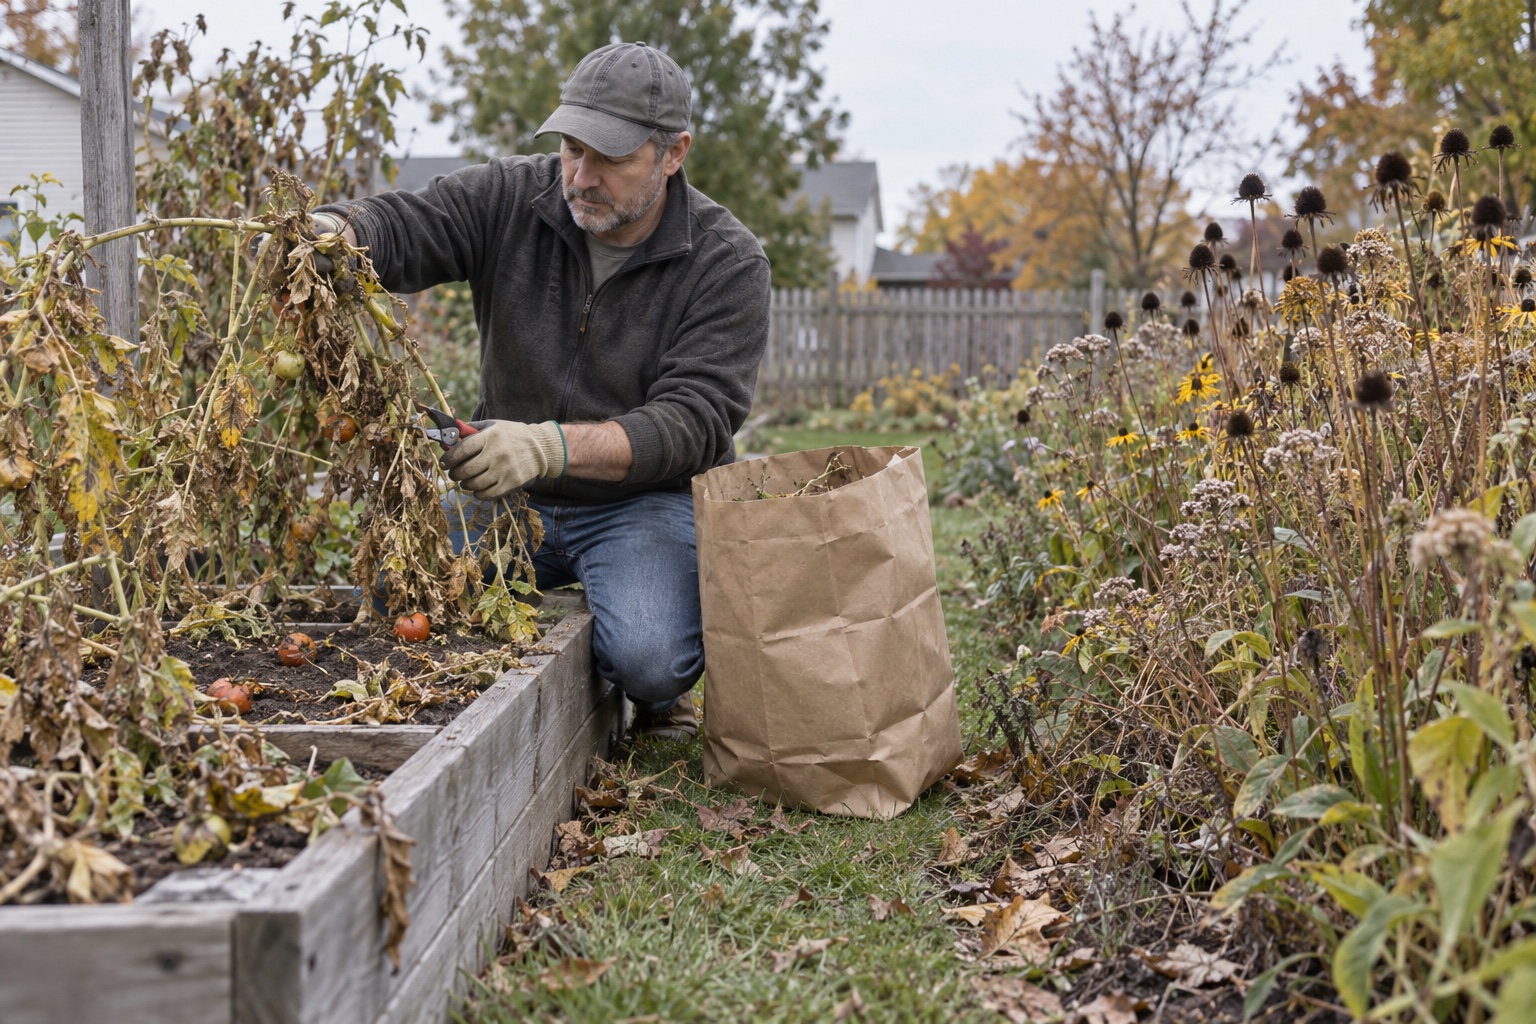
For fall garden cleanup, remove spent vegetable plants, fallen or rotting fruit, diseased debris, and weeds that have gone to seed. Compost only healthy plant material that your pile can handle. Leave healthy perennial stems, seedheads, and some leaf litter in appropriate flower or pollinator beds, then cover bare vegetable soil with a suitable mulch or cover crop.
This is one focused job inside the broader beginner gardening plan. If cold weather is still approaching and harvest decisions are unfinished, use the first-frost garden guide before pulling productive plants. Cleanup begins when a crop is finished, not simply when September appears on the calendar.
The clean finish line I wanted to see
After the layoff, I became unusually drawn to jobs with a visible finish line. A cleared table, a checked box, or a stack of papers reduced to one folder felt like evidence that life was moving again. When the bigger questions did not have quick answers, neatness could impersonate progress for an afternoon.
That instinct is useful until it starts making the decision. The cleanest-looking option is not always the best-managed option. Throwing away every useful thing can make a room look finished, just as cutting every brown stem and blowing away every leaf can make a garden look finished. But finished and ready are not the same condition.
The better lesson has been to sort by purpose. Some things are carrying a problem and need to leave. Some can become material for the next cycle. Some are doing quiet work exactly where they stand. Fall cleanup becomes a much better job when it stops being a contest for the barest bed and starts becoming a decision about what will help or hurt when spring returns.
Separate the garden into cleanup zones
One universal rule does not fit a tomato bed, a patch of coneflowers, an active kale row, and the leaves under a shrub. Vegetable-garden sanitation matters because crop residue can hold diseases and pest insects near next year's food plants. Healthy perennial stems and leaf litter can serve a different purpose by sheltering overwintering insects and providing seed for birds.
Draw those boundaries before cutting. Even a small yard can hold both a cleaner food-growing area and a looser habitat strip. The point is not to turn the vegetable bed into a sterile surface or the perennial border into an unmanaged pile. It is to understand which function leads in each place.
Remove spent vegetable plants and fallen fruit
Illinois Extension recommends removing fruit and vegetable matter after the first frost, or whenever a cool-season crop is finished. Begin earlier when a plant is clearly done, diseased, or dropping fruit that is rotting on the soil. Tomatoes, squash vines, bean plants, cucumber vines, pepper plants, and other annual crops do not become more useful because they remain tangled around supports all winter.
Do not yank hard on a trellis or cage with a heavy vine still attached. Cut the plant into manageable sections, support the structure, and work from the outside inward. The safest cleanup is usually several small loads, not one dramatic pull that bends a support or sends a wire cage toward your face.
Sort healthy residue from disease and serious pests
A home compost pile is not a disposal system for every plant problem. Illinois Extension advises keeping diseased plant material out because an ordinary pile may not reach and hold a lethal temperature through every part of the batch. That is especially important when the finished compost will return to the vegetable garden.
Disposal rules vary. Some municipal or commercial systems reach higher composting temperatures and accept plant material that should not enter a backyard pile; others prohibit diseased or invasive material. Check the local yard-waste program before filling a bag. Do not move a plant problem to a roadside pile or a neighbor's compost because it is inconvenient at home.
Leave healthy stems and seedheads where they help
Penn State Extension notes that dry hollow stems can provide nesting sites and that standing plants and debris can shelter pollinators through winter. Seedheads can also feed birds. In a healthy perennial or native-flower border, delaying cleanup until spring can do more good than cutting everything to the ground in fall.
Leaving habitat is not the same as ignoring hazards. Remove thorny or collapsing stems from a narrow path, clear material away from house vents and ignition-sensitive areas, and follow local fire guidance. Diseased perennial foliage still comes out. A thoughtful habitat patch has boundaries and a spring follow-up plan.
Use fallen leaves without making a wet mat
Fallen leaves are useful carbon, soil cover, and habitat when they are clean and placed well. They become a problem when a deep wet mat sits on turf, covers a drain, buries a small evergreen plant, or holds moisture against something that should stay dry. Move leaves by function rather than treating every leaf as waste or every pile as habitat.
For a small vegetable bed, the beginner mulch guide explains depth, stem clearance, moisture checks, and material tradeoffs. If the excess leaves need their own slow system, use the leaf-mold guide for fall leaves. If they will balance kitchen scraps and fresh garden waste, use the beginner composting system rather than letting an uncontained heap become a spring cleanup problem. The winter composting decision guide covers whether that system should keep accepting food scraps after access and decomposition slow down.
Protect the soil after the bed is clear
Cleanup solves one problem and can create another if bare soil is left open through winter rain, wind, snowmelt, and freeze-thaw cycles. The next step may be a cover crop, shredded leaves, clean straw, finished compost, or another locally appropriate surface cover. Choose it according to the planting calendar and how much spring management you can handle.
The small-garden cover crop guide starts with the spring exit plan because a living cover is not a one-step fall purchase. If the local seeding window has closed or termination feels unrealistic, use a simpler mulch instead of forcing the more ambitious option.
Record what the debris is telling you
Before everything leaves the bed, save the information. A quick phone photo and a few notes can show where tomatoes grew, which squash struggled, where weeds set seed, and which corner stayed wet. Illinois Extension recommends recording plant locations and performance so crop rotation and spring planning do not begin from memory alone.
Do not turn the notes into a winter shopping list while standing in the garden. Record the evidence now. Decide on purchases after the season is reviewed, the spring plan is smaller, and you know whether the actual fix is a different variety, better spacing, crop rotation, mulch, or no purchase at all.
Use a 45-minute cleanup pass instead of losing a weekend
Stop at one completed bed if that is what the household week can support. A finished, protected bed is more useful than six beds pulled apart at once. If that space is enclosed, use the raised-bed winterization sequence to close out soil, irrigation, frame, and spring-note decisions. The broader fall homestead checklist can hold the hose, tool, chicken, stored-food, and household winter work so garden cleanup does not quietly absorb every available Saturday.
What matters first and what can wait
A good fall cleanup should leave less disease pressure, fewer seed-heavy weeds, protected soil, useful habitat, and a short record for spring. It does not need to leave the whole property looking empty. Sort the material, finish one bed, and let the right parts of the garden keep doing quiet work through winter.
Keep the first season manageable
Use the beginner homestead checklist
Choose the next useful step for food, budget, skills, and household capacity without trying to finish an entire future homestead in one season.
Get the free checklistSources and local guidance
Cleanup, compost, and habitat guidance in this article was checked against Illinois Extension and Penn State Extension resources. Plant diseases, invasive weeds, municipal compost rules, fire conditions, and winter climates differ. Use your local Extension office and local waste authority when identification or disposal changes the decision.
Frequently asked questions
Should I remove all vegetable plants from the garden in fall?
Remove spent vegetable plants, fallen or rotting fruit, diseased debris, and weeds that have set seed. Healthy crop residue can go into a well-managed home compost pile if local guidance supports it. Do not remove productive cool-season vegetables simply because the calendar says fall; harvest them according to the crop and forecast.
Can I leave dead plants in the garden over winter?
The answer depends on the plant and location. Healthy perennial flower stems, seedheads, and some leaf litter can provide winter habitat and food in ornamental or pollinator beds. Spent annual vegetable plants deserve a cleaner approach because crop debris can shelter pests and disease organisms. Diseased material should be removed wherever it appears.
Can diseased garden plants go in a compost pile?
For an ordinary backyard pile, the conservative answer is no. Illinois Extension warns that home compost piles may not heat evenly enough to destroy every pathogen. Keep diseased material separate and follow local rules for trash, municipal collection, or commercial composting rather than spreading the problem through finished compost.
Should I pull garden plants or cut them at soil level?
Pull the full plant when roots or crowns are diseased, infested, or need inspection. For a healthy annual with no pest or disease concern, cutting at soil level can leave roots to decompose in place and reduce soil disturbance. If you cannot confidently identify the problem, remove the entire affected plant and ask local Extension for help.
Should fallen leaves stay in the vegetable garden?
Clean, disease-free leaves can protect soil and add organic material, especially when shredded or applied in a loose layer that does not mat. Keep thick wet piles off active crops, paths, drains, and lawn areas. Do not use leaves mixed with trash, pet waste, road debris, or material from diseased plants.
When should fall garden cleanup happen?
Start as crops finish rather than waiting for one exhausting cleanup day. Remove diseased plants and rotting fruit promptly. After frost ends warm-season crops, clear their debris while it is still recognizable, then protect exposed soil before prolonged wet or frozen weather. Healthy perennial stems can remain until spring.
Recommendations
Useful tools and resources for this decision
These are included only where they reduce repeated friction, clarify a next step, or help you avoid buying the wrong thing first.
Read the Extension guide
Illinois Extension fall vegetable garden cleanup guide
A recent practical guide covering garden records, spent crop removal, diseased-material disposal, cover crops, hoses, and tool care.
Best for: Checking the complete end-of-season vegetable-bed sequence
View resourceReview pollinator guidance
Penn State Extension fall garden care for pollinators
Guidance explaining how standing stems, seedheads, and garden debris can provide nesting and overwintering habitat.
Best for: Deciding what can remain in a healthy perennial or pollinator bed
View resourceCompare cleanup zones
Illinois Extension pollinator-conscious cleanup guide
A useful distinction between vegetable-garden sanitation and the lighter cleanup appropriate in healthy habitat areas.
Best for: Balancing pest prevention with winter habitat
View resourceOpen the checklist
Illinois Extension fall garden checklist
Research-based reminders for diseased plants, garden notes, crop rotation, fallen leaves, compost ingredients, and next-season planning.
Best for: Turning one cleanup walk into useful spring records
View resourceRecommended next reads
Read next if it helps the decision
Move into the next guide only if it clarifies the next practical step.

Gardening
How to Start Composting for Beginners Without Making a Mess
Composting is one of the simplest homestead skills to start early, but beginners often make it too complicated. Here is how to begin with a small, clean system that actually fits real life.
Gardening
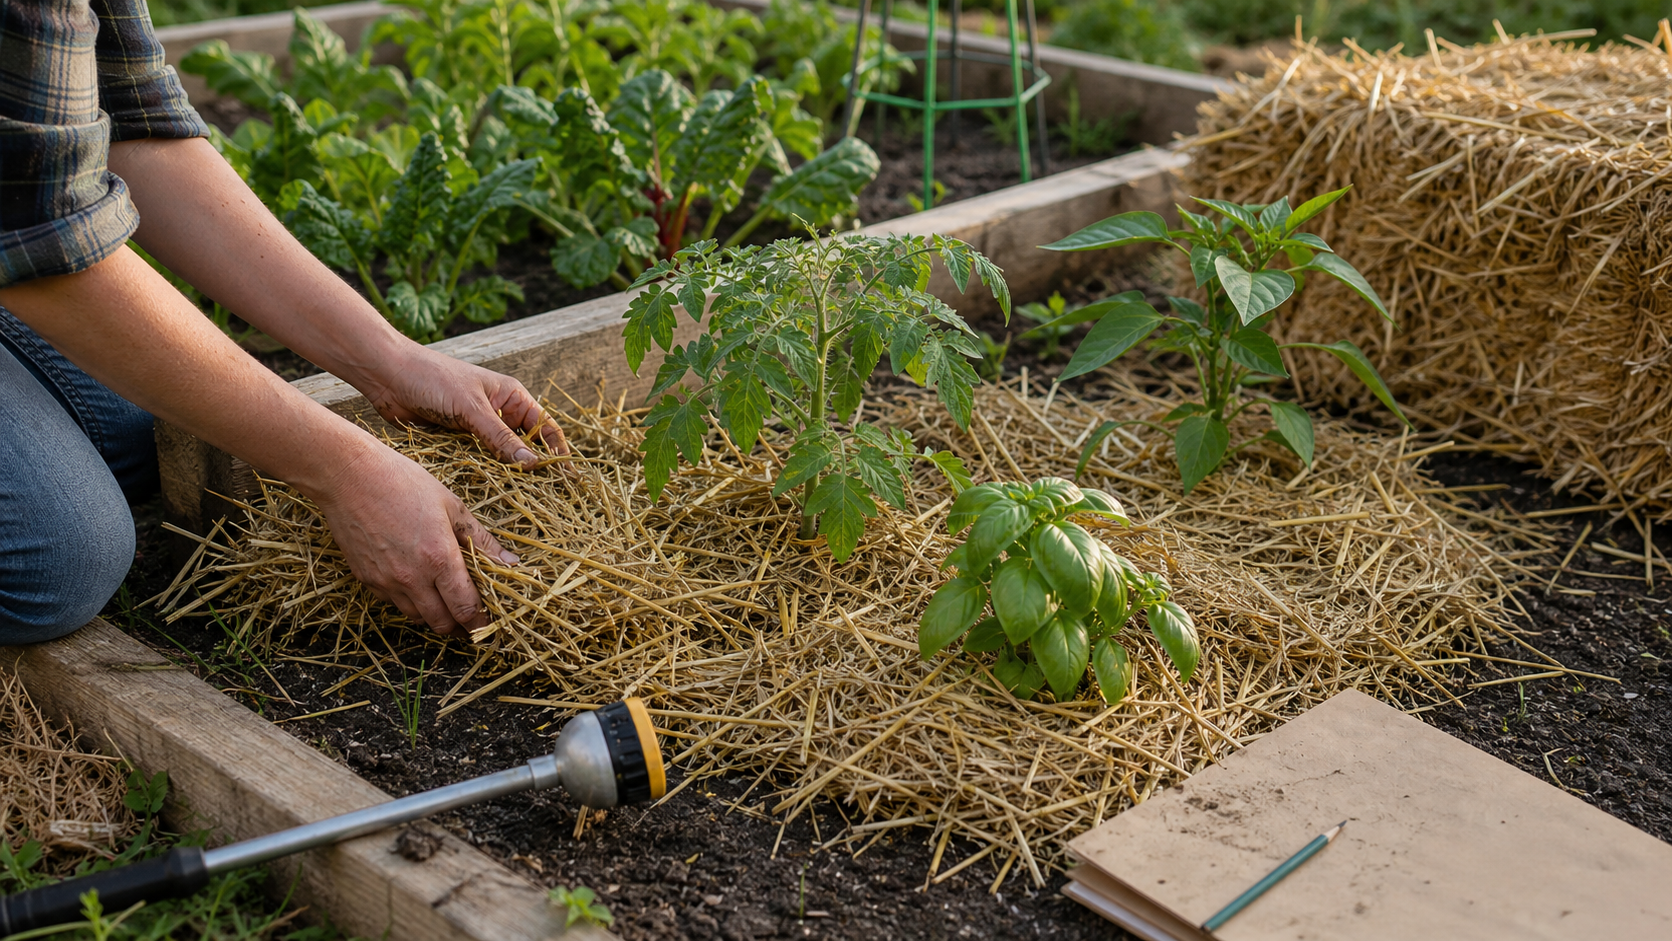
How to Mulch a Beginner Vegetable Garden Without Overthinking It
A practical beginner guide to mulching a first vegetable garden: what mulch to use, how deep to apply it, what to keep away from stems, and what can wait.
Gardening
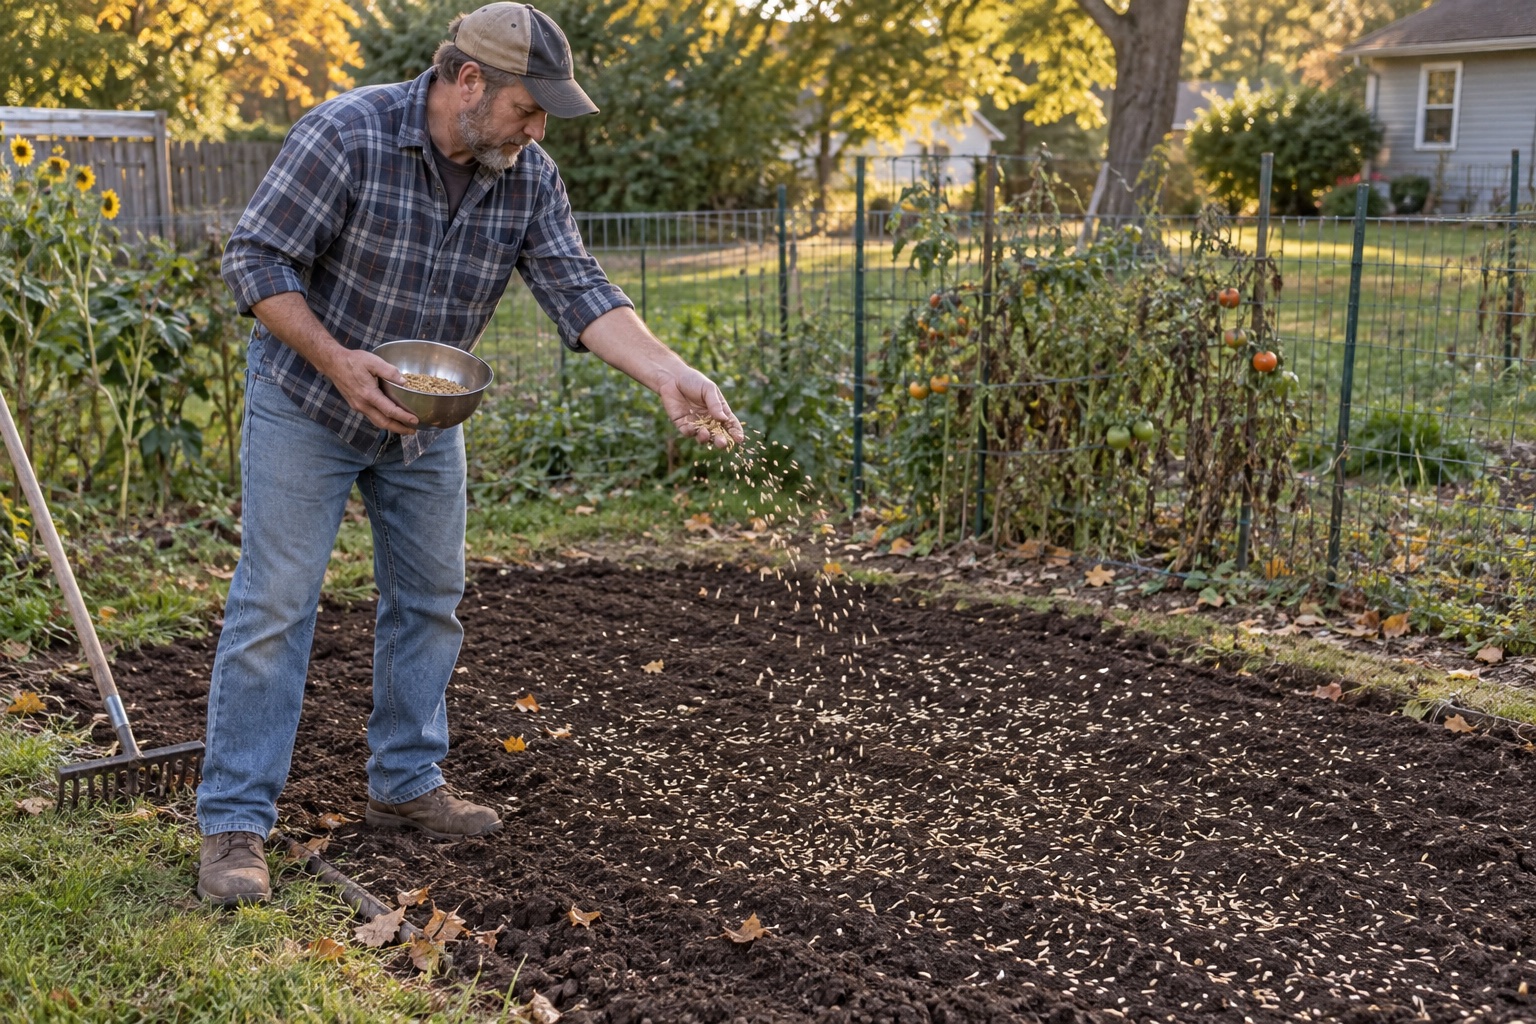
How to Plant a Cover Crop in a Small Vegetable Garden
Start with one cleared bed, choose a cover crop around your spring planting date, and make the termination plan before you sow. Here is the simplest beginner approach.
Garden gear support
Get the buy-first guide before the first garden collects too much gear.
Use the guide to decide which early garden purchases earn money now, which ones can be borrowed, and which ones can wait until the routine proves itself.
Best for: Beginners who keep seeing useful things online and need a disciplined way to decide what actually earns a place.
- A buy now, borrow, wait, or skip framework
- Starter category shortlists
- A three-question purchase test
Garden planning notes, restrained gear decisions, and the guide first.
After signup, the download will unlock right here so you can save or print it.
About the author
William Mock
Founder, writer, and beginner homesteader
William writes from the beginner side of rebuilding after a layoff: homestead plans, family systems, budgets, tools, and the decisions that make a home feel less fragile.
Read why this site existsRelated Guides
Keep building context
Systems
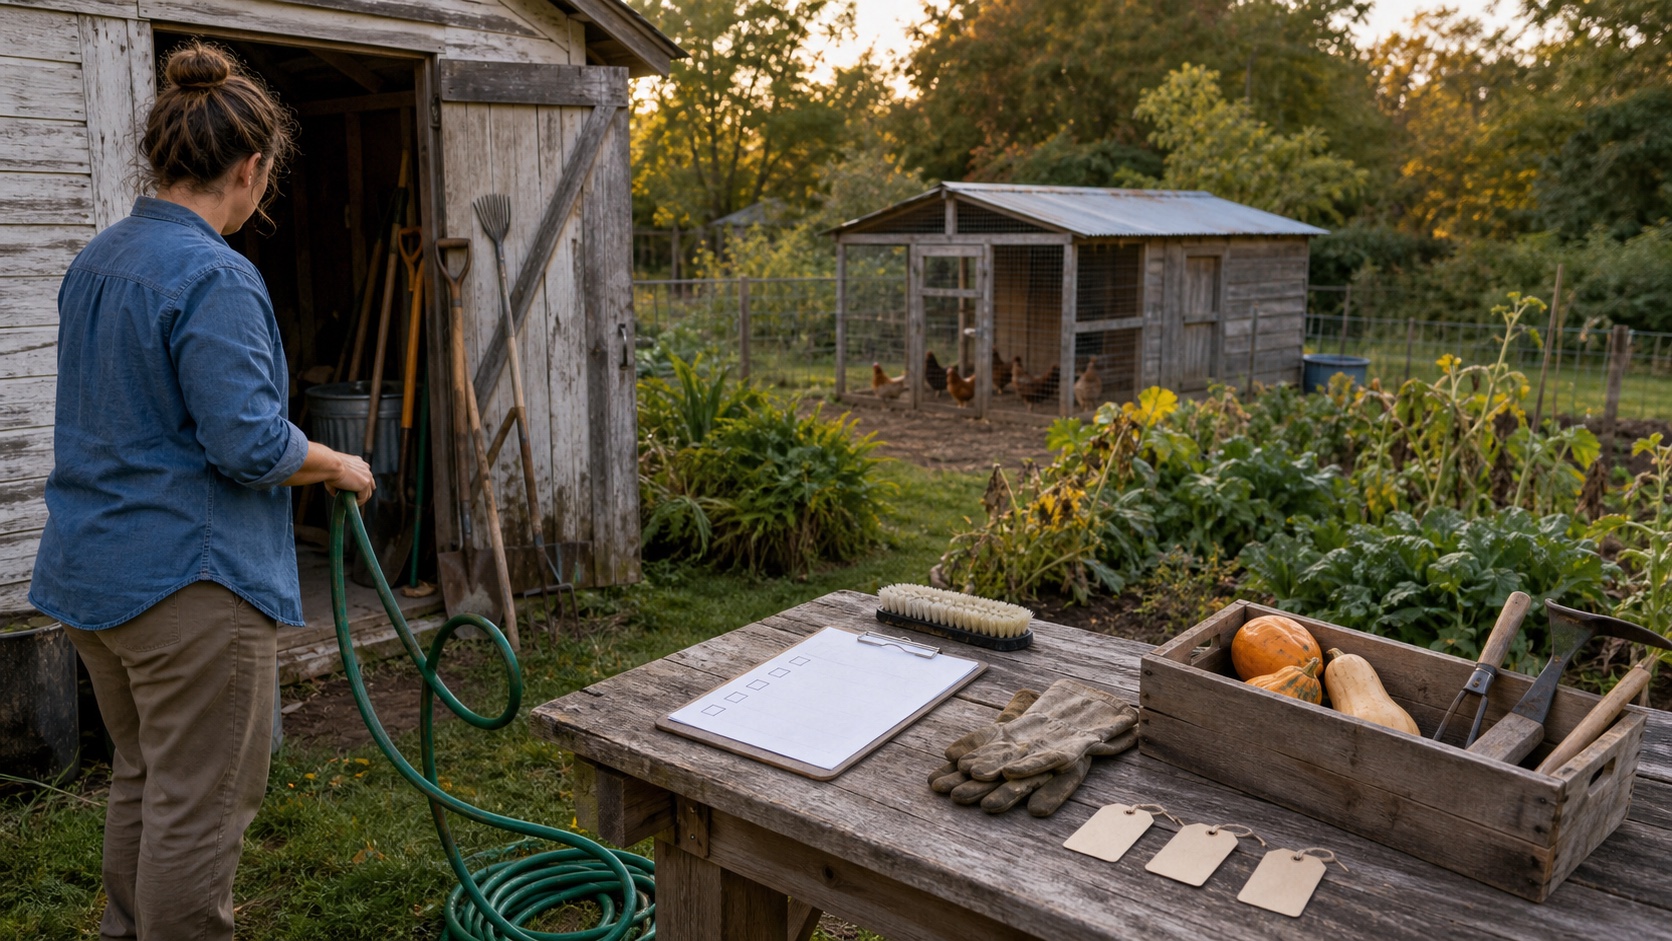
Fall Homestead Checklist for Beginners: What to Finish Before Cold Weather
A practical fall homestead checklist for sorting safety, animals, garden harvests, water, tools, food storage, and unfinished projects before cold weather arrives.
Gardening
How to Start Composting for Beginners Without Making a Mess
Composting is one of the simplest homestead skills to start early, but beginners often make it too complicated. Here is how to begin with a small, clean system that actually fits real life.
Gardening
How to Mulch a Beginner Vegetable Garden Without Overthinking It
A practical beginner guide to mulching a first vegetable garden: what mulch to use, how deep to apply it, what to keep away from stems, and what can wait.